My Files
Introduction
After the Requester uploads files, the files are archived in My Files for centralized management. Files can be organized by folder or by project, making it easier for the Requester to categorize files by business need and track processing progress.
My Files List
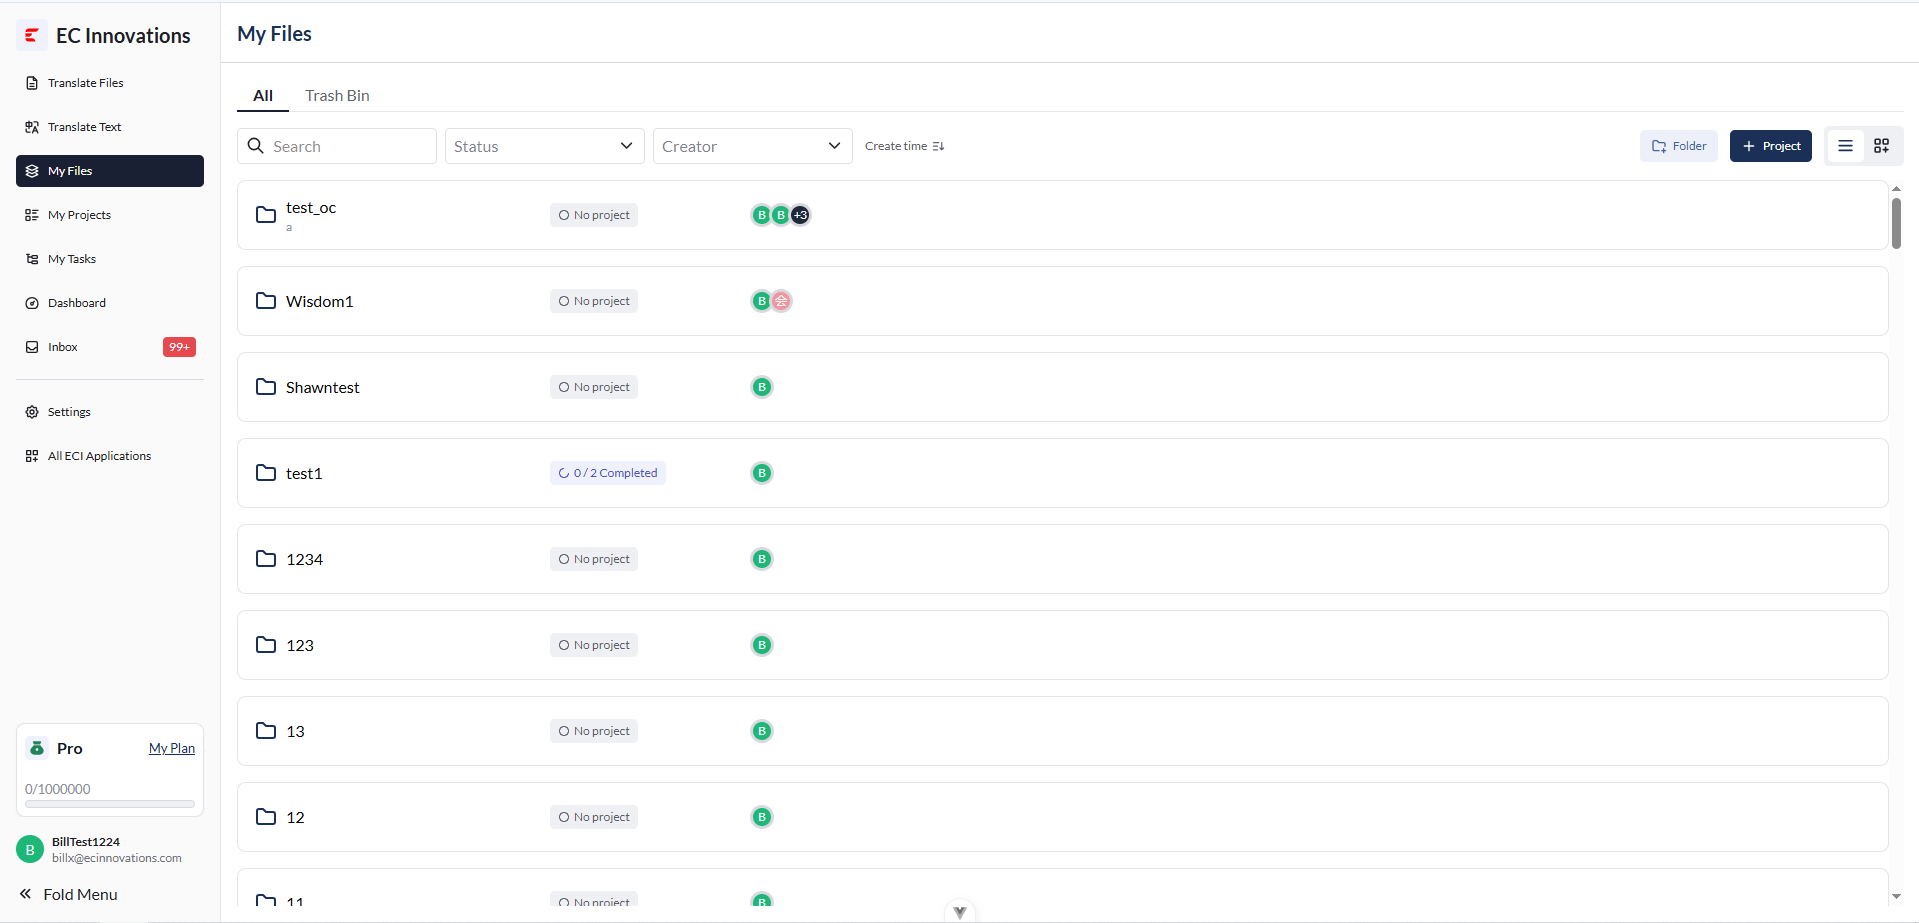
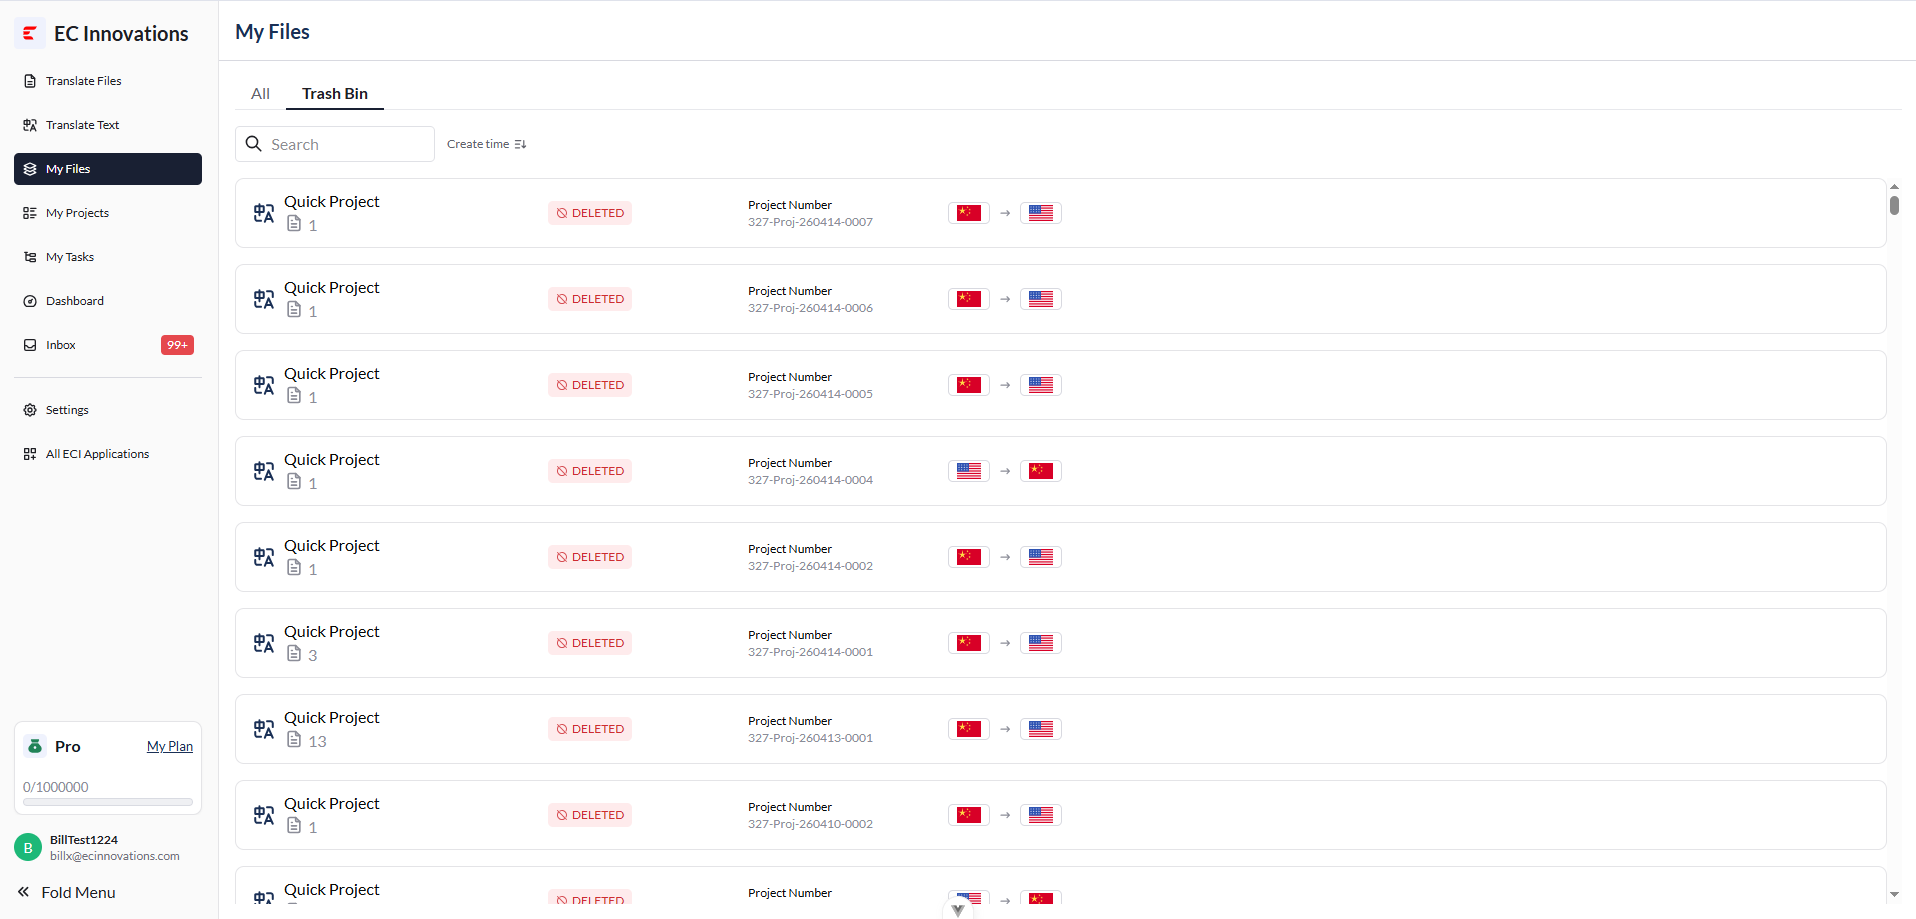
Tabs: ‘All’ / ‘Trash’
‘All’: View all folders and projects that have not been deleted.
‘Trash’: View deleted projects only.
Filters: ‘Search’ / ‘Status’ / ‘Creator’ / ‘Create time’
‘Search’: Filter by folder name, project name, or project number.
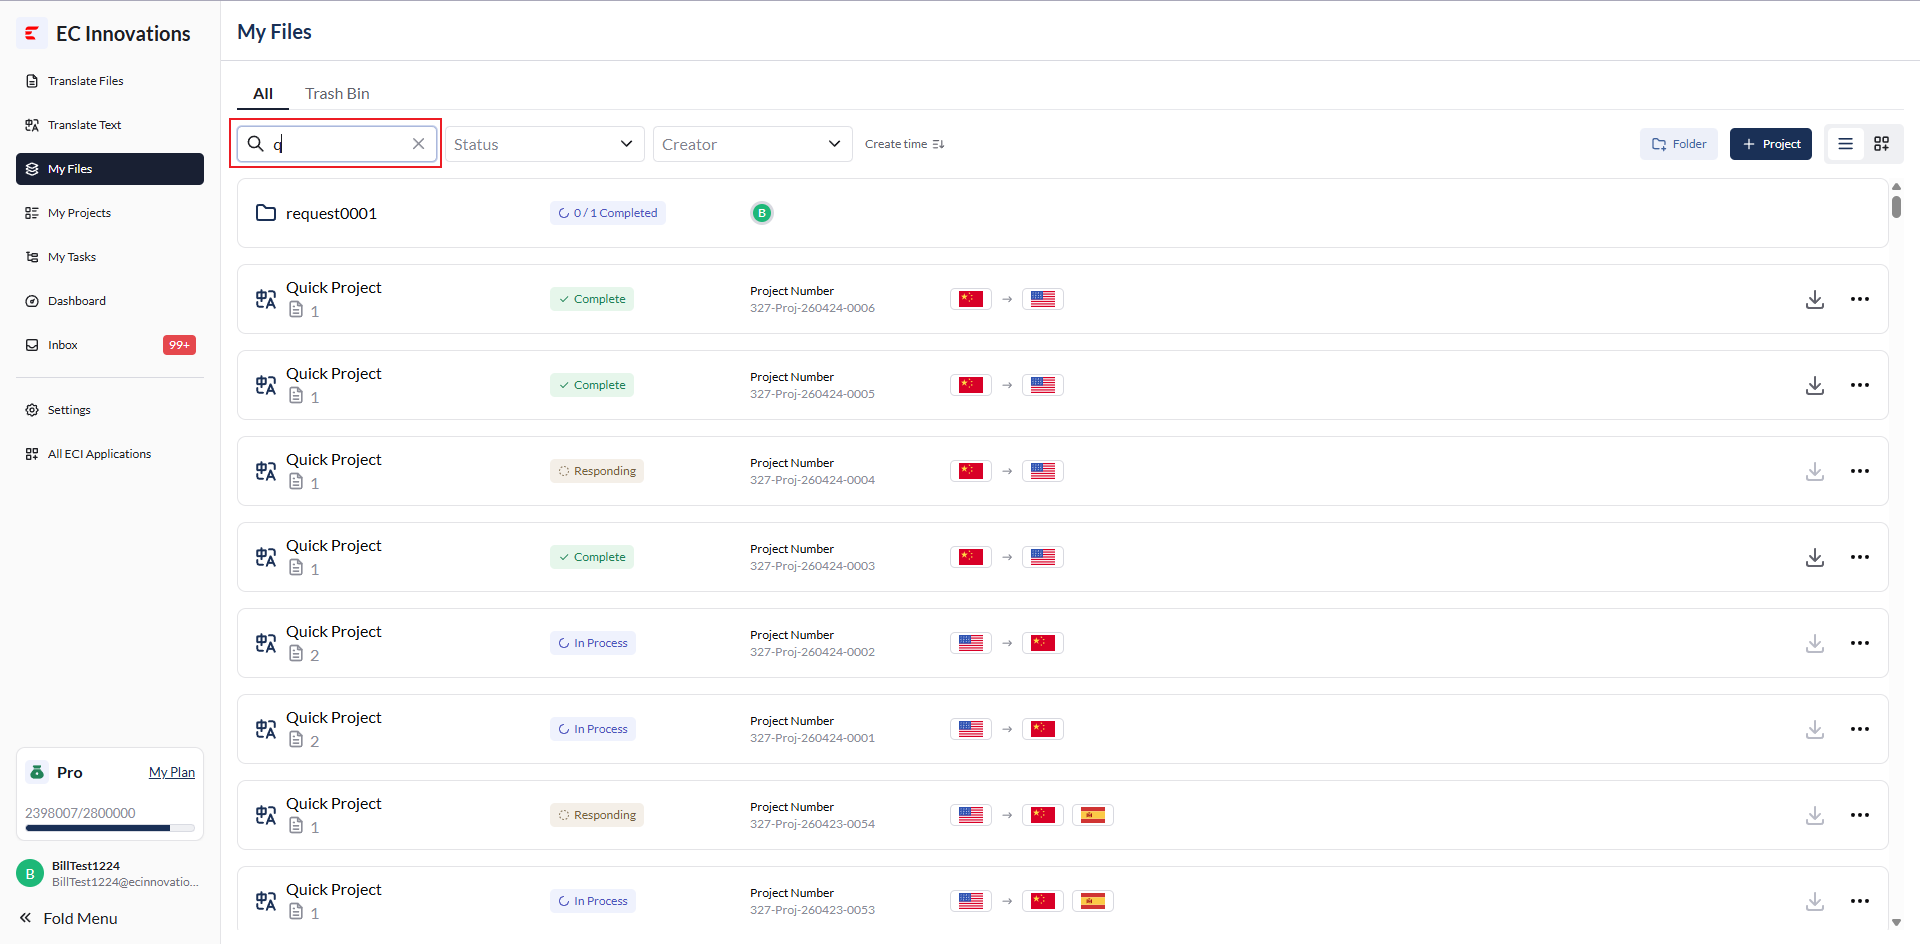
‘Status’: Filter by the status of projects inside folders or projects not placed in folders.
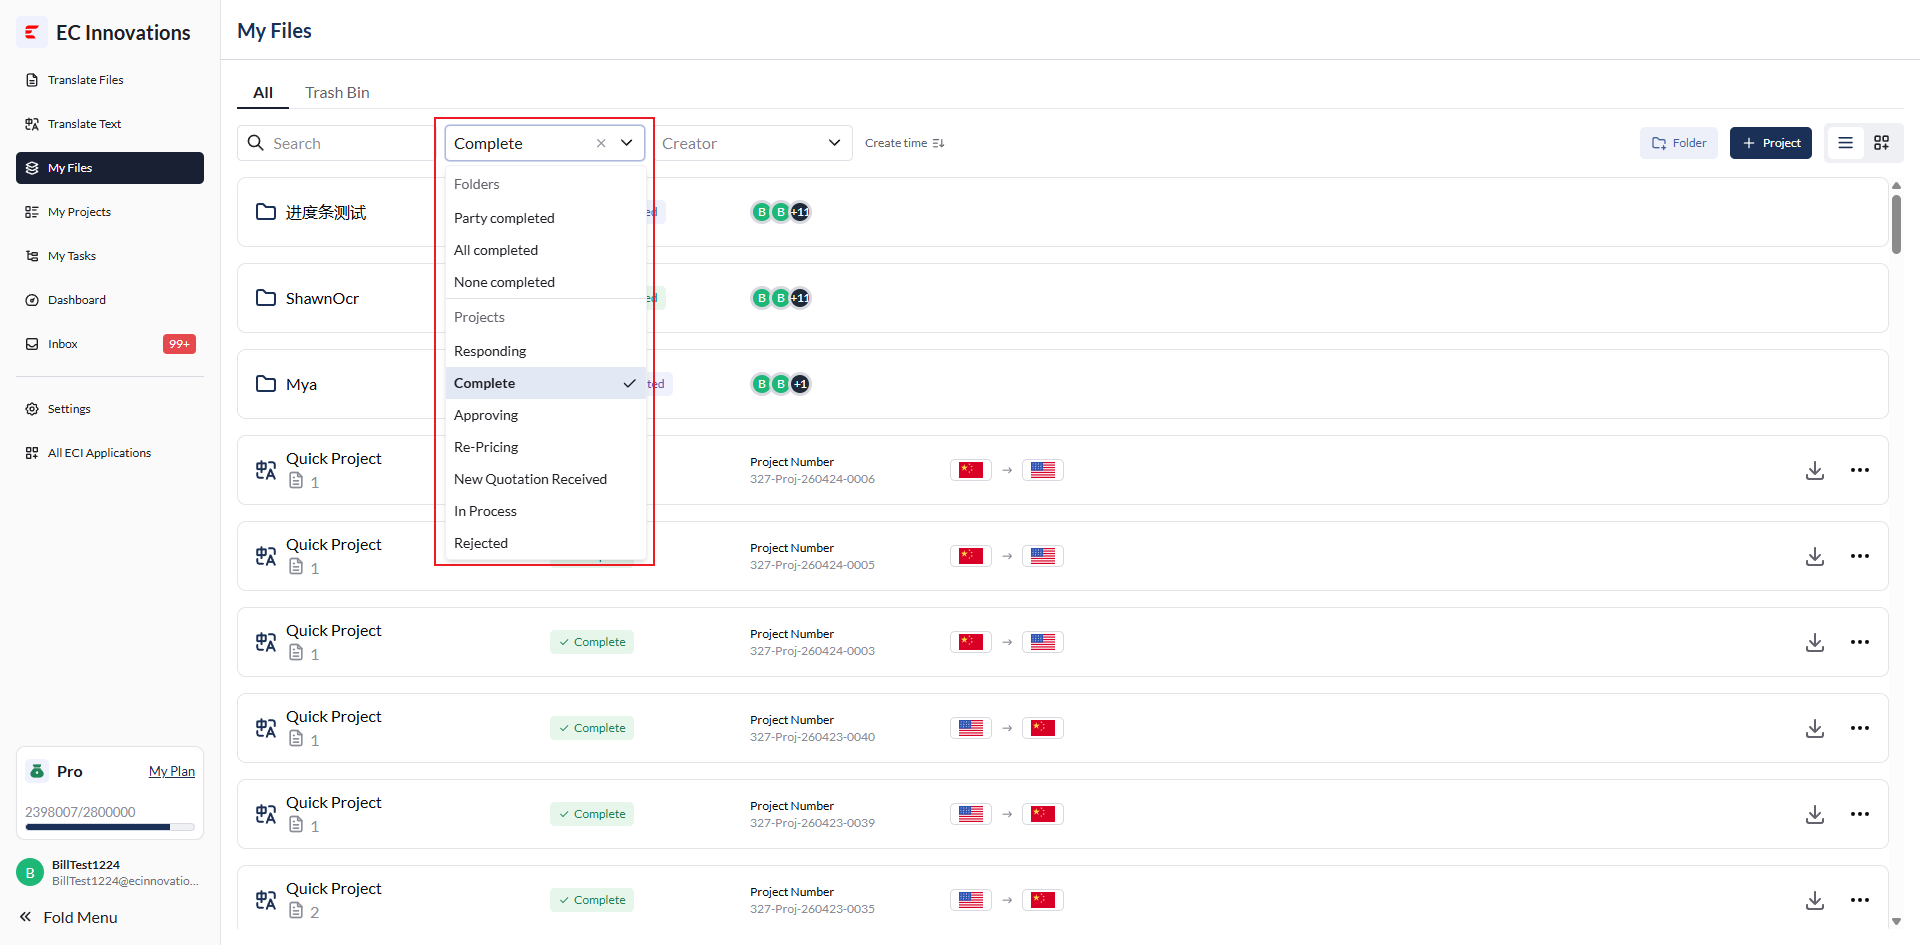
‘Creator’: Filter by creator.
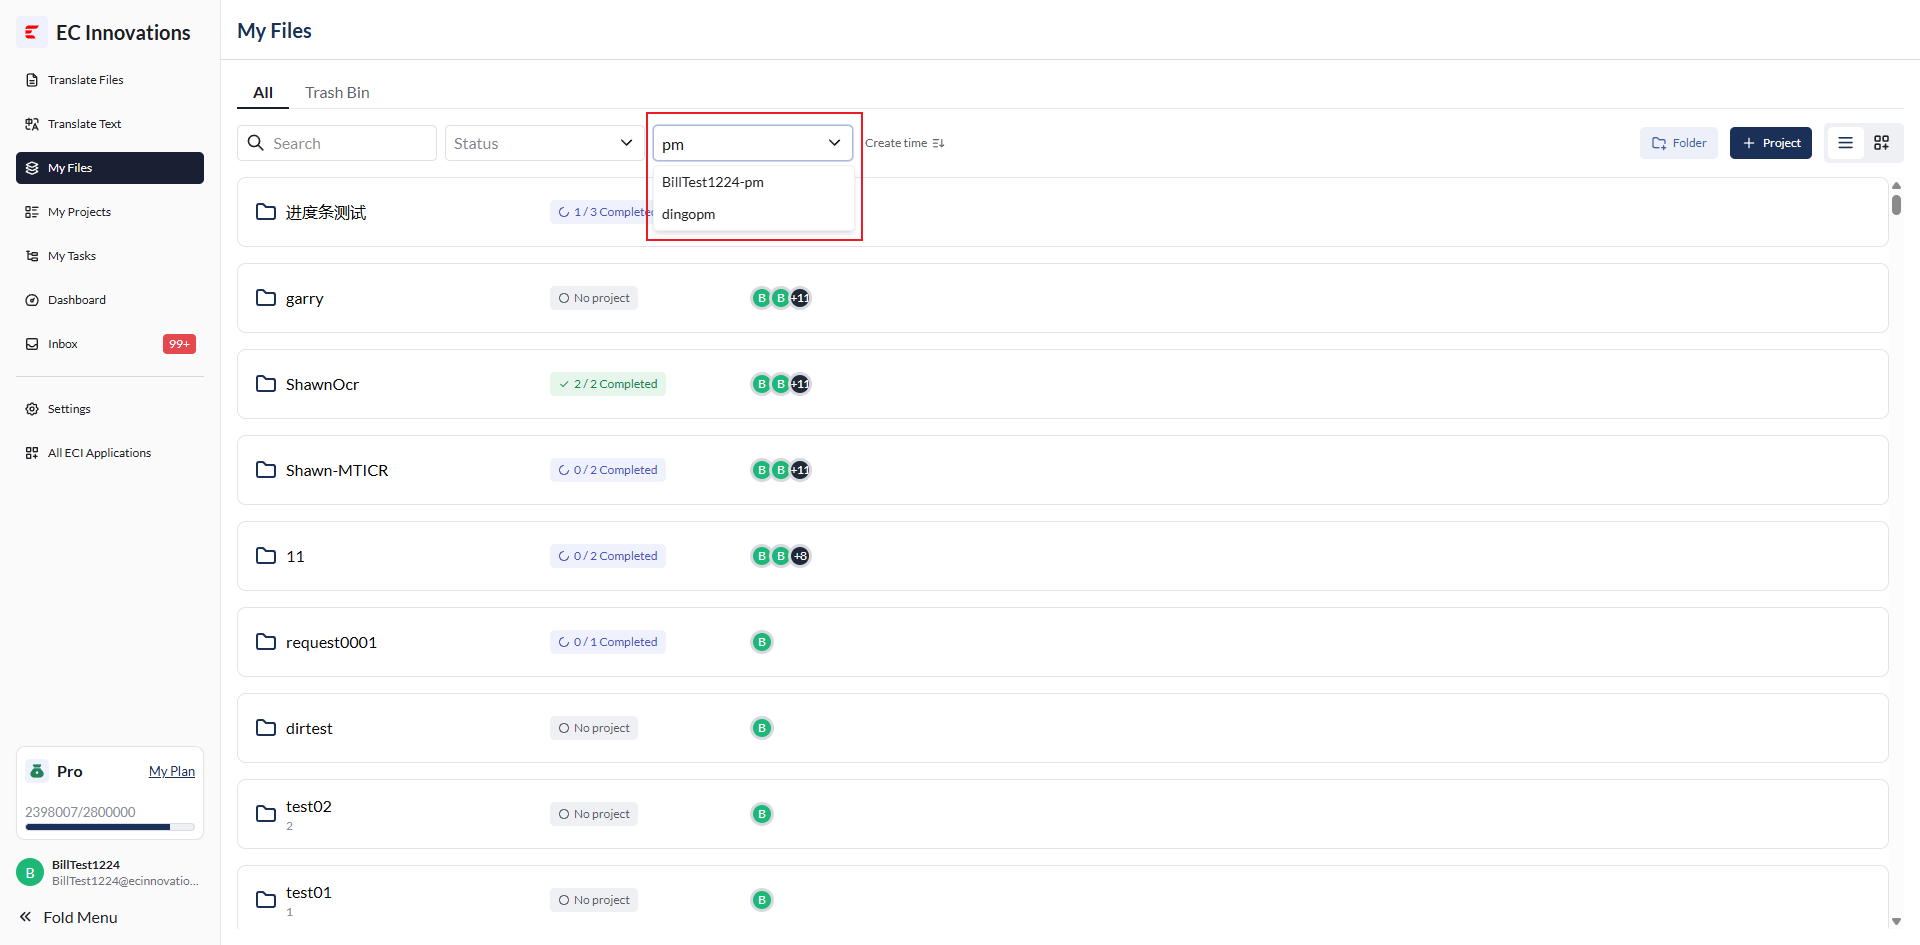
‘Create time’: Sort by creation time in ascending or descending order.
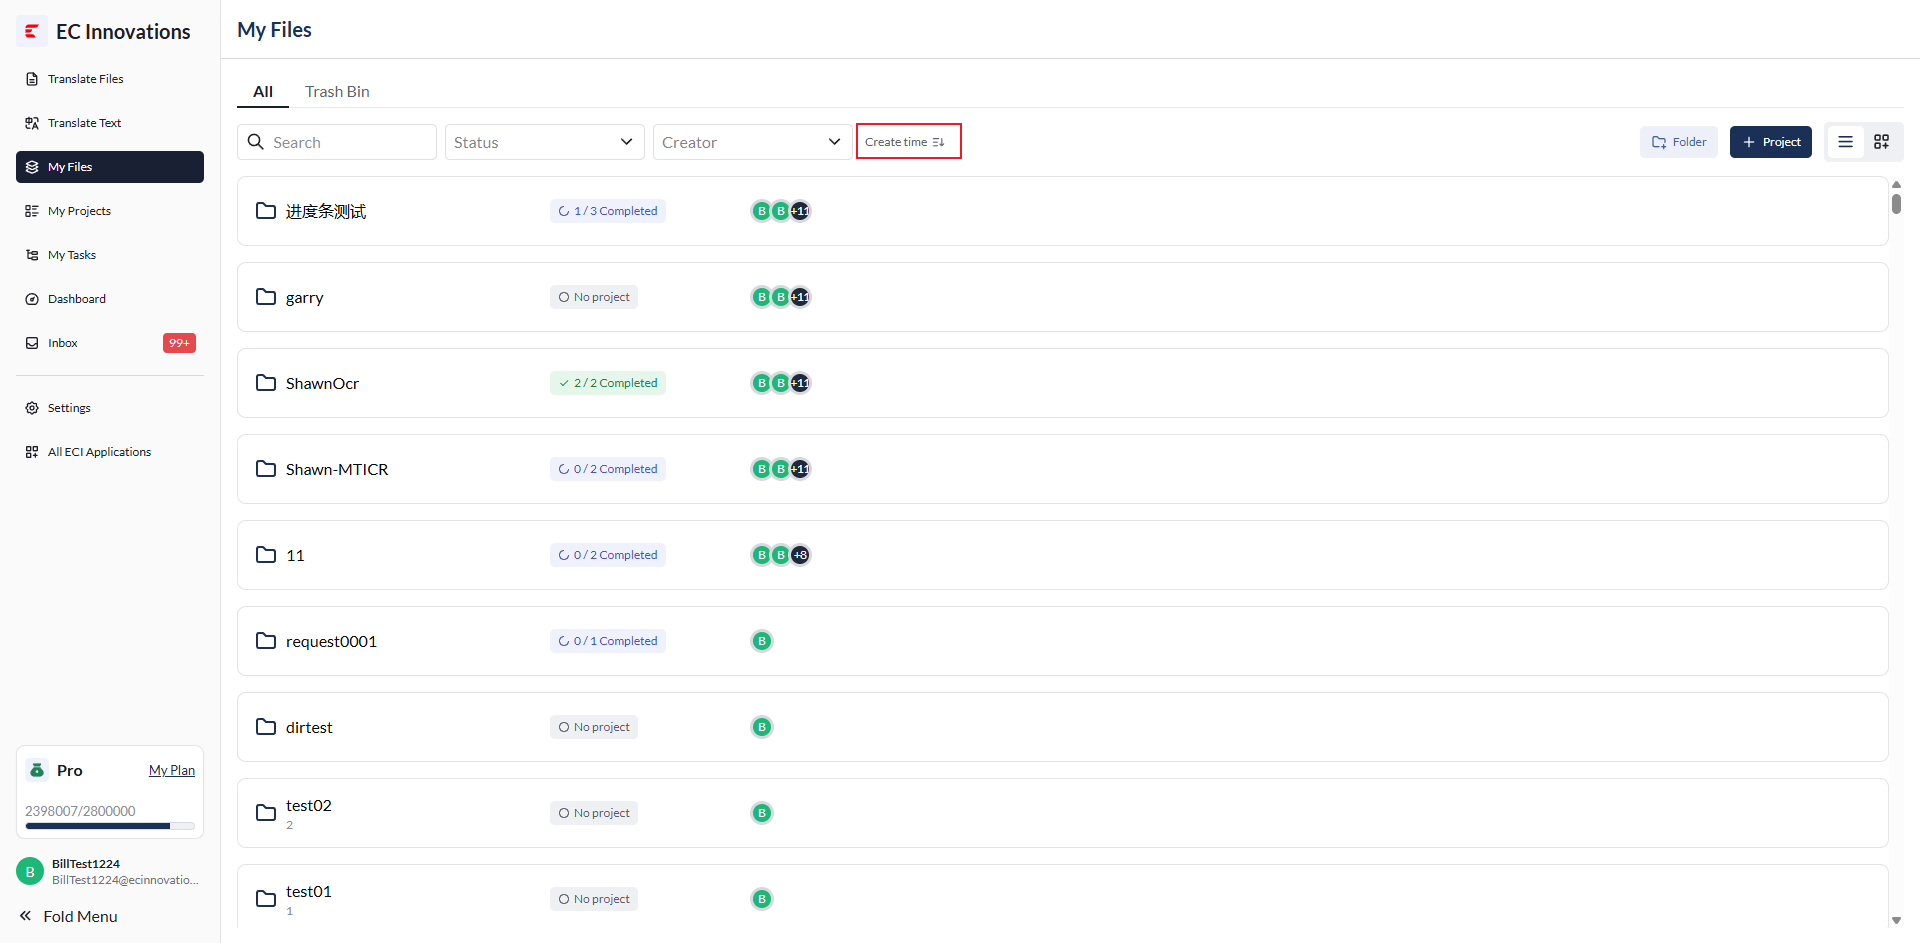
Create a Folder
Click ‘Folder’.
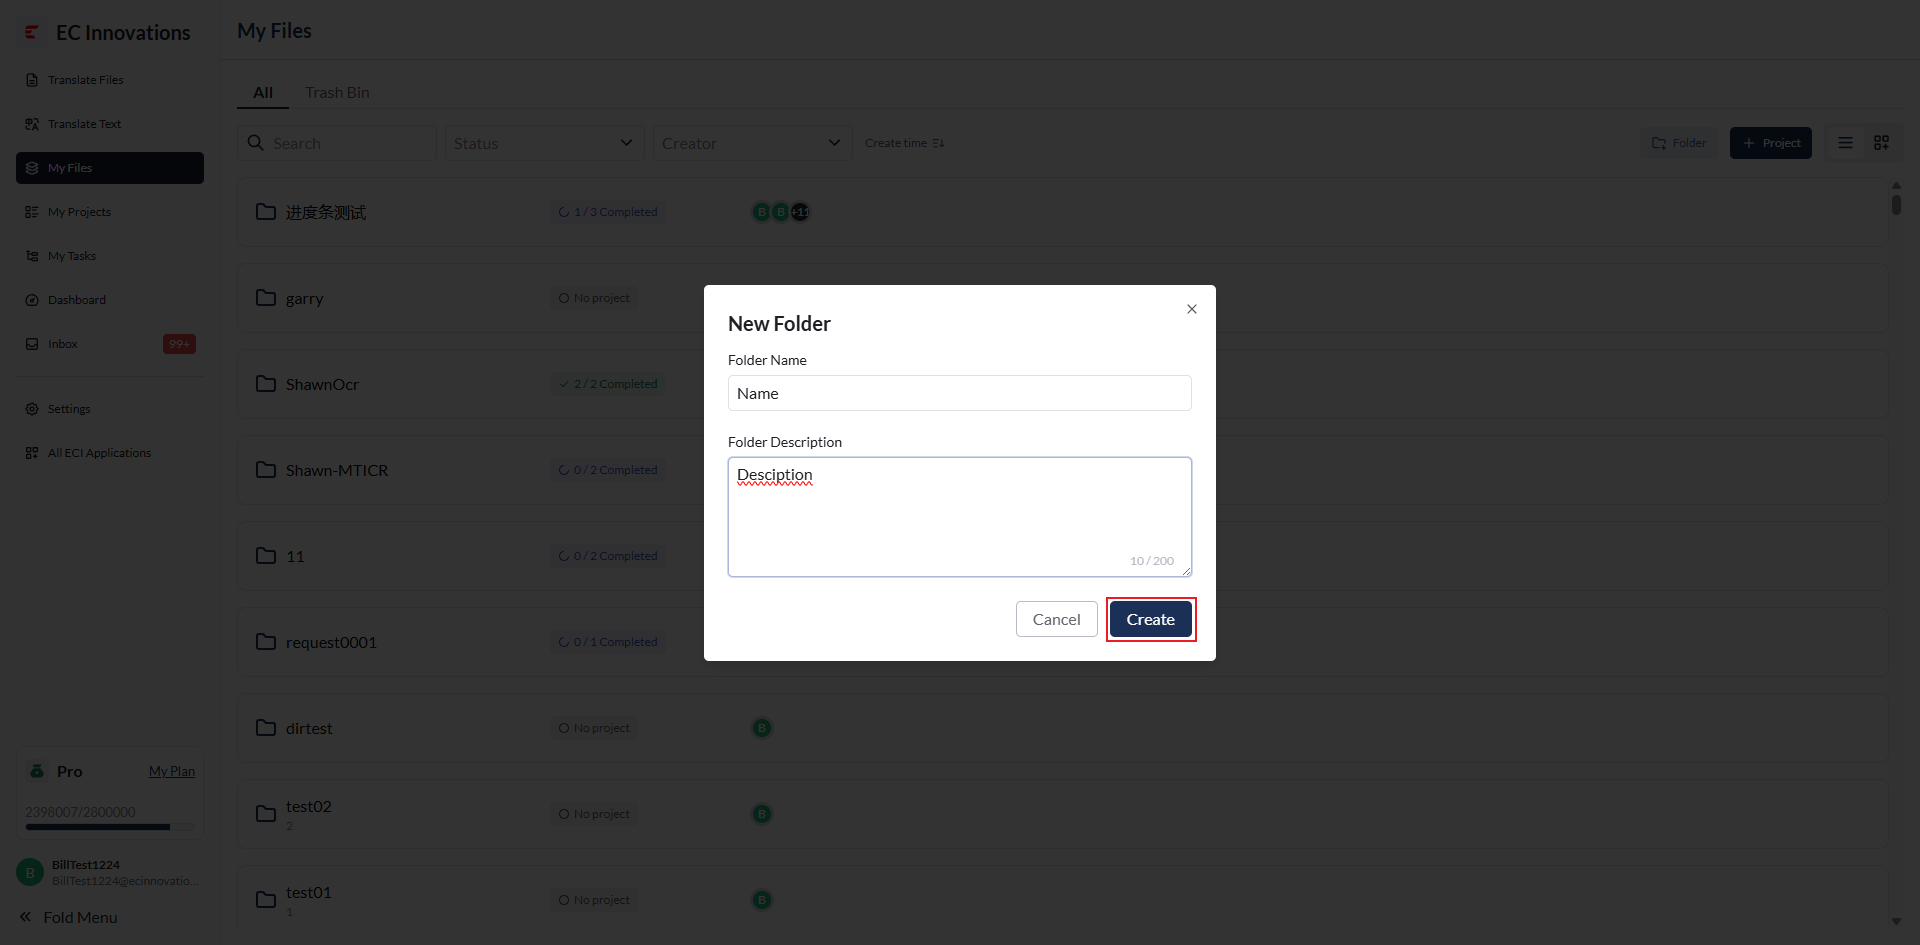
Enter the Folder Name and Folder Description.
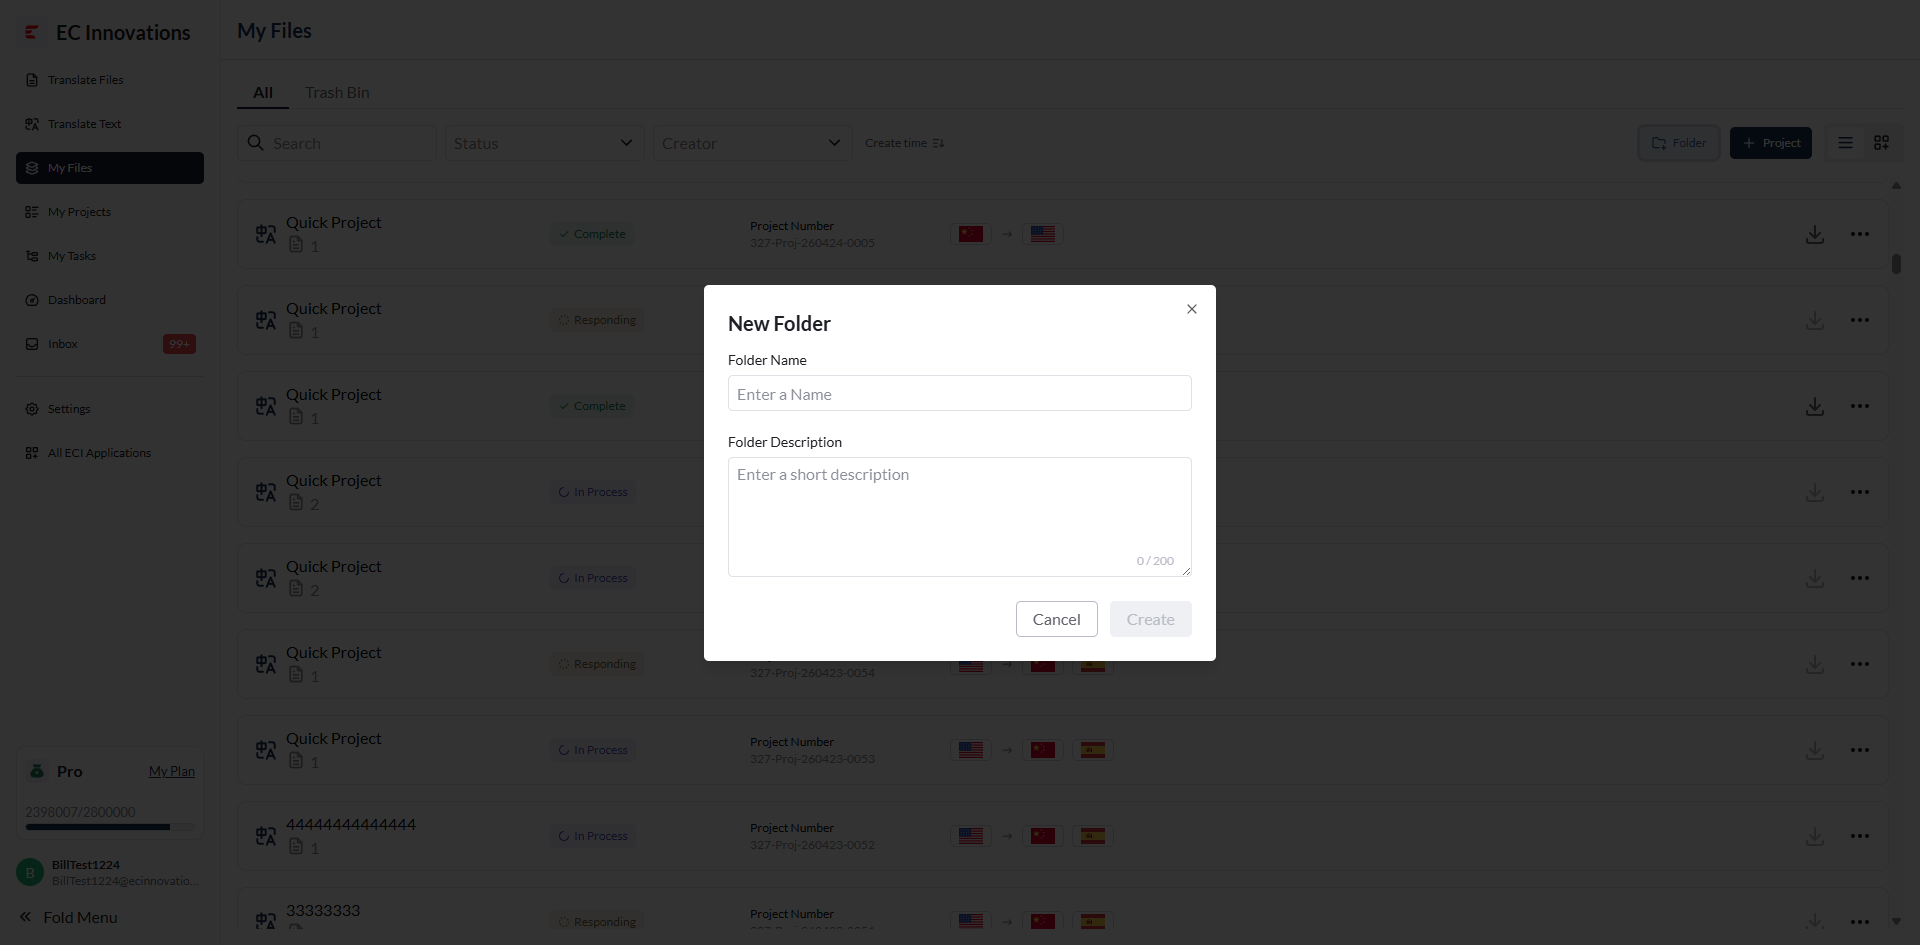
Click ‘Create’ to create the folder.
Create a Project
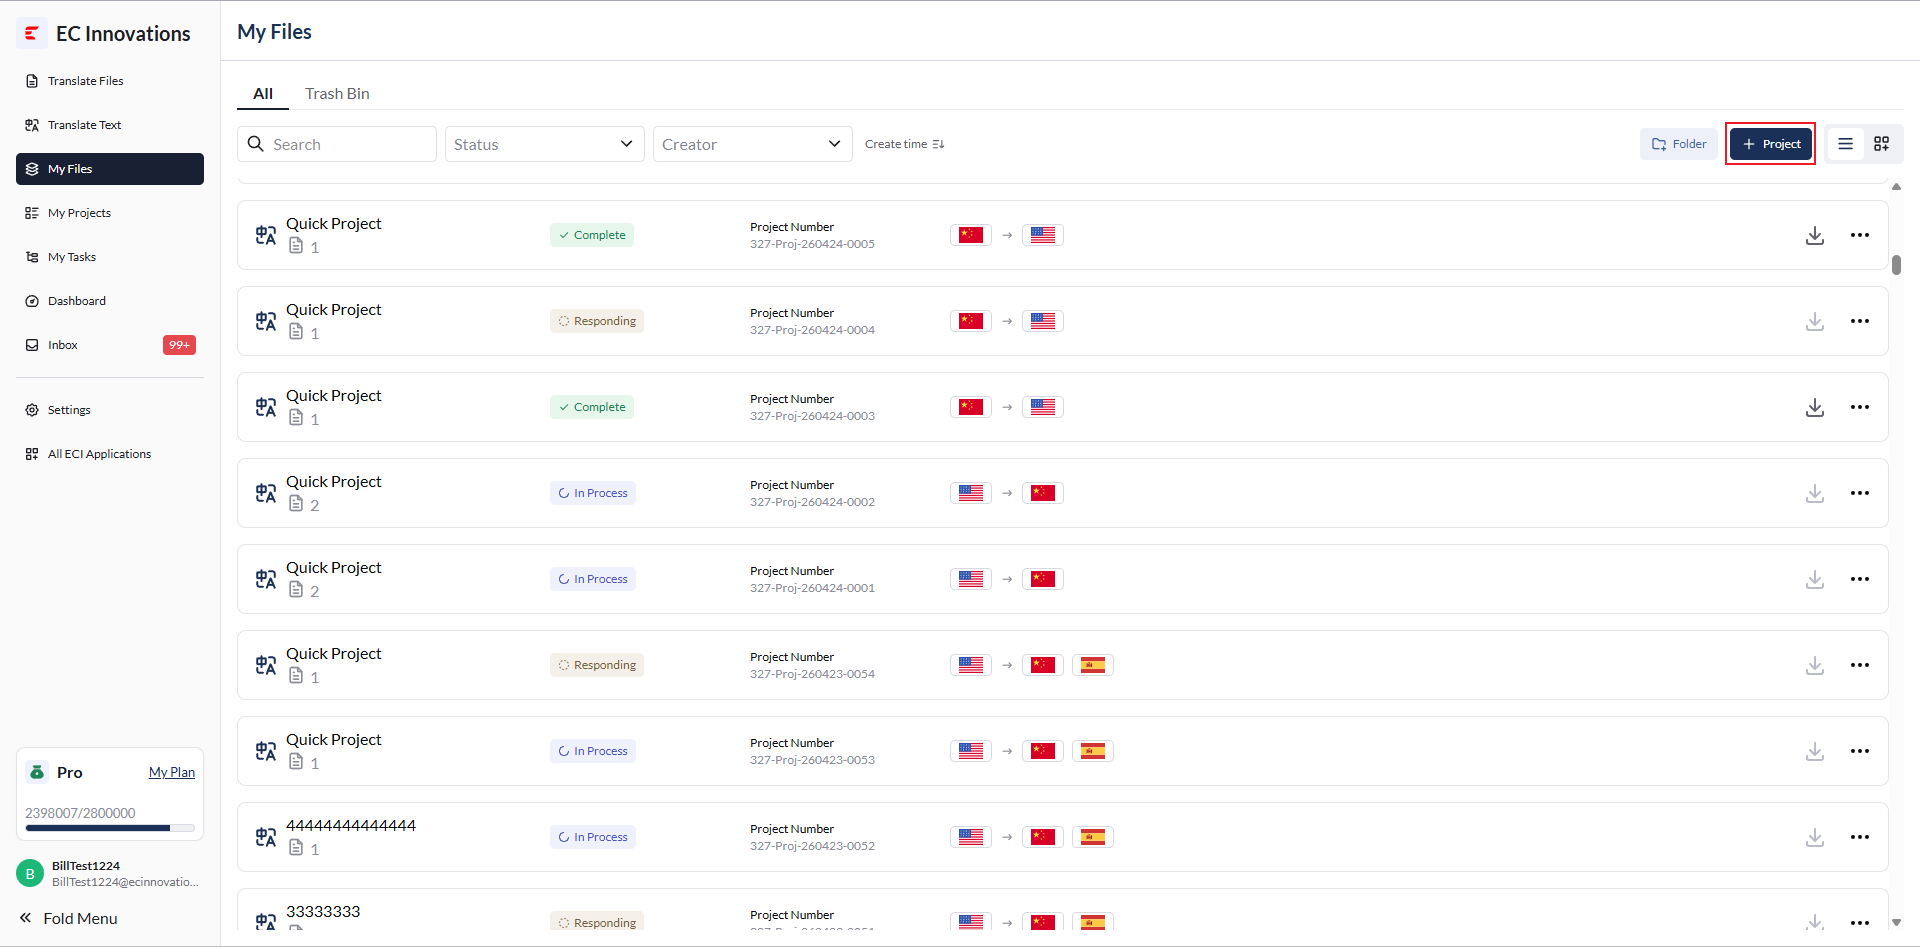
Click ‘Project’.
The Translate Files pop-up will appear. Click ‘Create a Process’ to start the workflow.
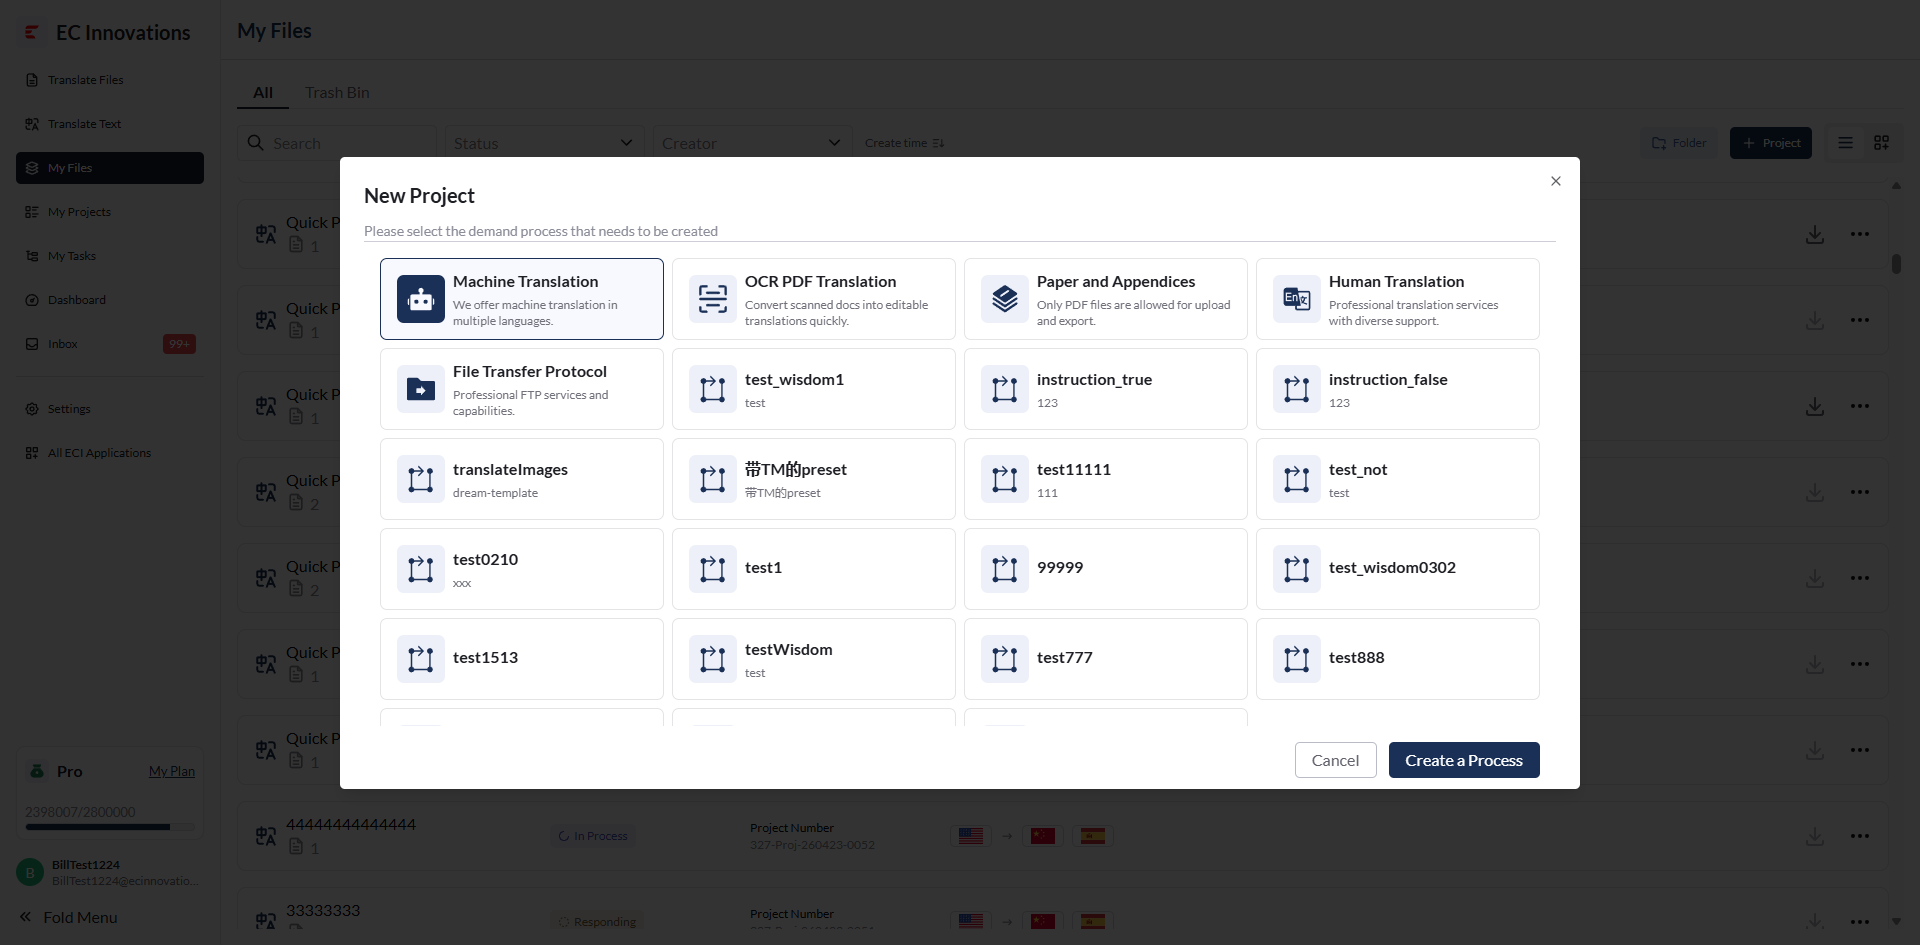
For details, see Quick Start.
Change the View
Click the button to switch views.
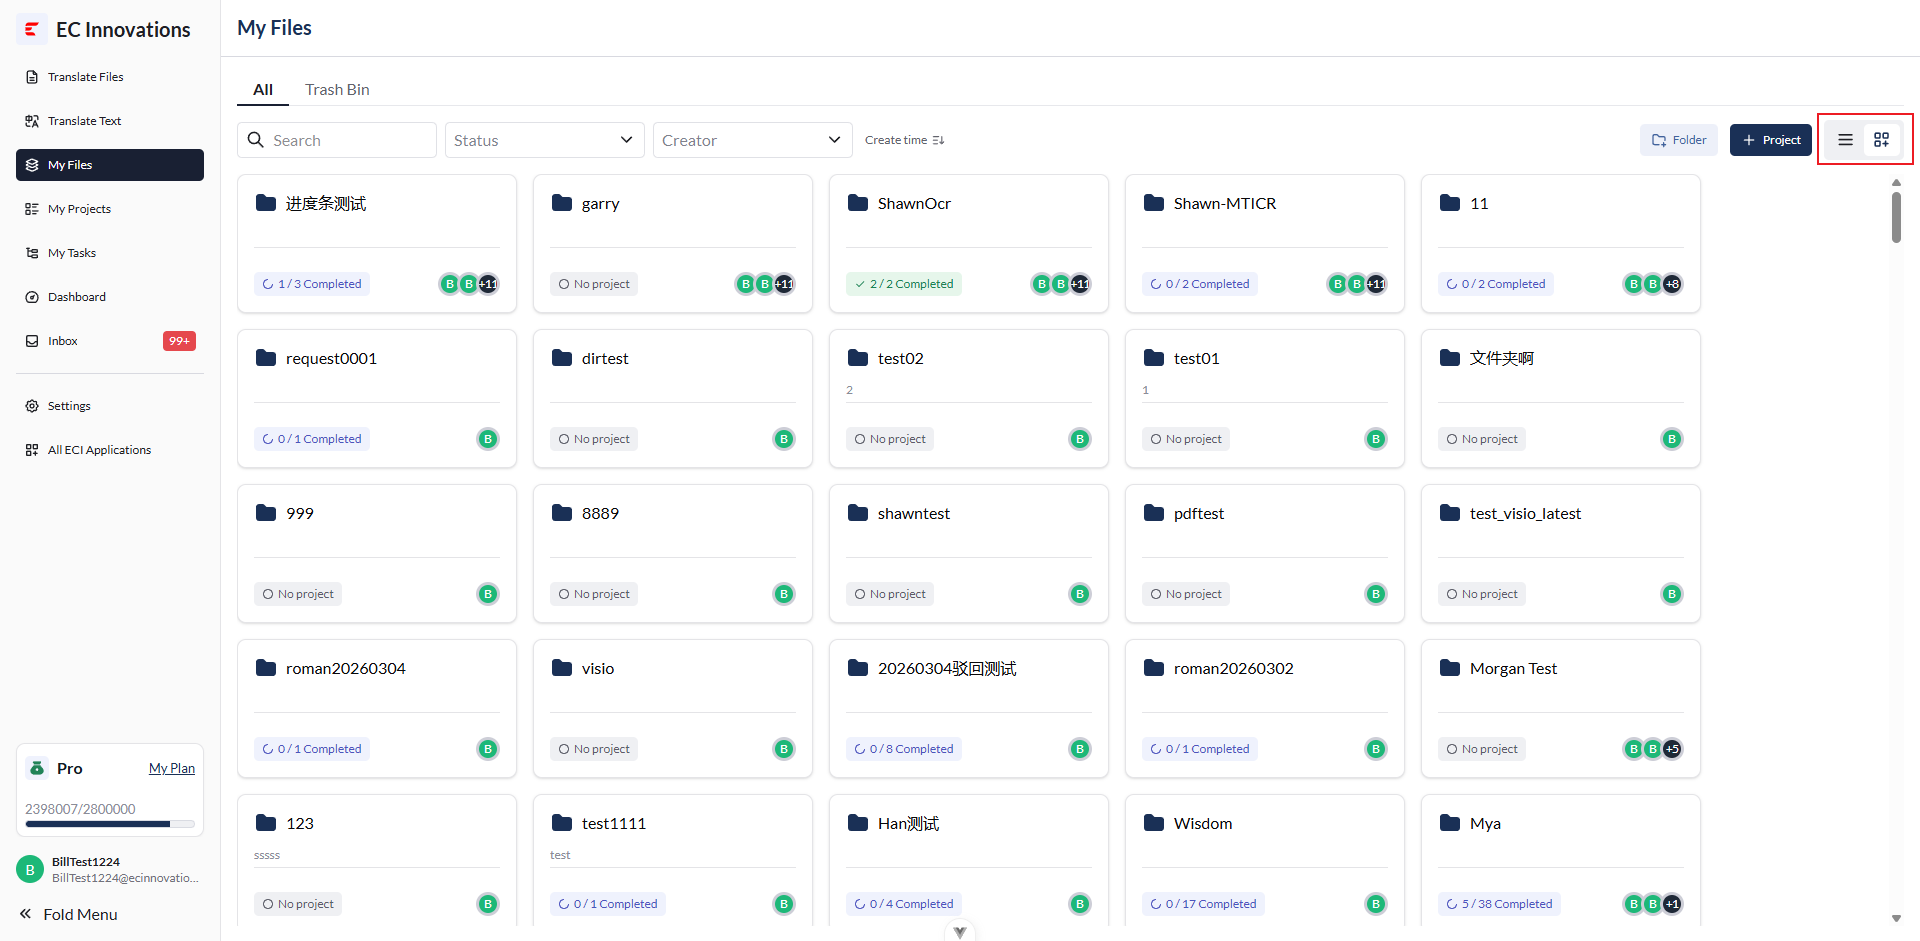
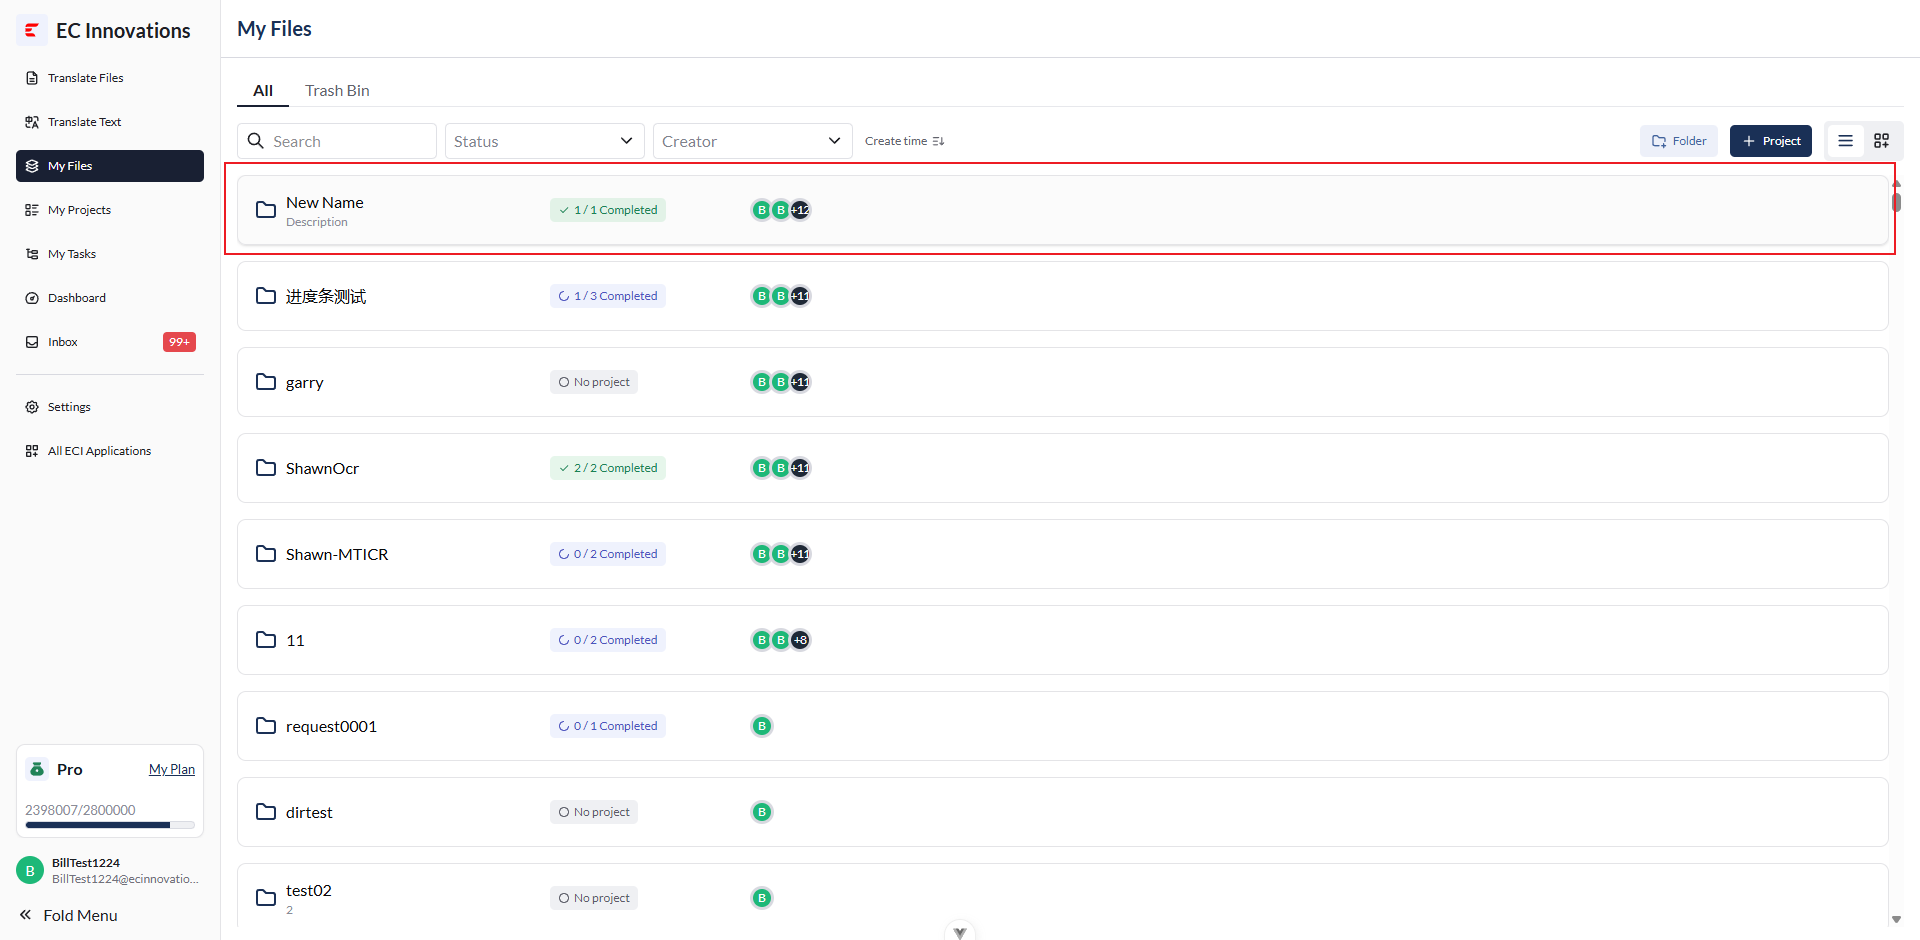
Folder List
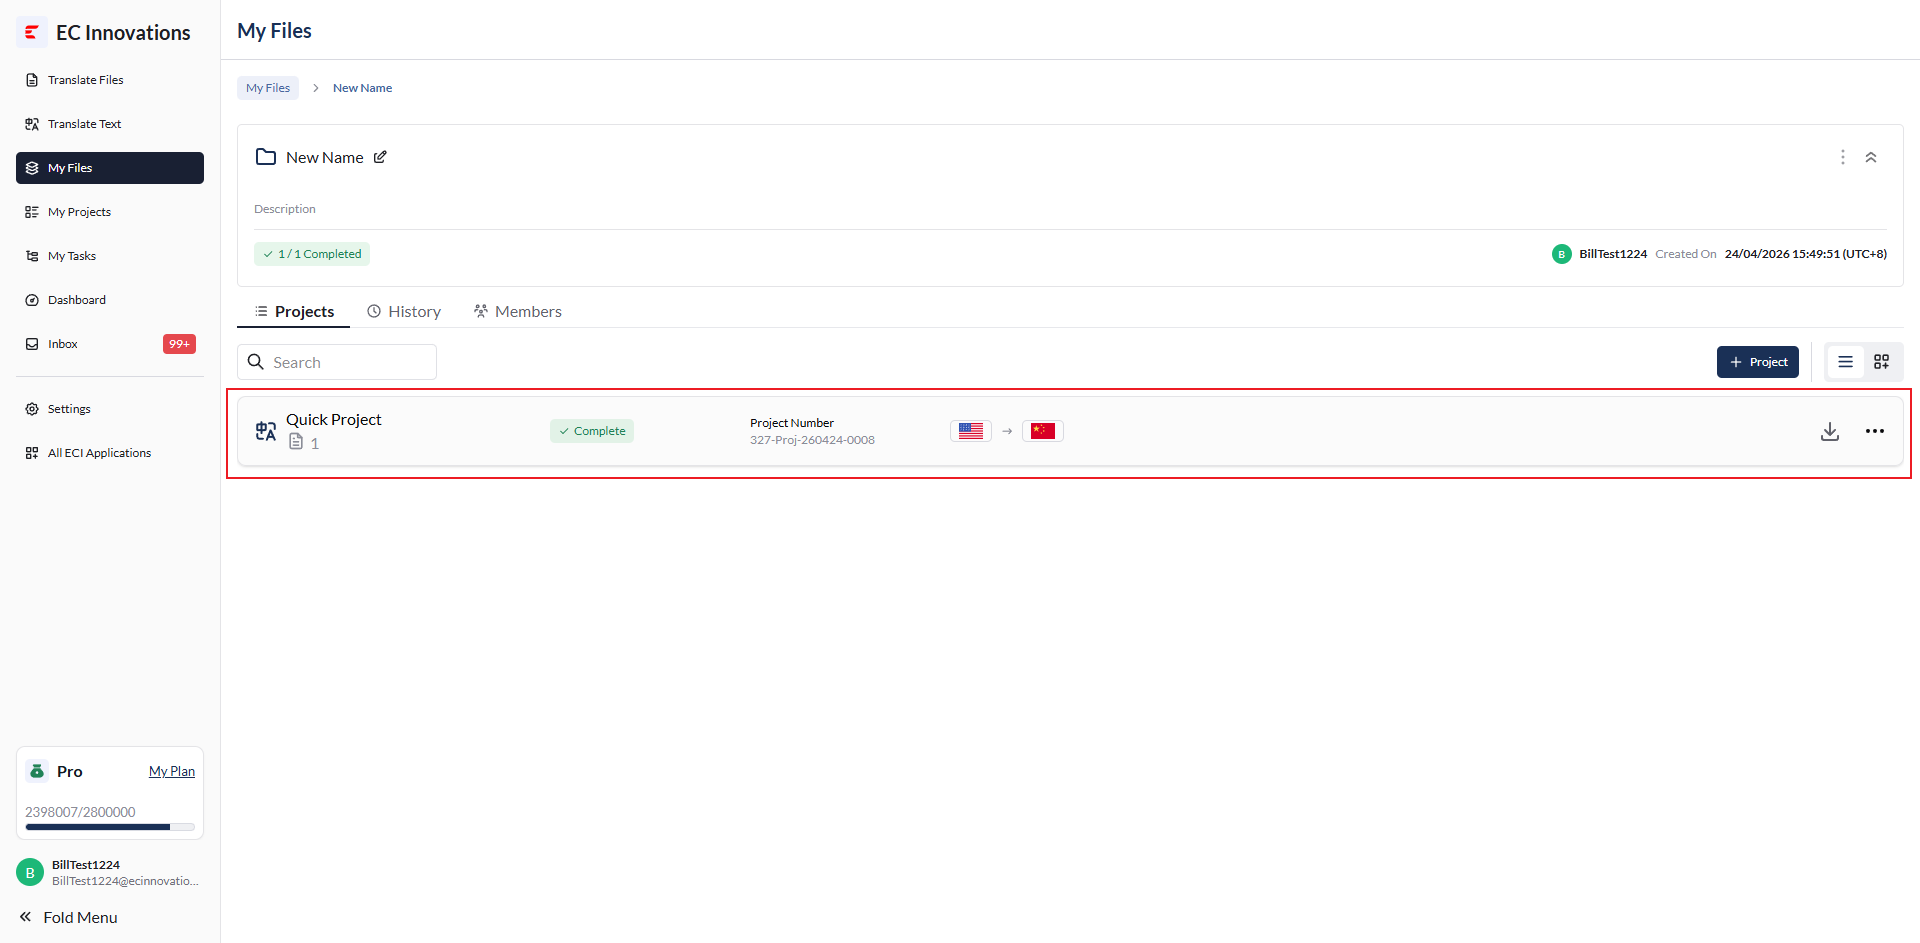
Click a folder to view all projects under that folder.
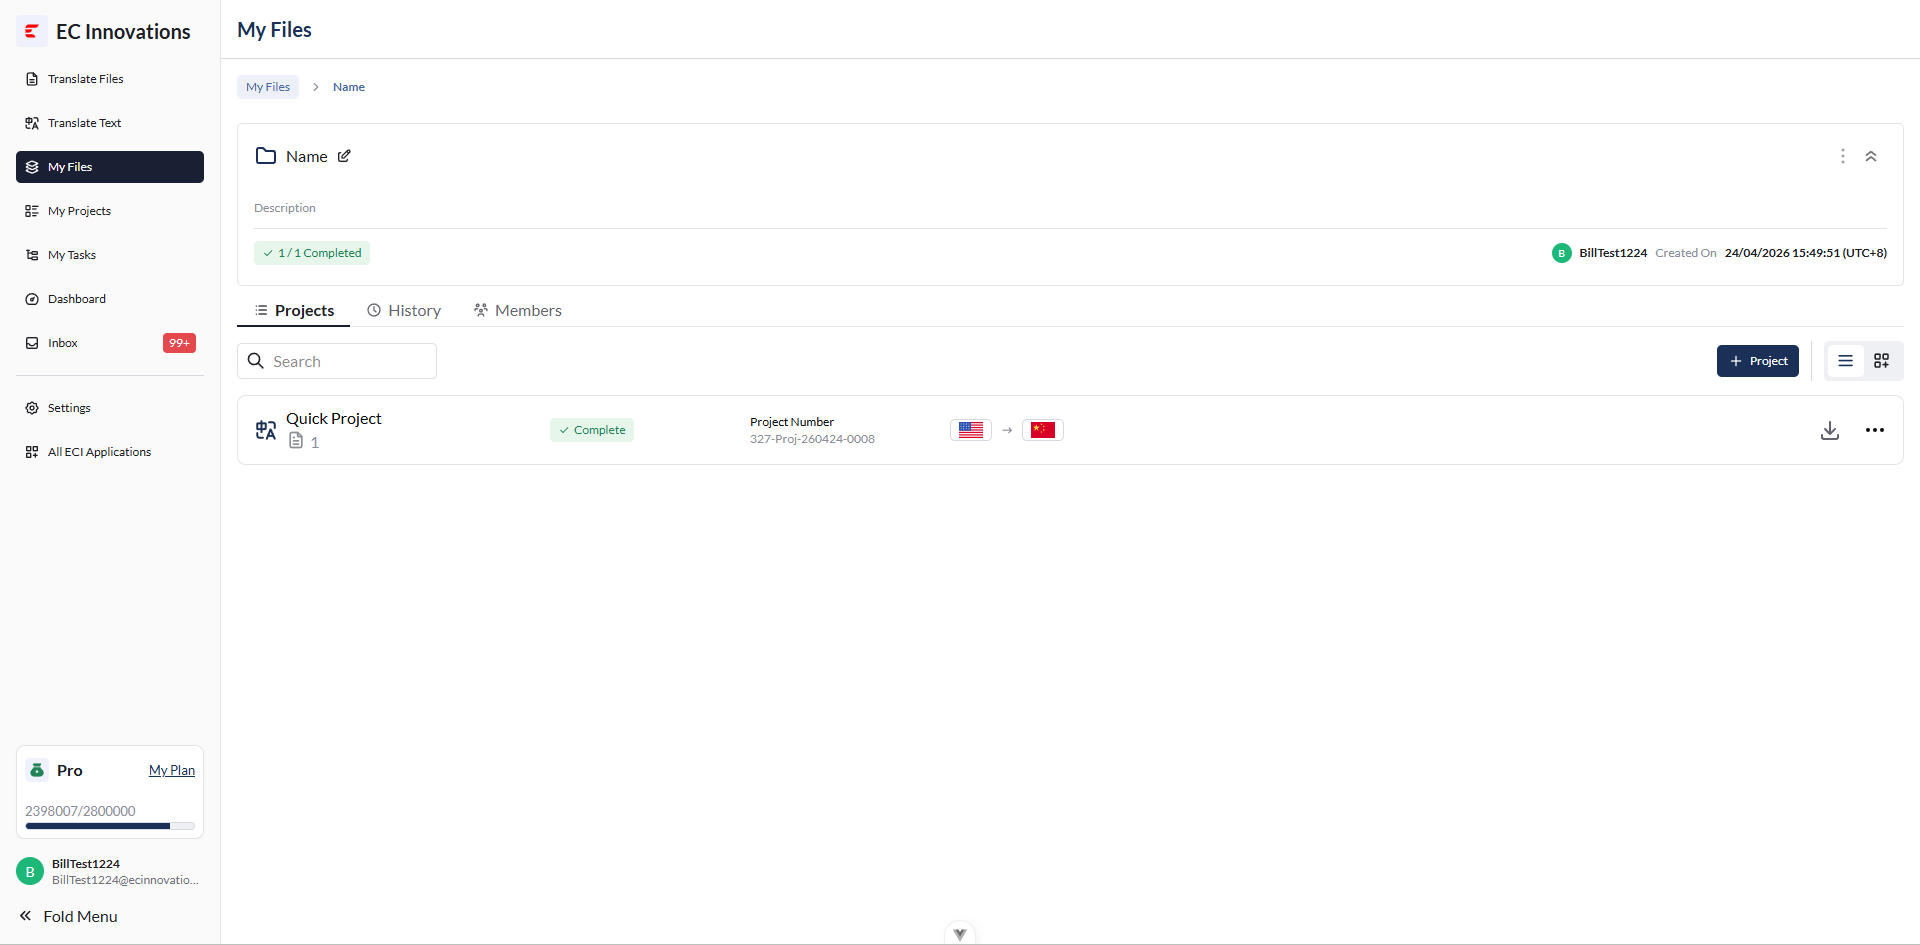
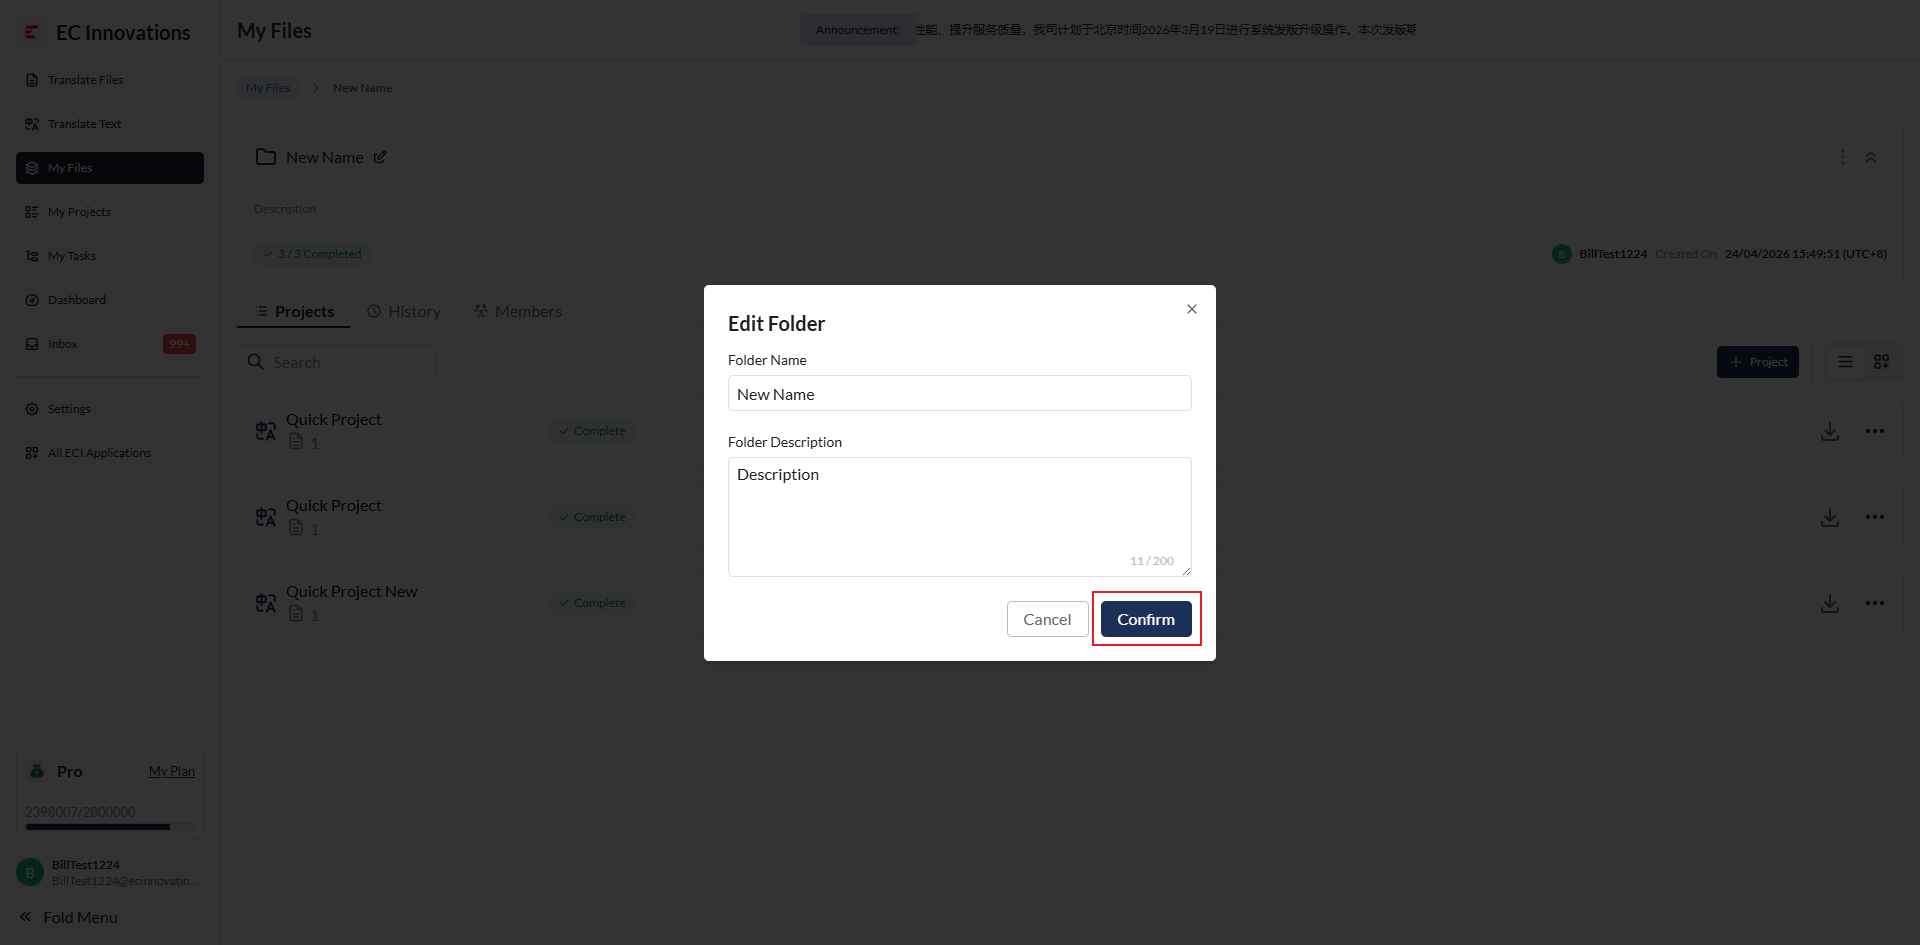
Edit Folder Information
Click the edit icon to the right of the folder name.
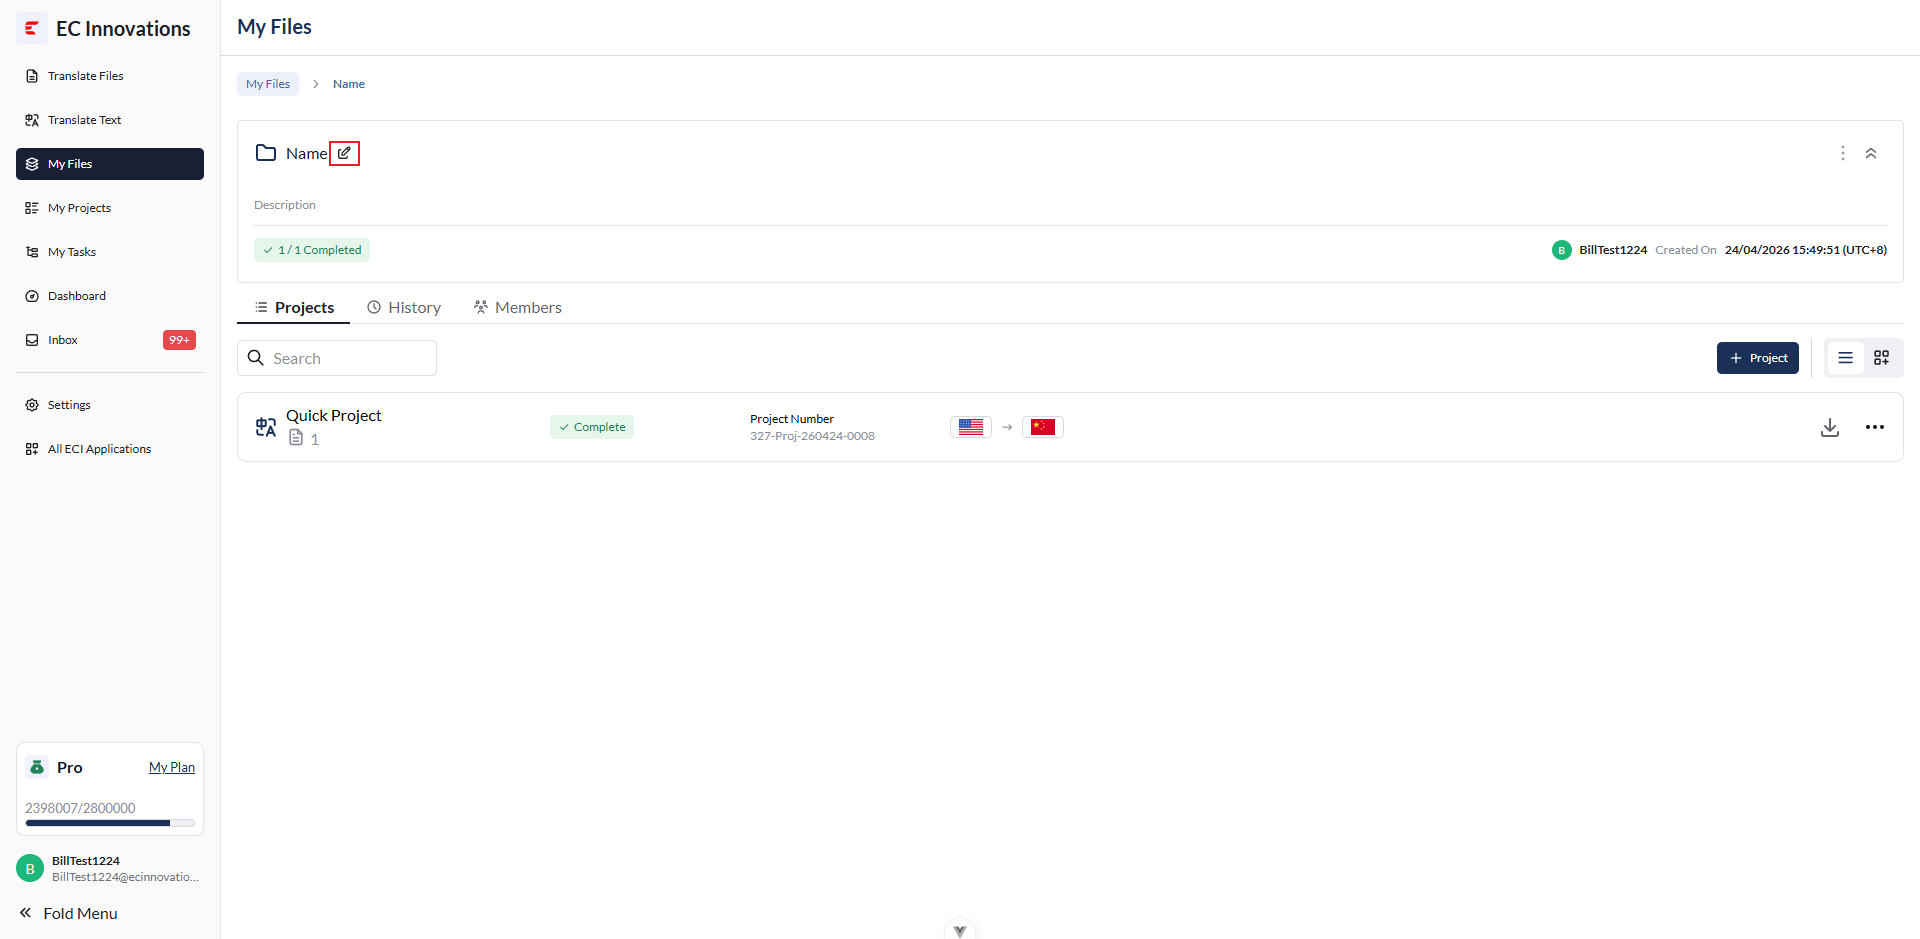
Enter a new folder name or description, then click ‘Confirm’ to update the folder information.
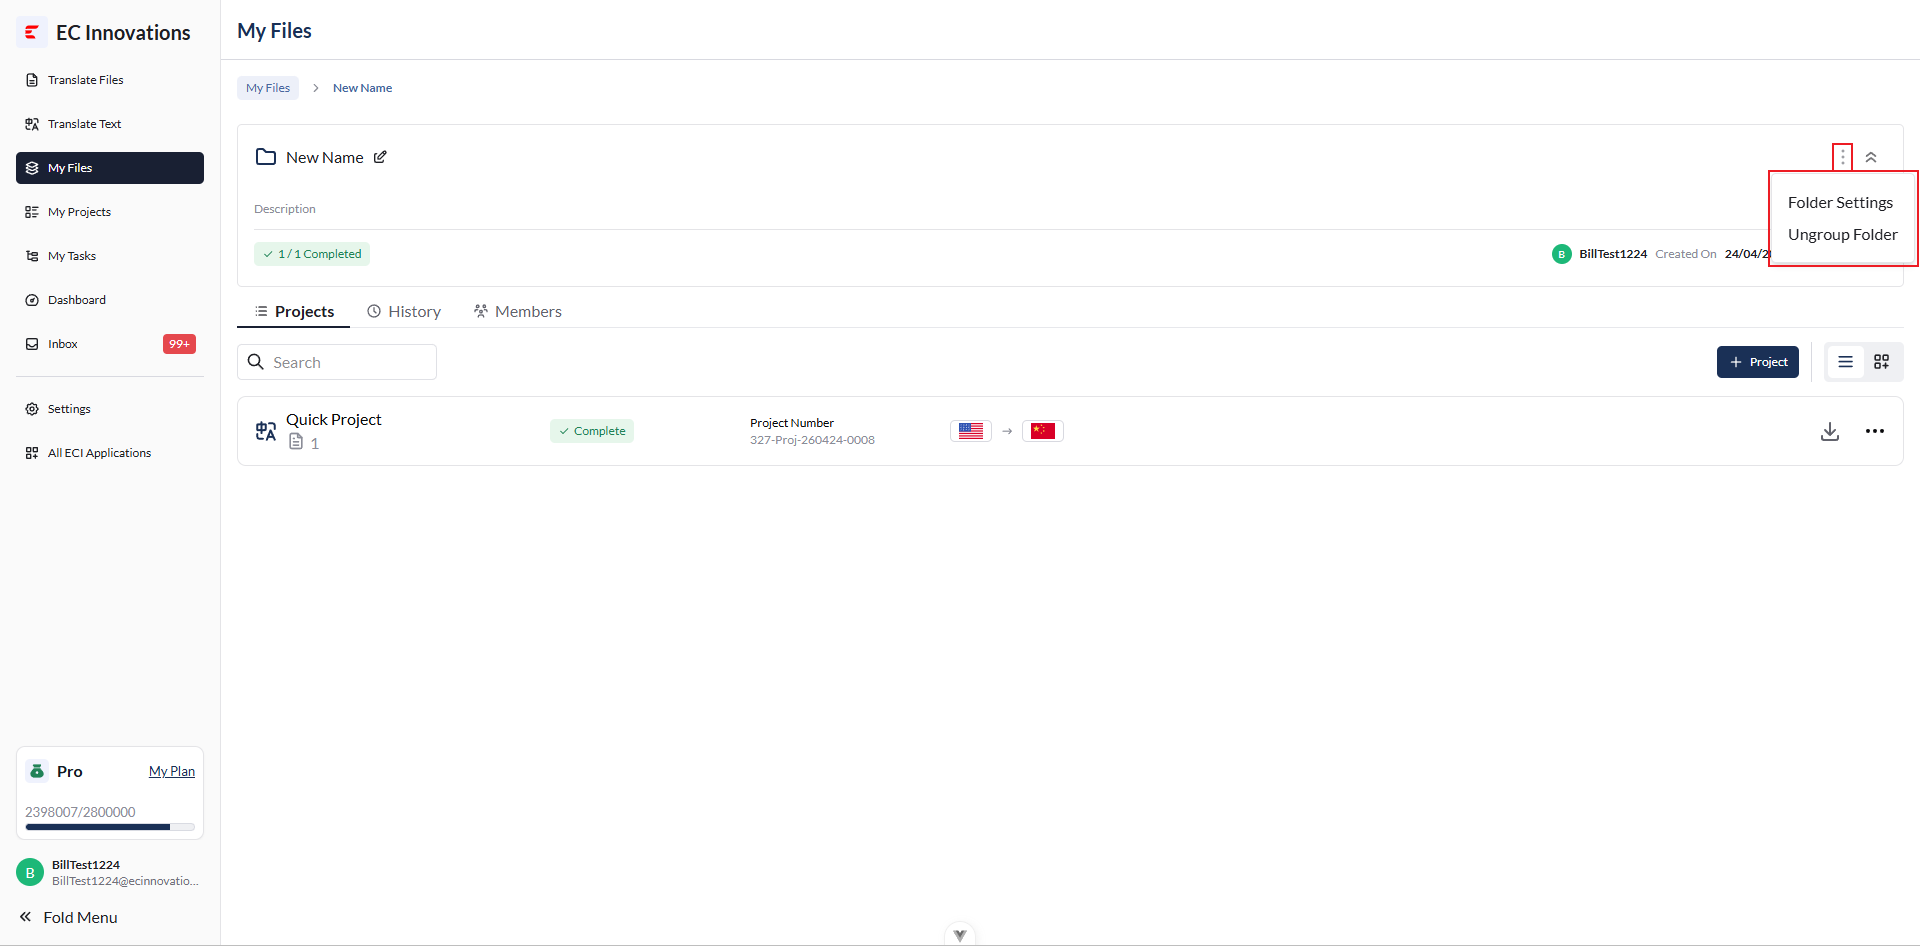
More Folder Settings
Click the first button in the upper-right corner of the folder header to open a drop-down menu with two options: ‘Folder Settings’ and ‘Ungroup Folder’.
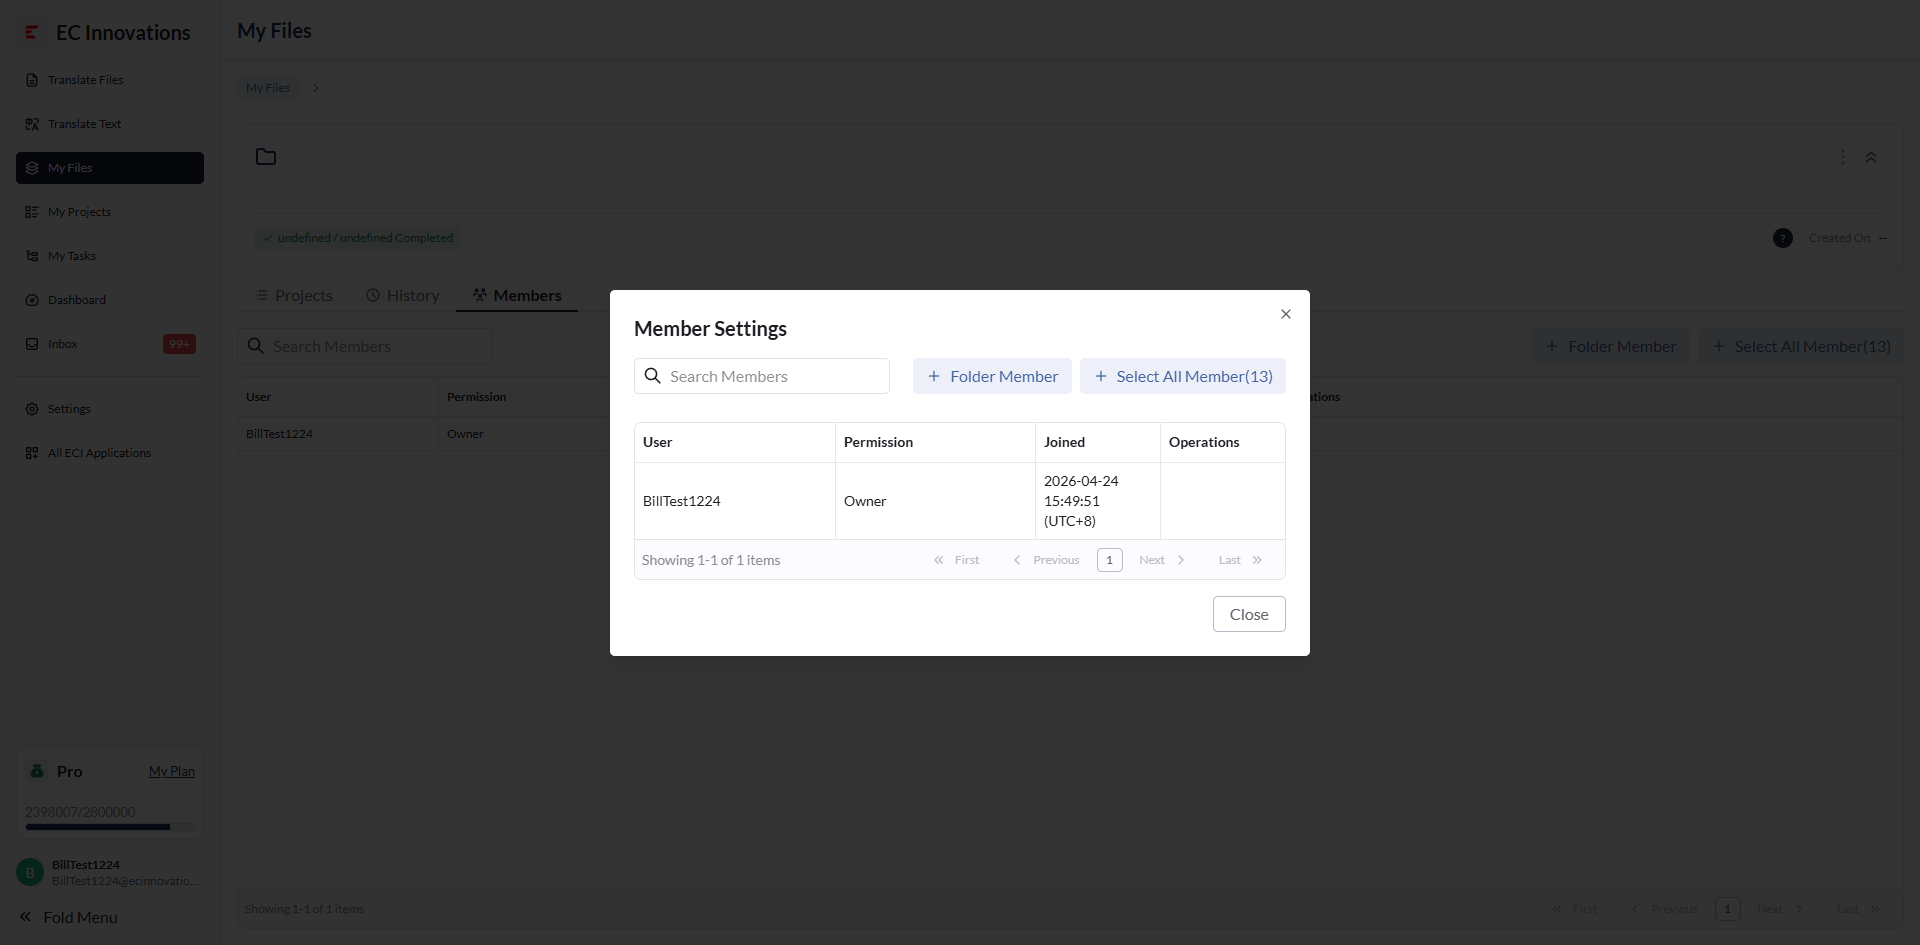
‘Folder Settings’: Same as Folder Tabs > Members. Used to manage members under the folder.
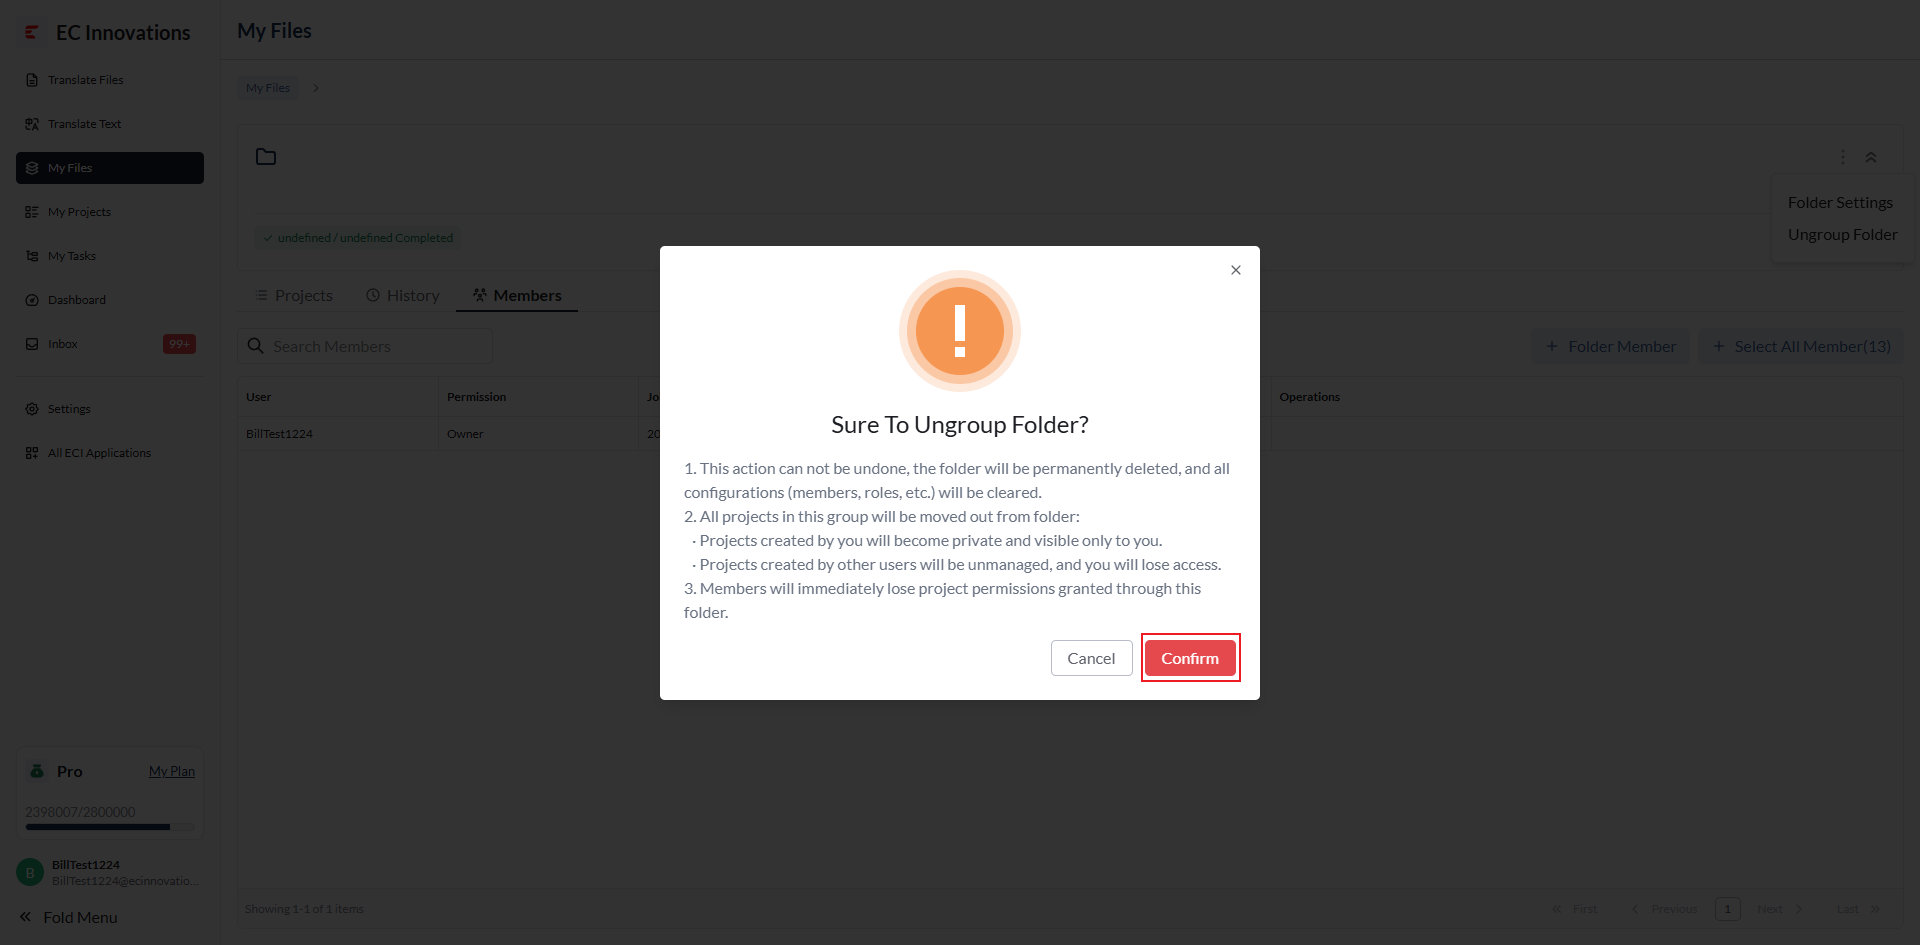
‘Ungroup Folder’: Click ‘Confirm’ to ungroup the folder. Projects will be released from the folder back to the My Files list.
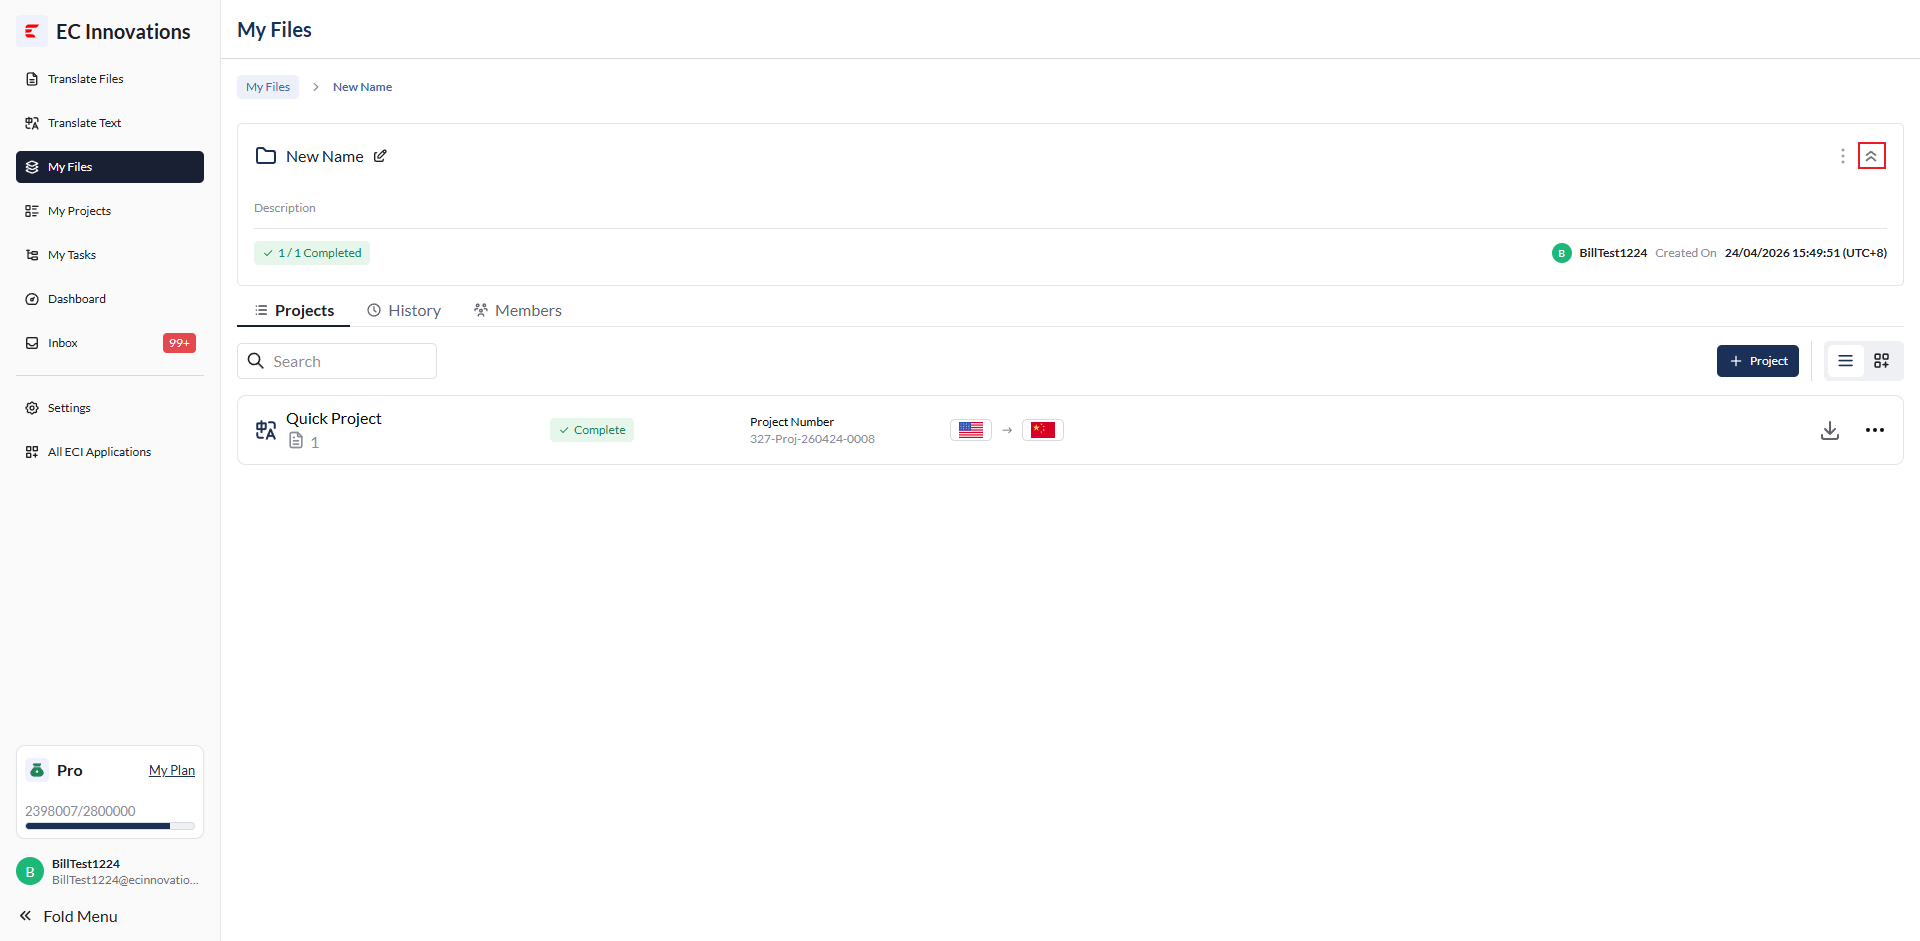
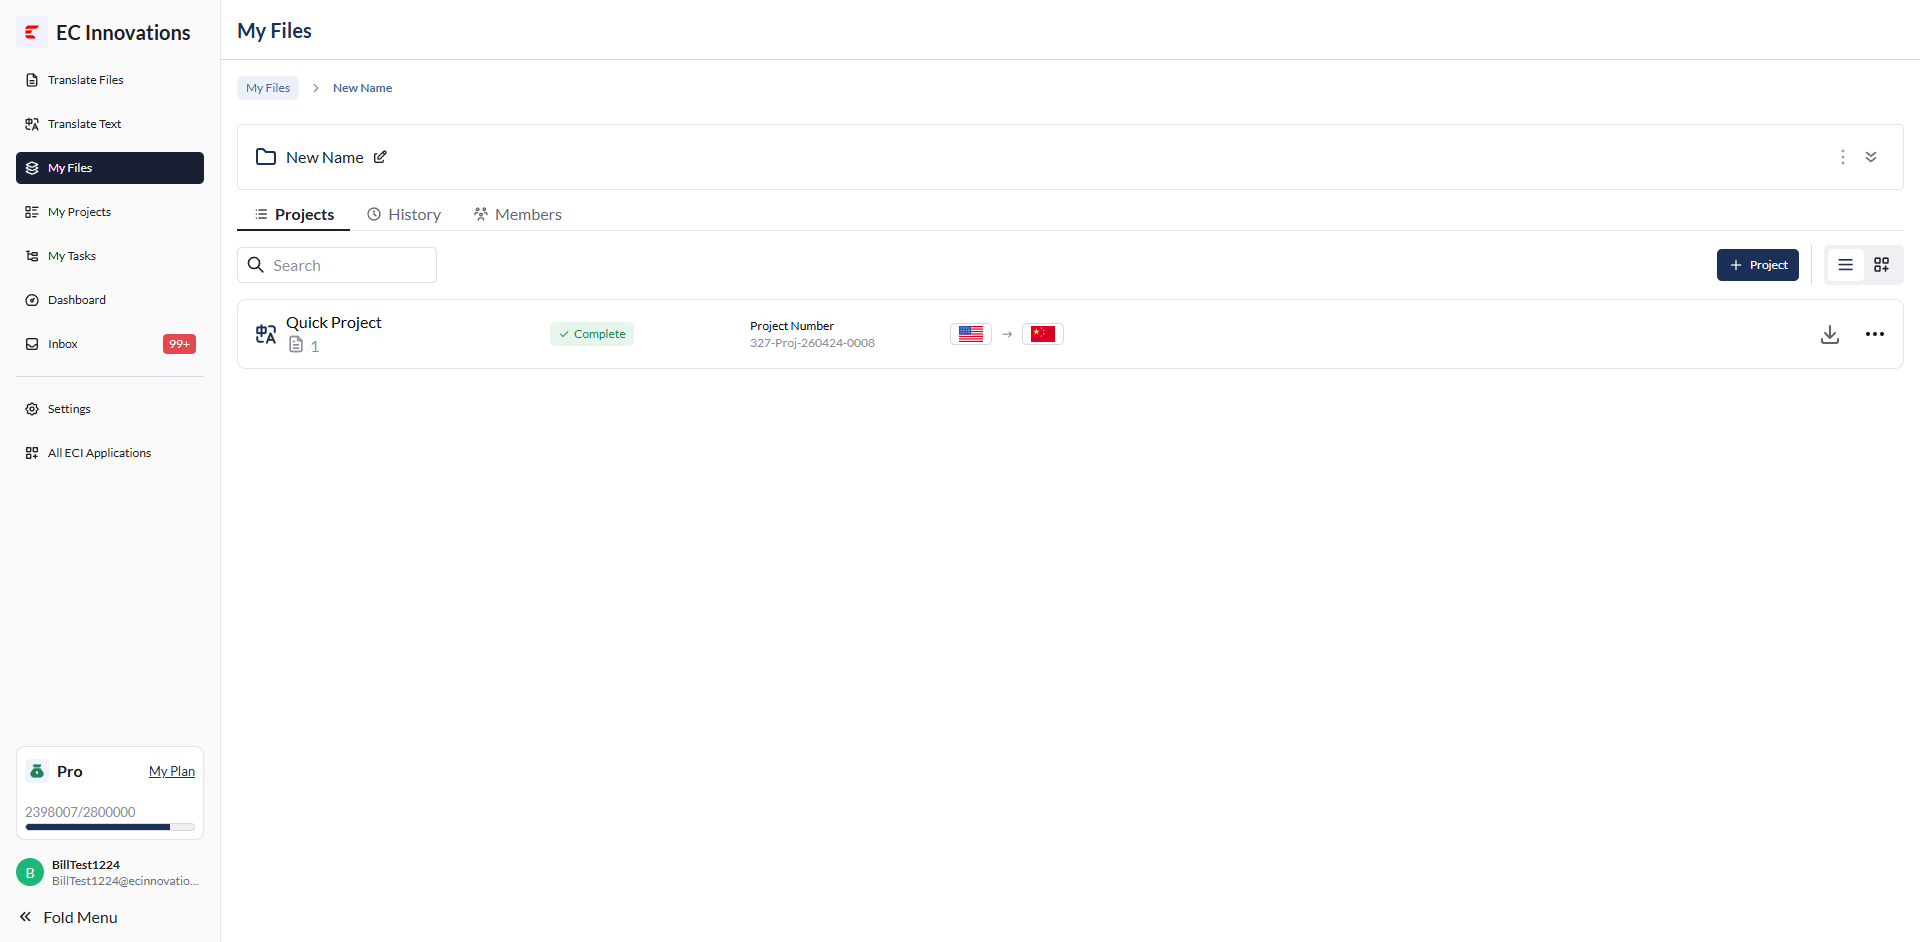
Collapse Folder Information
Click the second button in the upper-right corner of the folder header to collapse the folder information.
Before collapsing:
After collapsing:
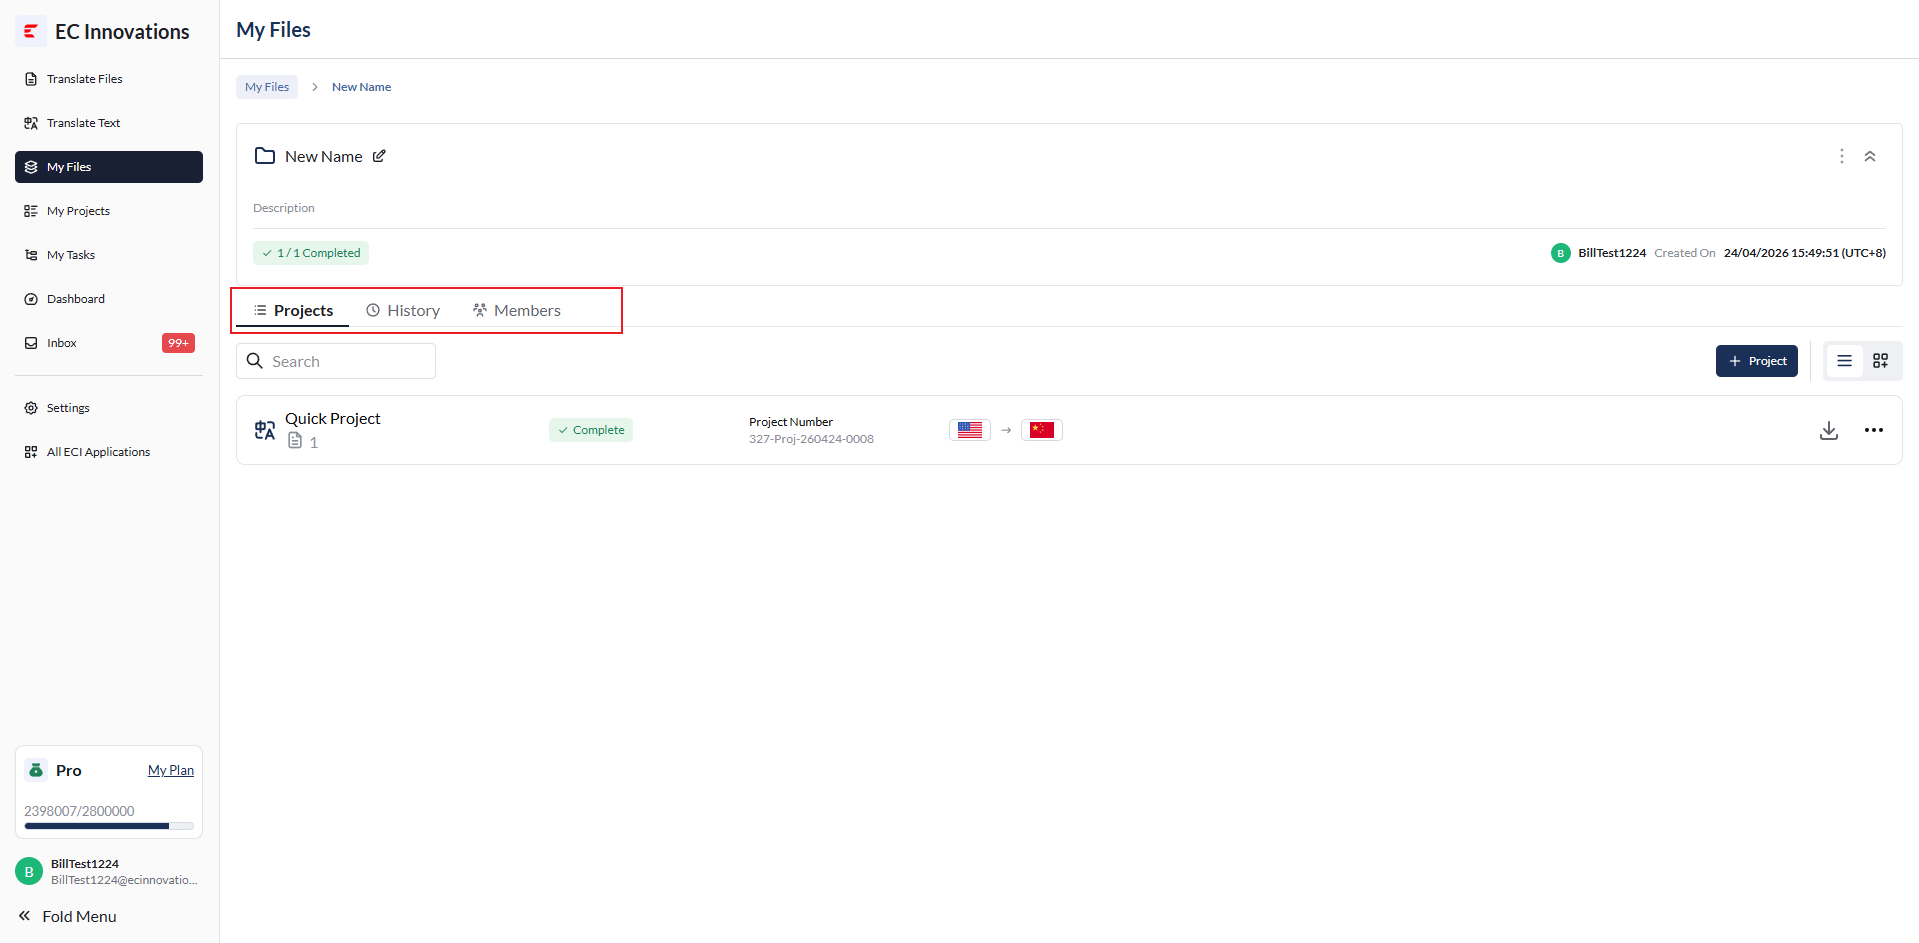
Folder Tabs
Below the folder information, there are three tabs: ‘Projects’, ‘History’, and ‘Members’.
Projects
View the list of projects under the folder.
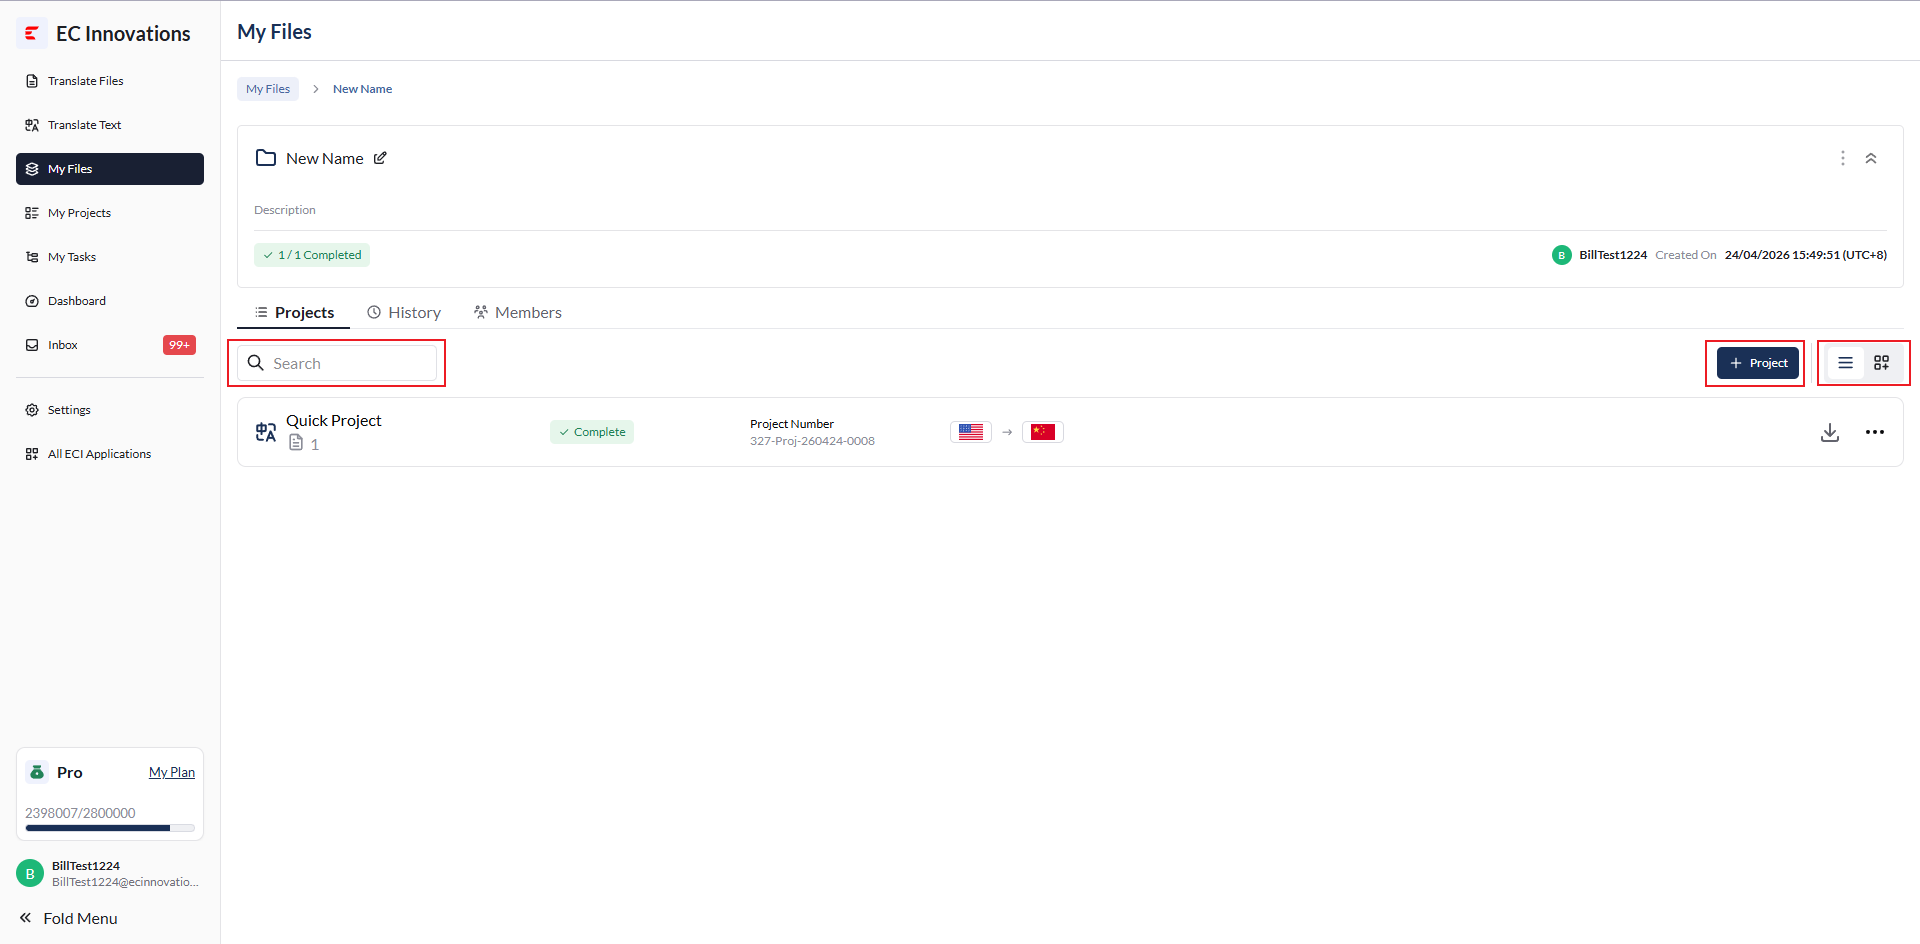
Top Action Buttons
The following actions are available:
‘Search’: Filter by project name or project number.
‘+Project’: Create a new project in this folder by default.
‘View’: Switch the view mode.
Project Action Buttons
Export a project.
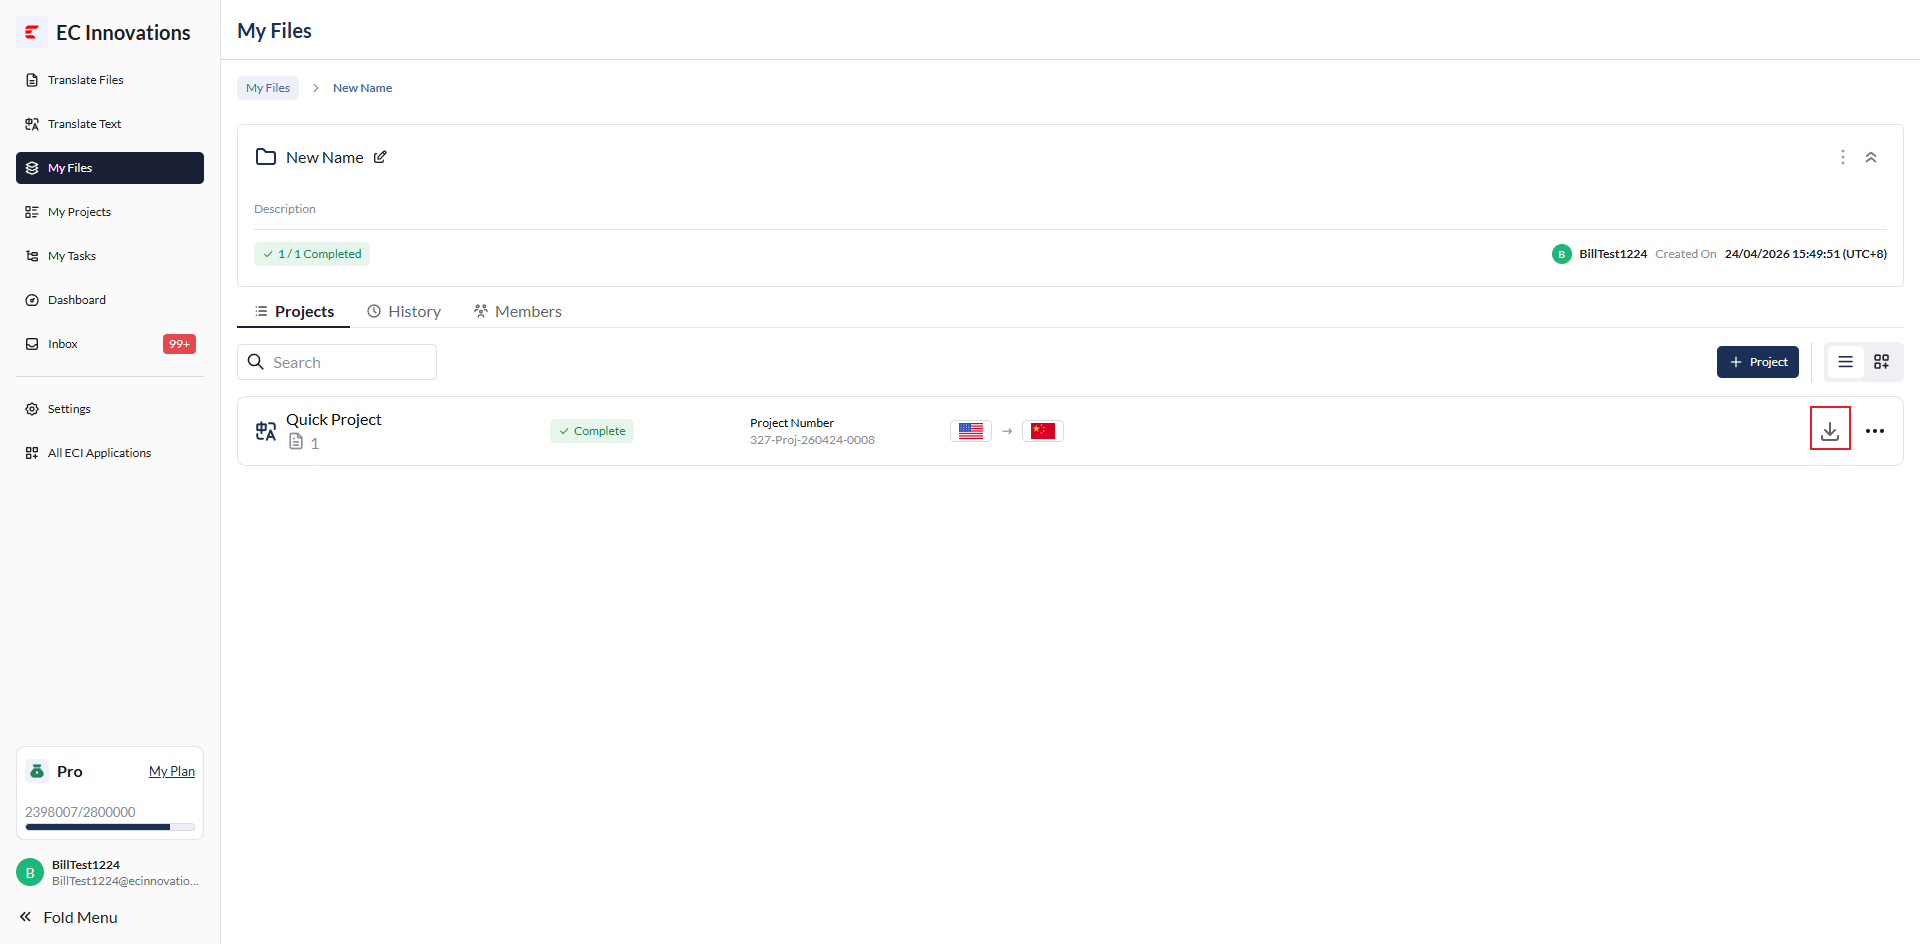
Click ‘Export’.
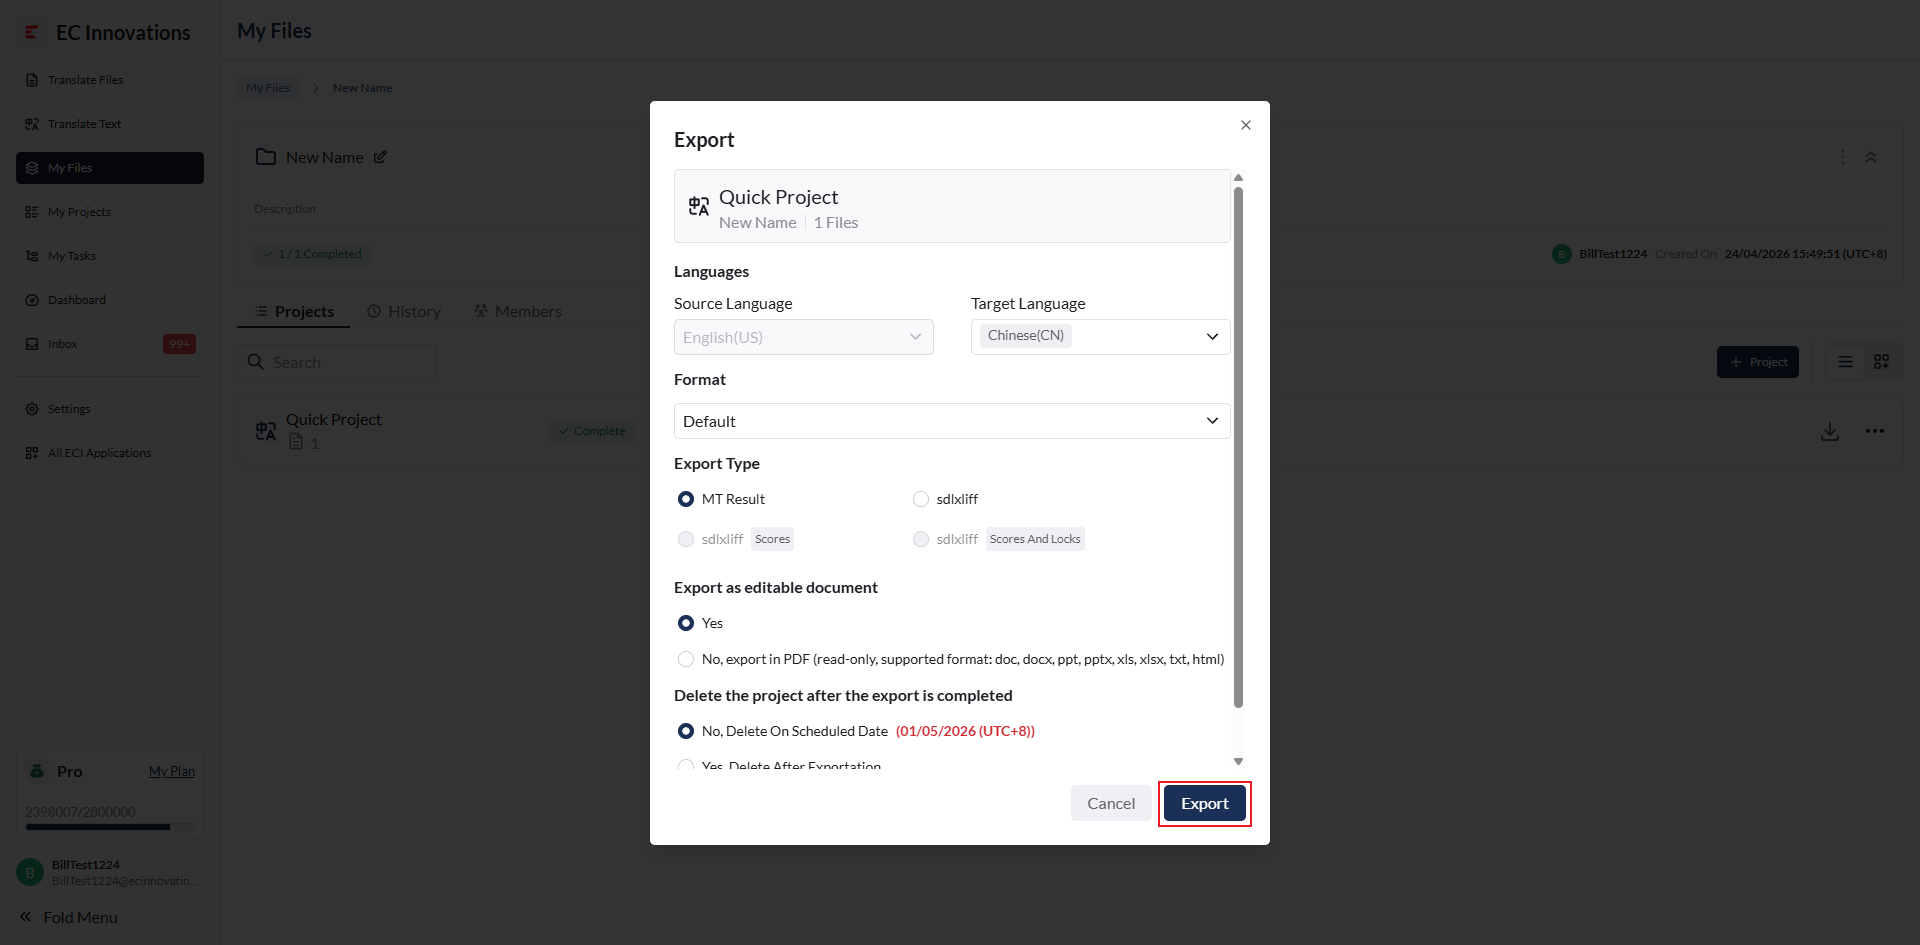
Select the export format: ‘Default’ or ‘Custom’.
‘Default’: Export using the default configuration.
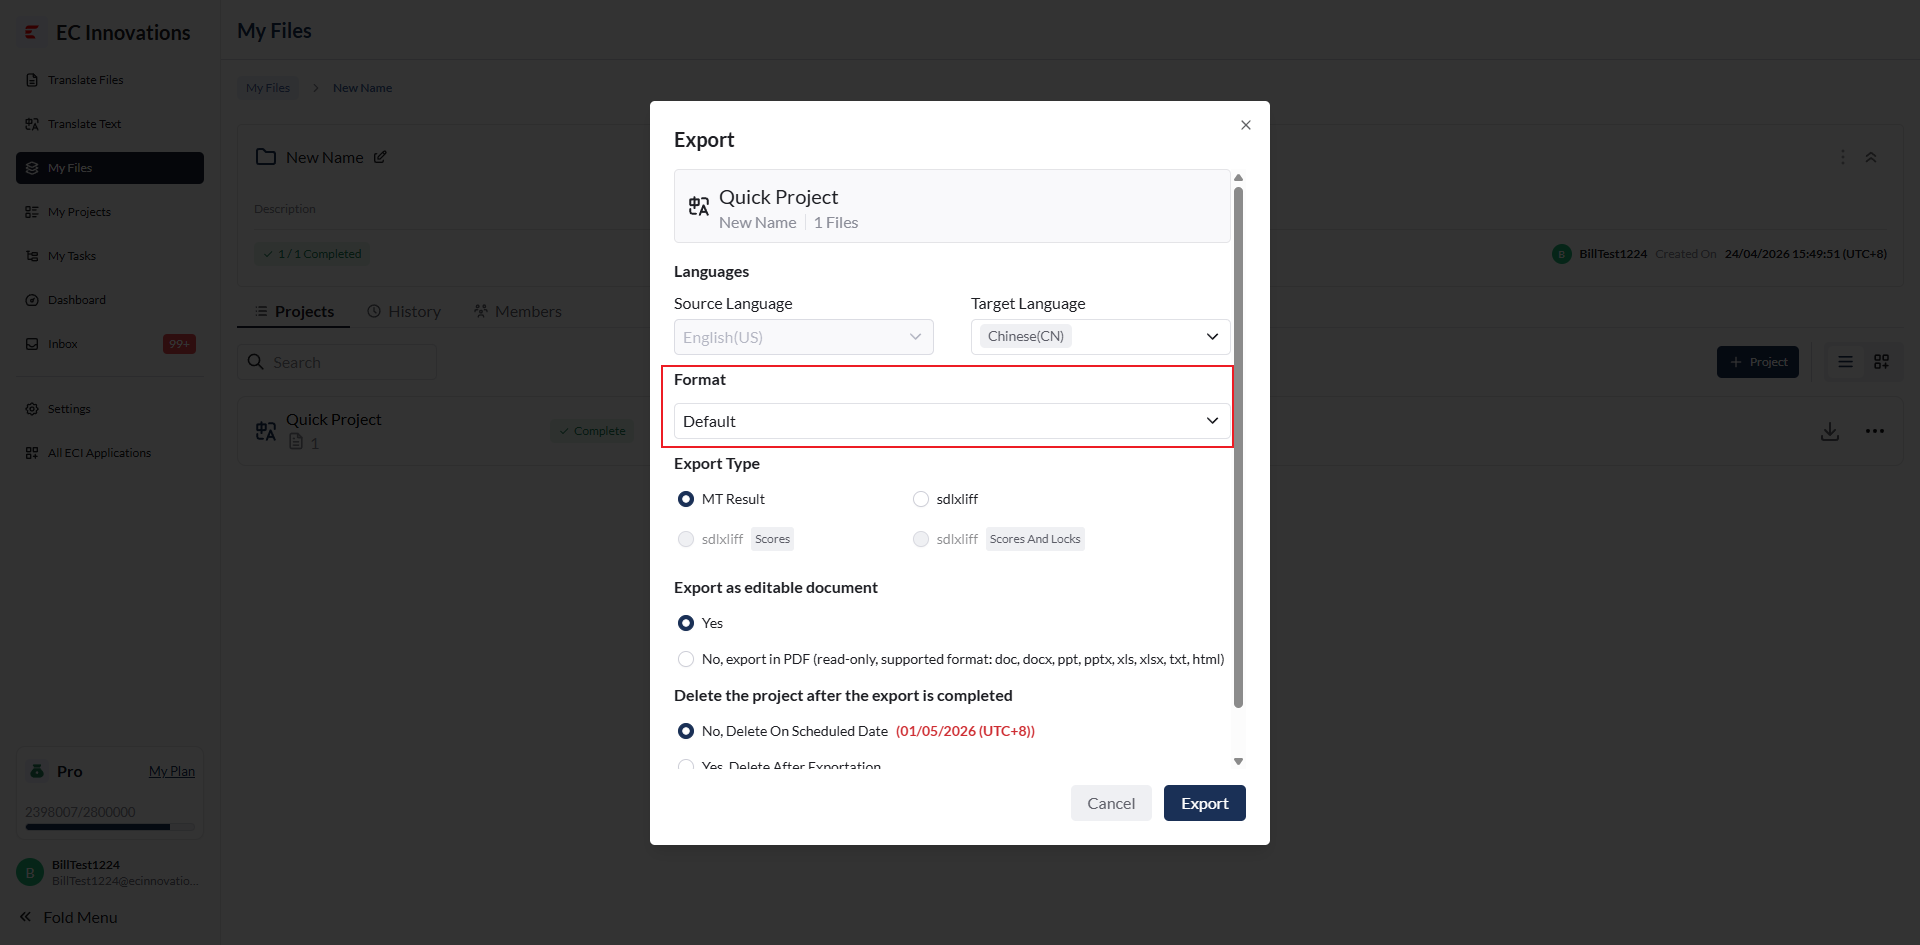
‘Custom’: Export using custom settings. You can modify the following settings: ‘Indents and Line Spacing’ and ‘Fonts for export files’.
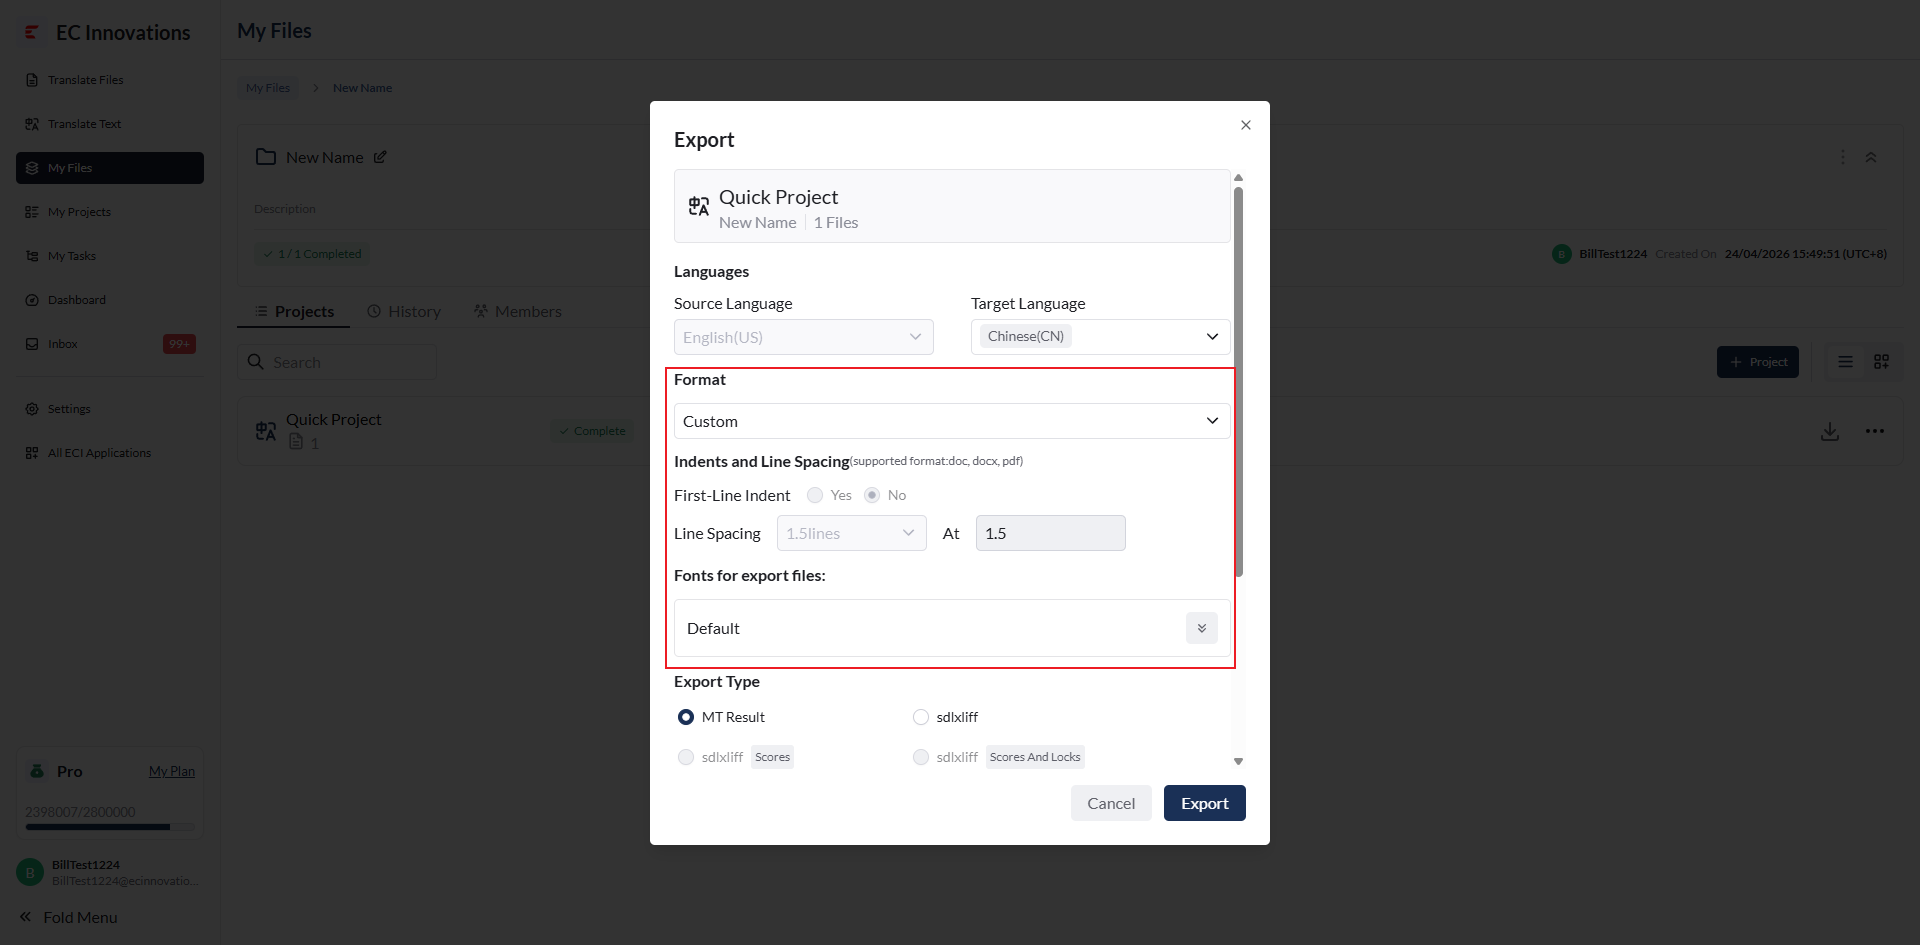
Select the export type.
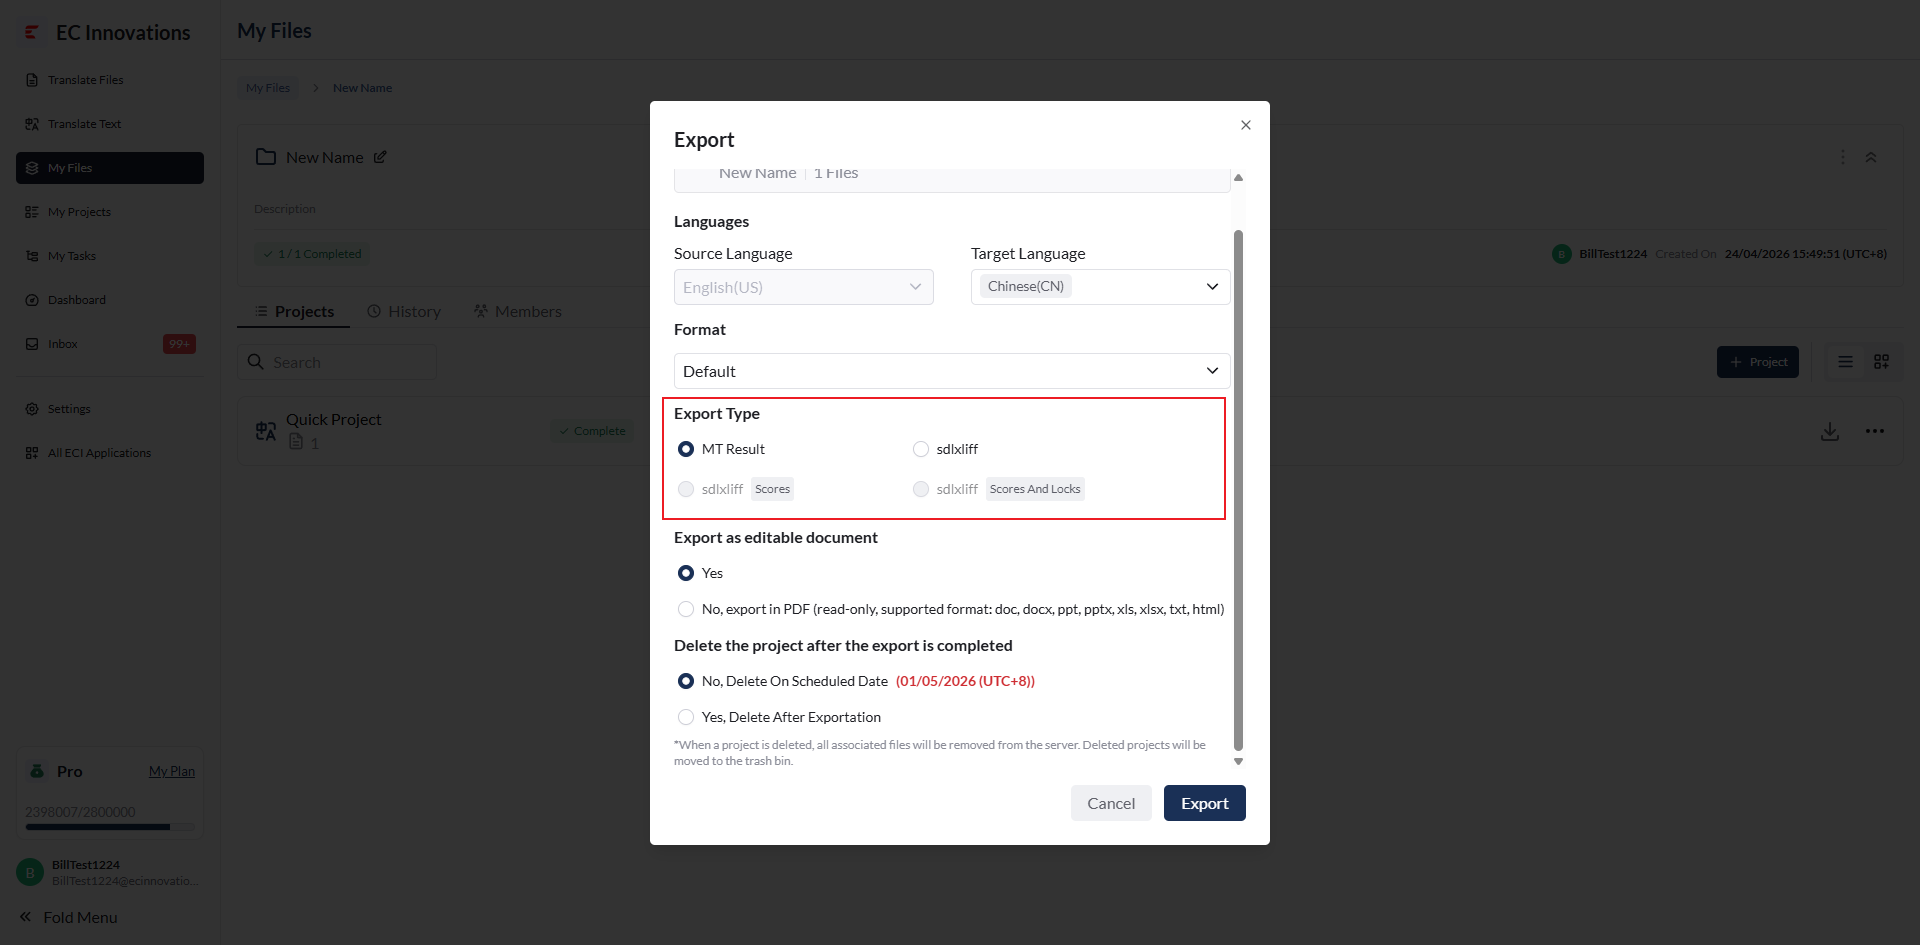
Choose whether the exported project should be editable.
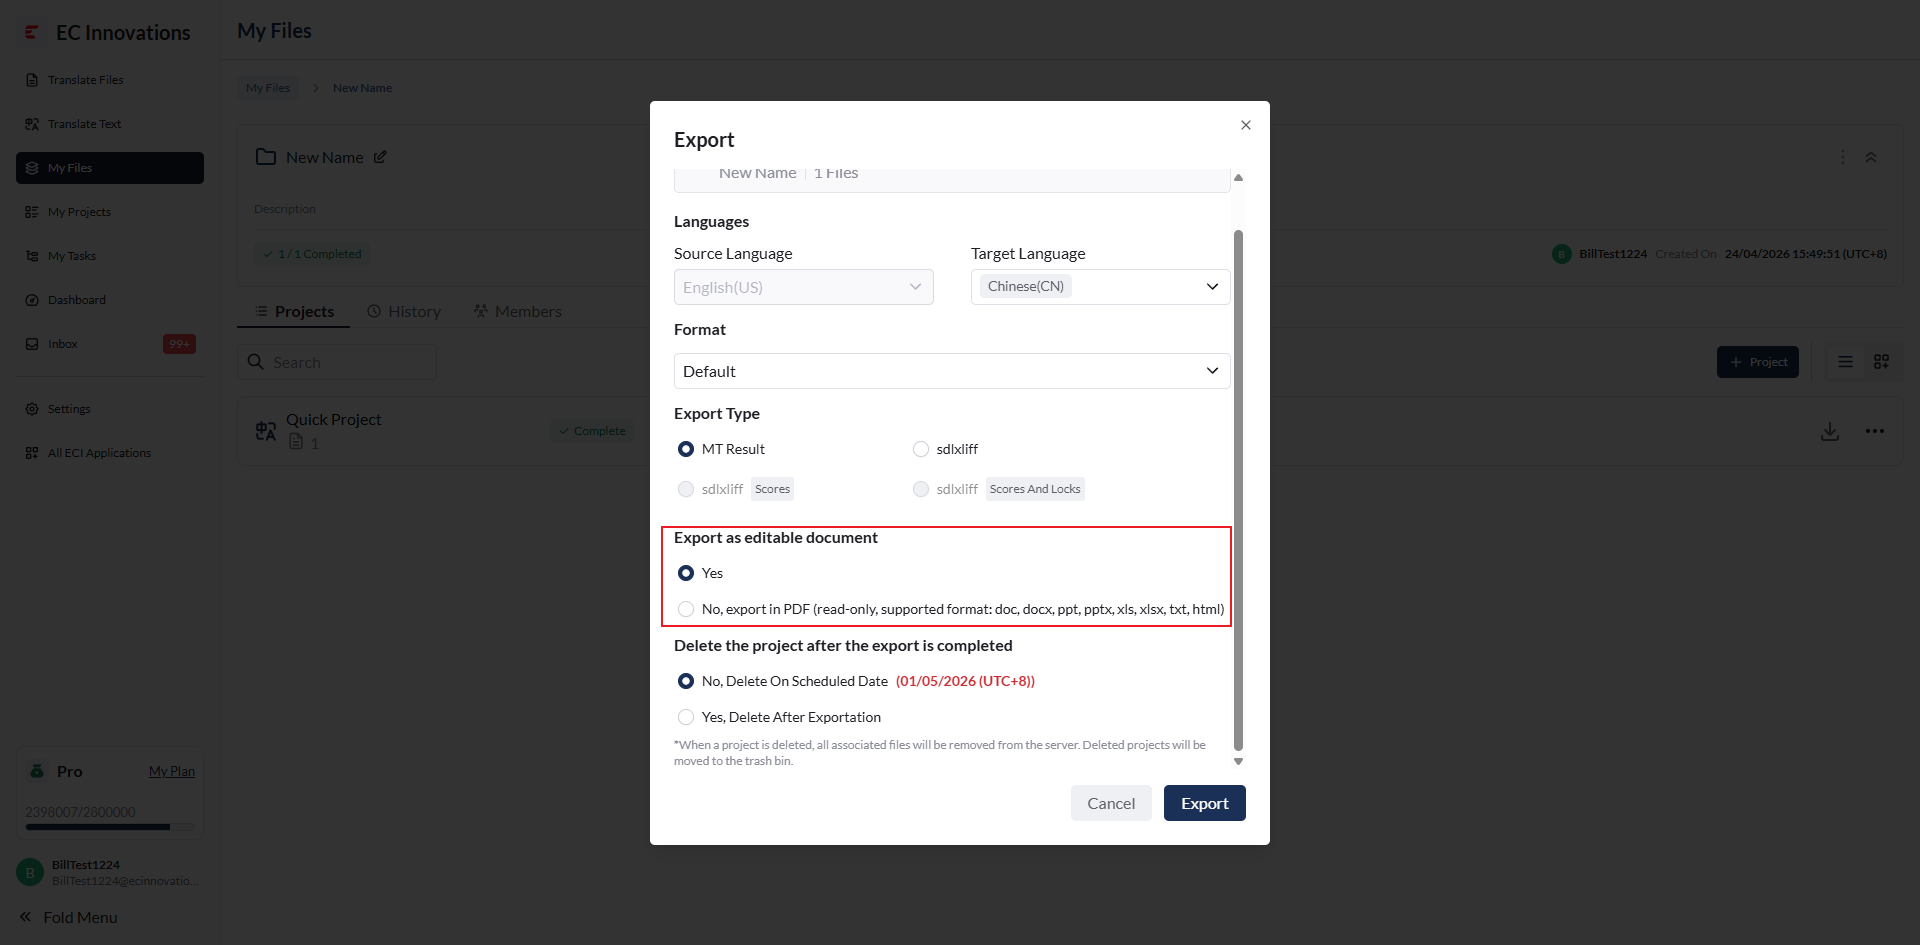
Choose whether to delete the project after export.
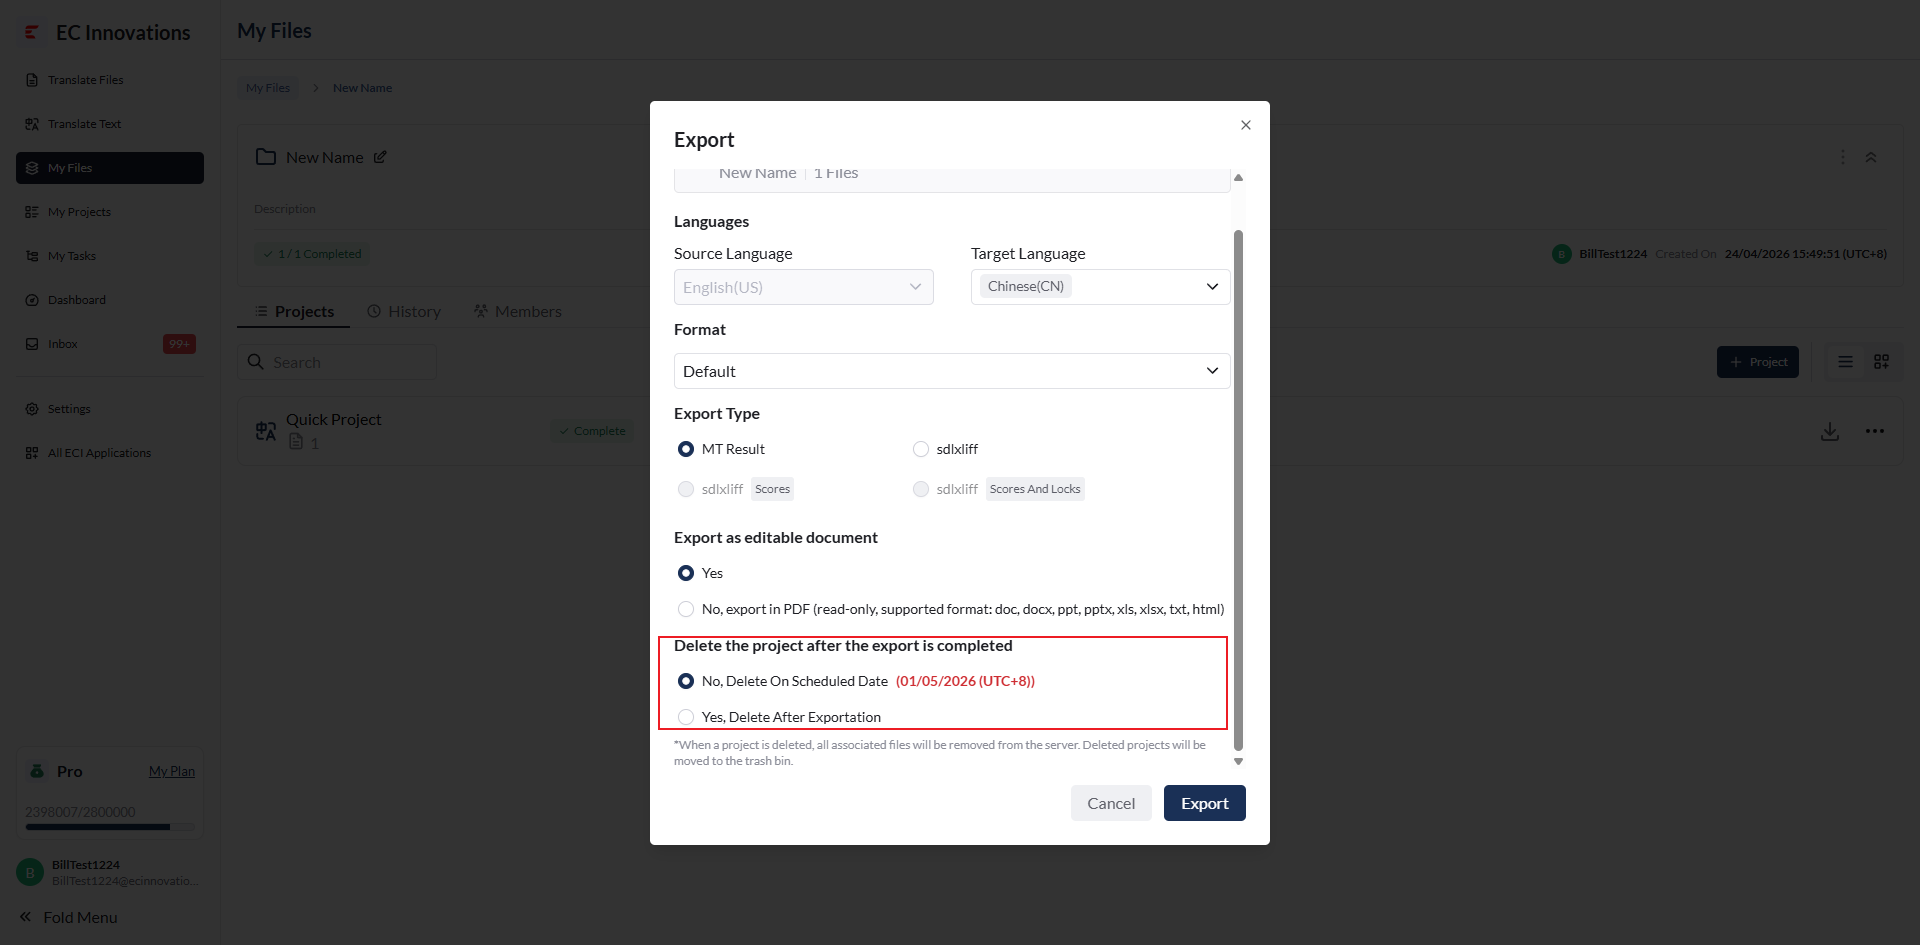
After configuration, click ‘Export’ to export the project.
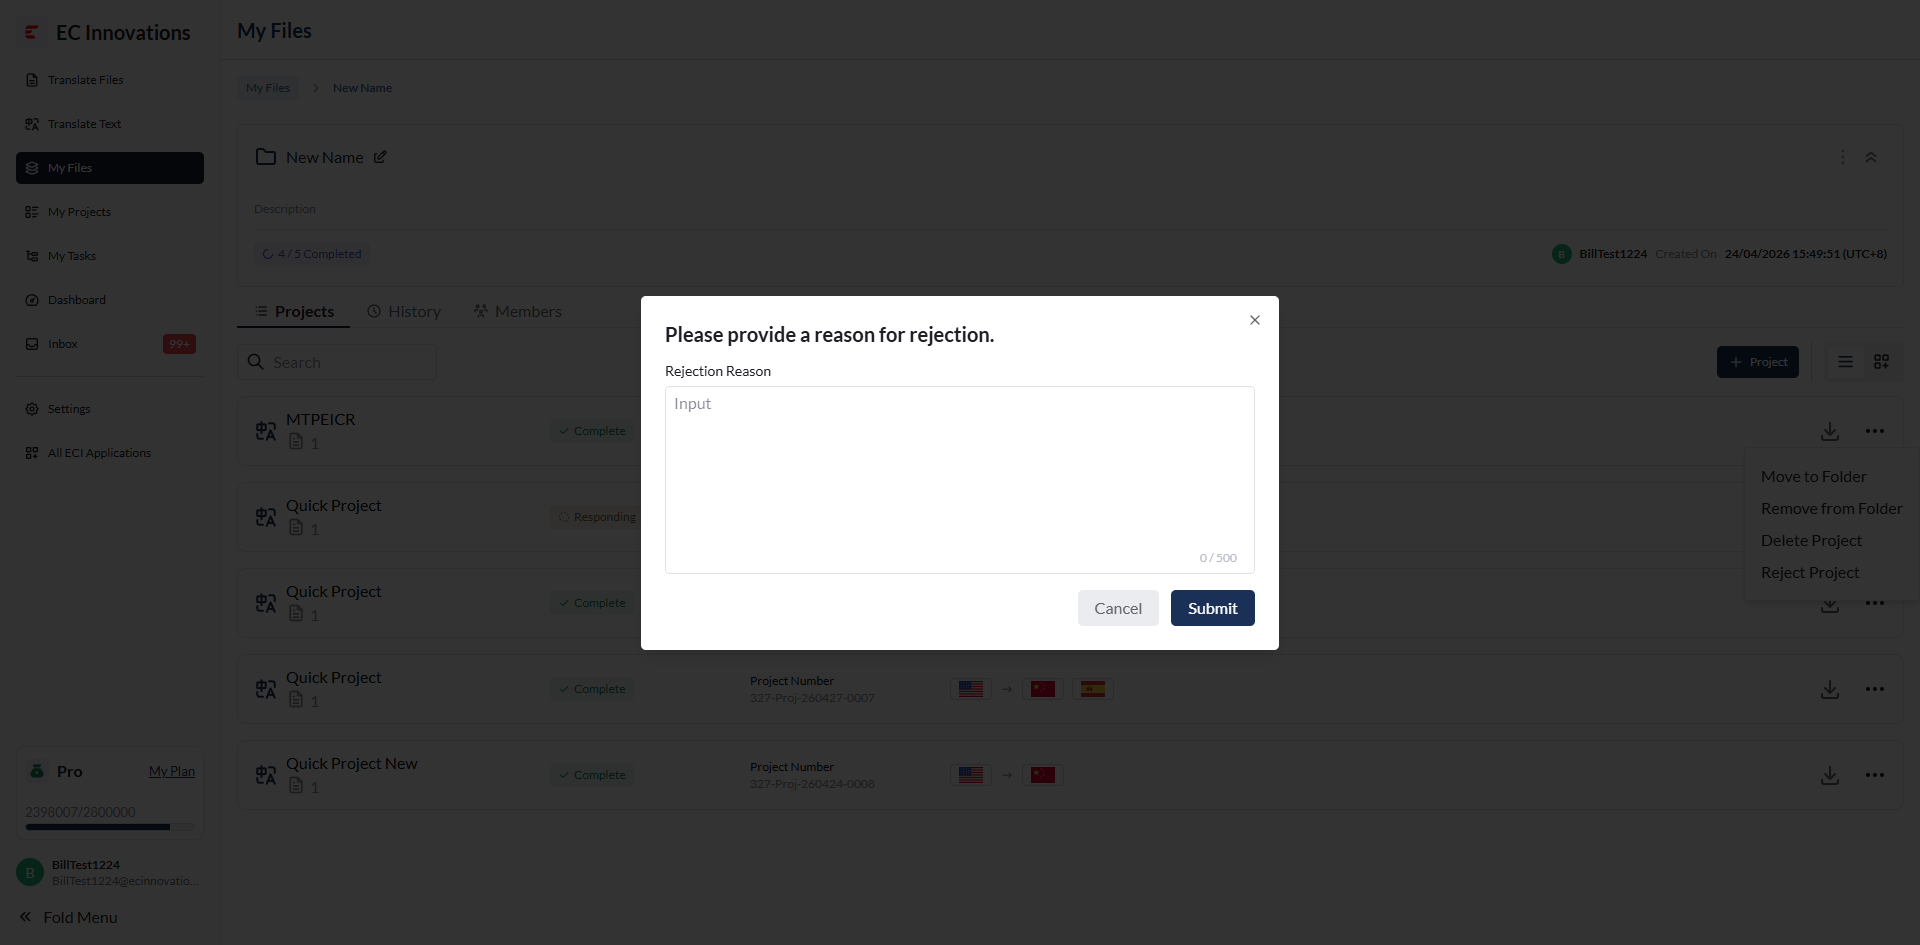
More actions.
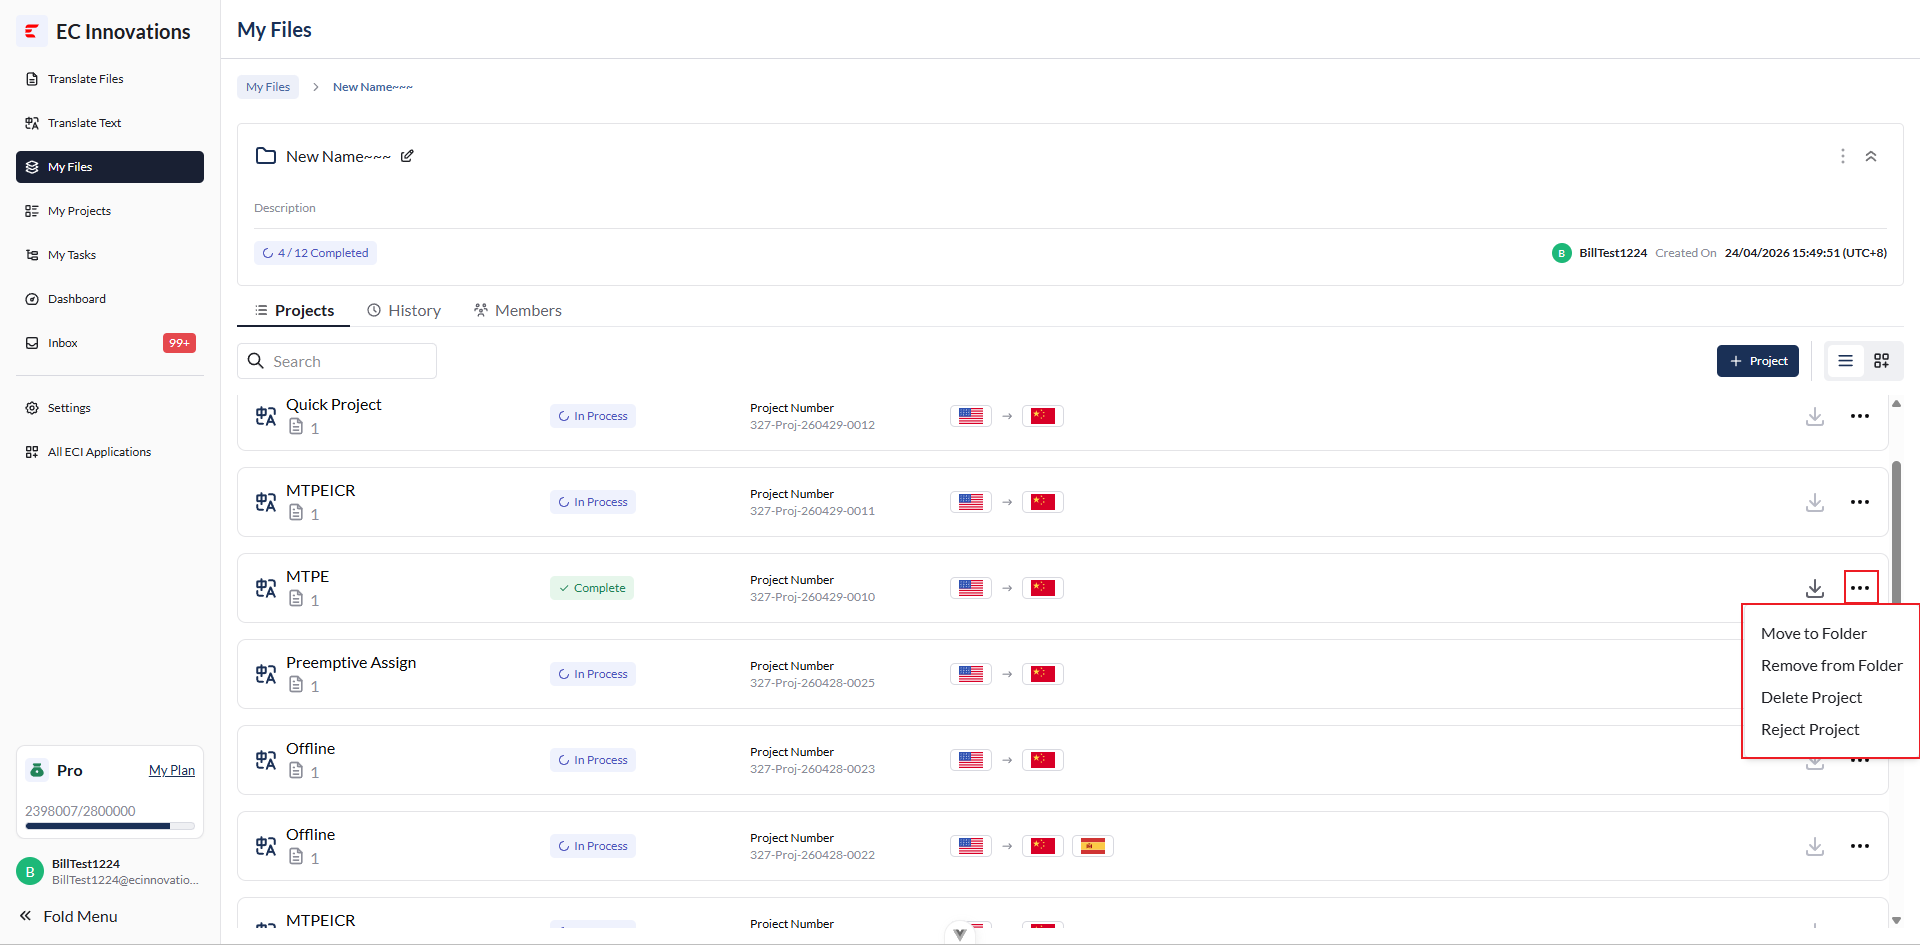
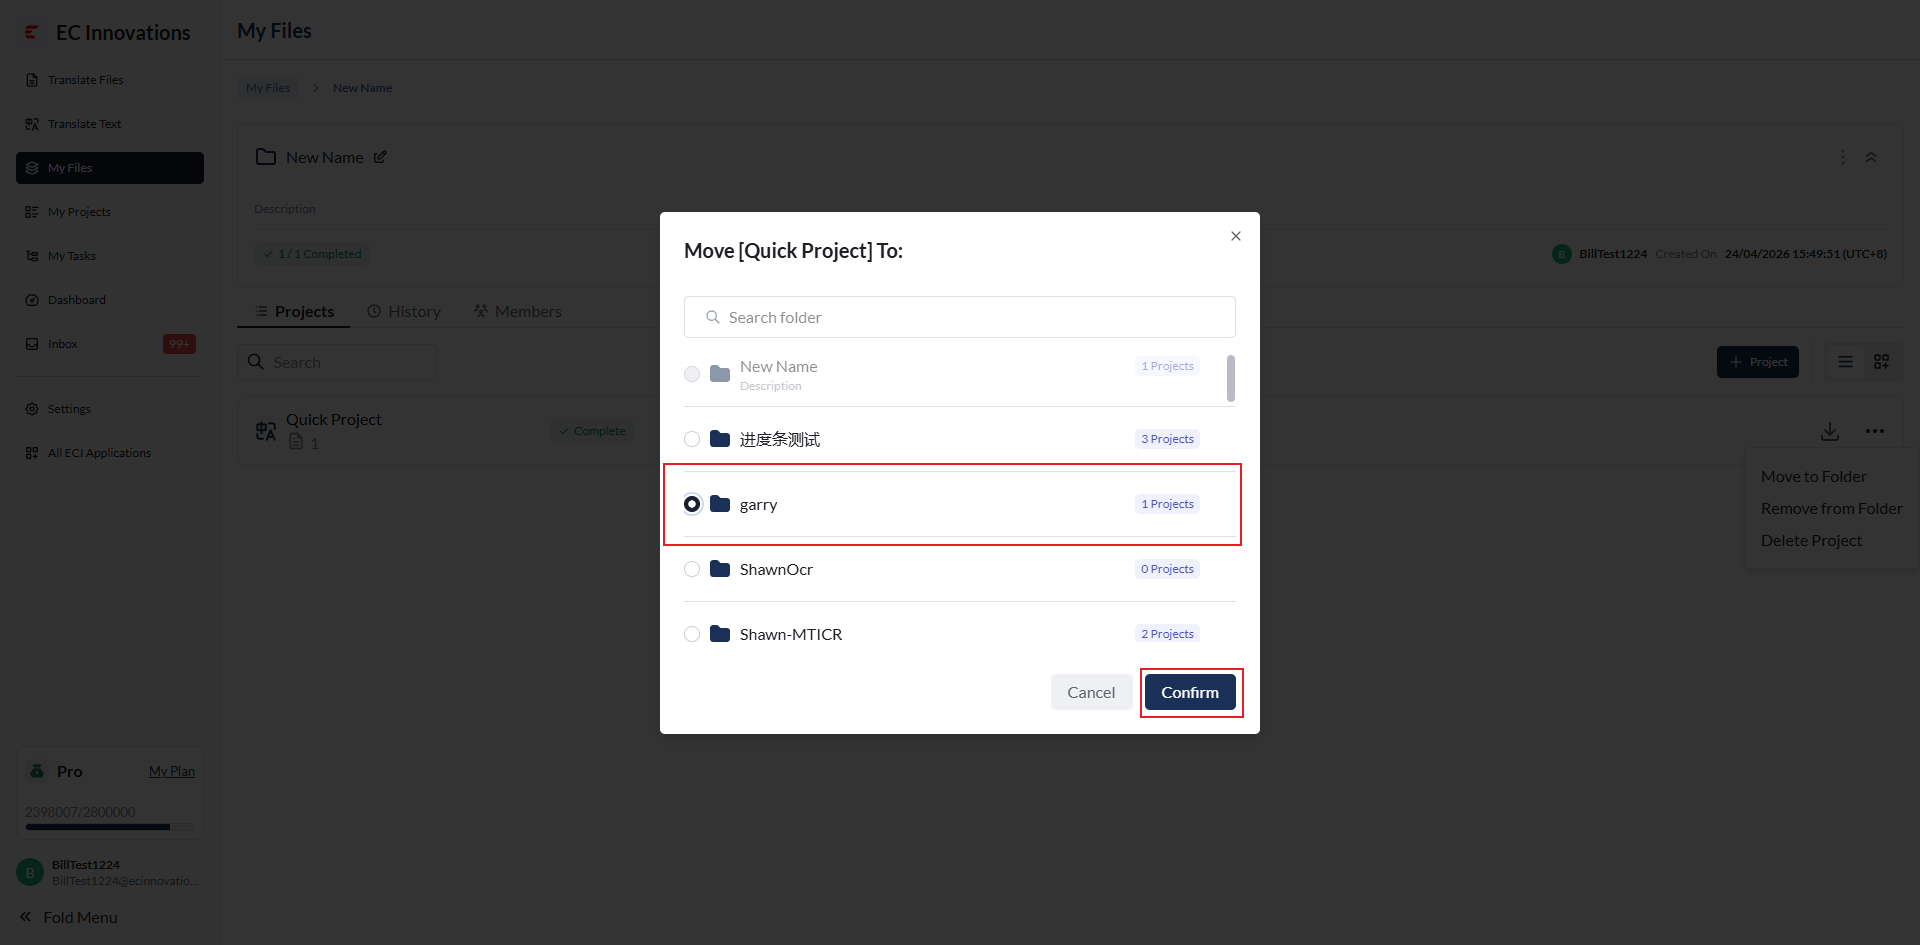
‘Move to Folder’: Select a folder, then click ‘Confirm’ to move the project to another folder.
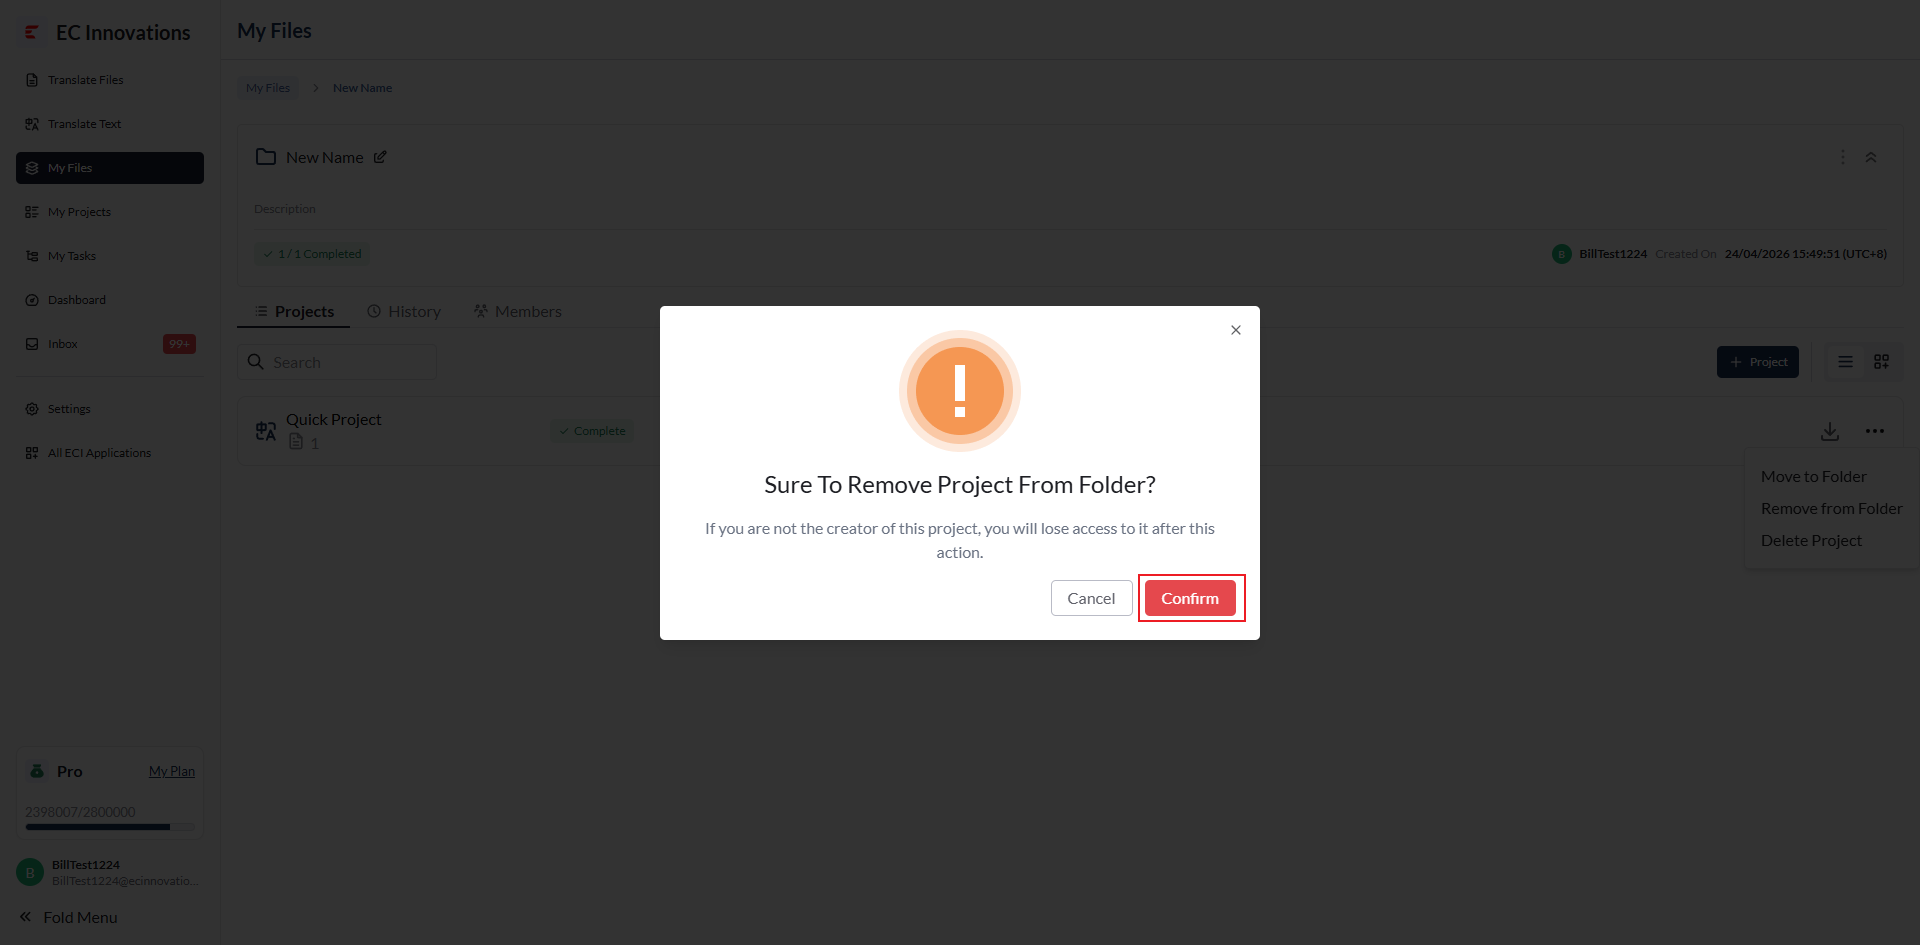
‘Remove from Folder’: Click ‘Confirm’ to remove the project from the folder.
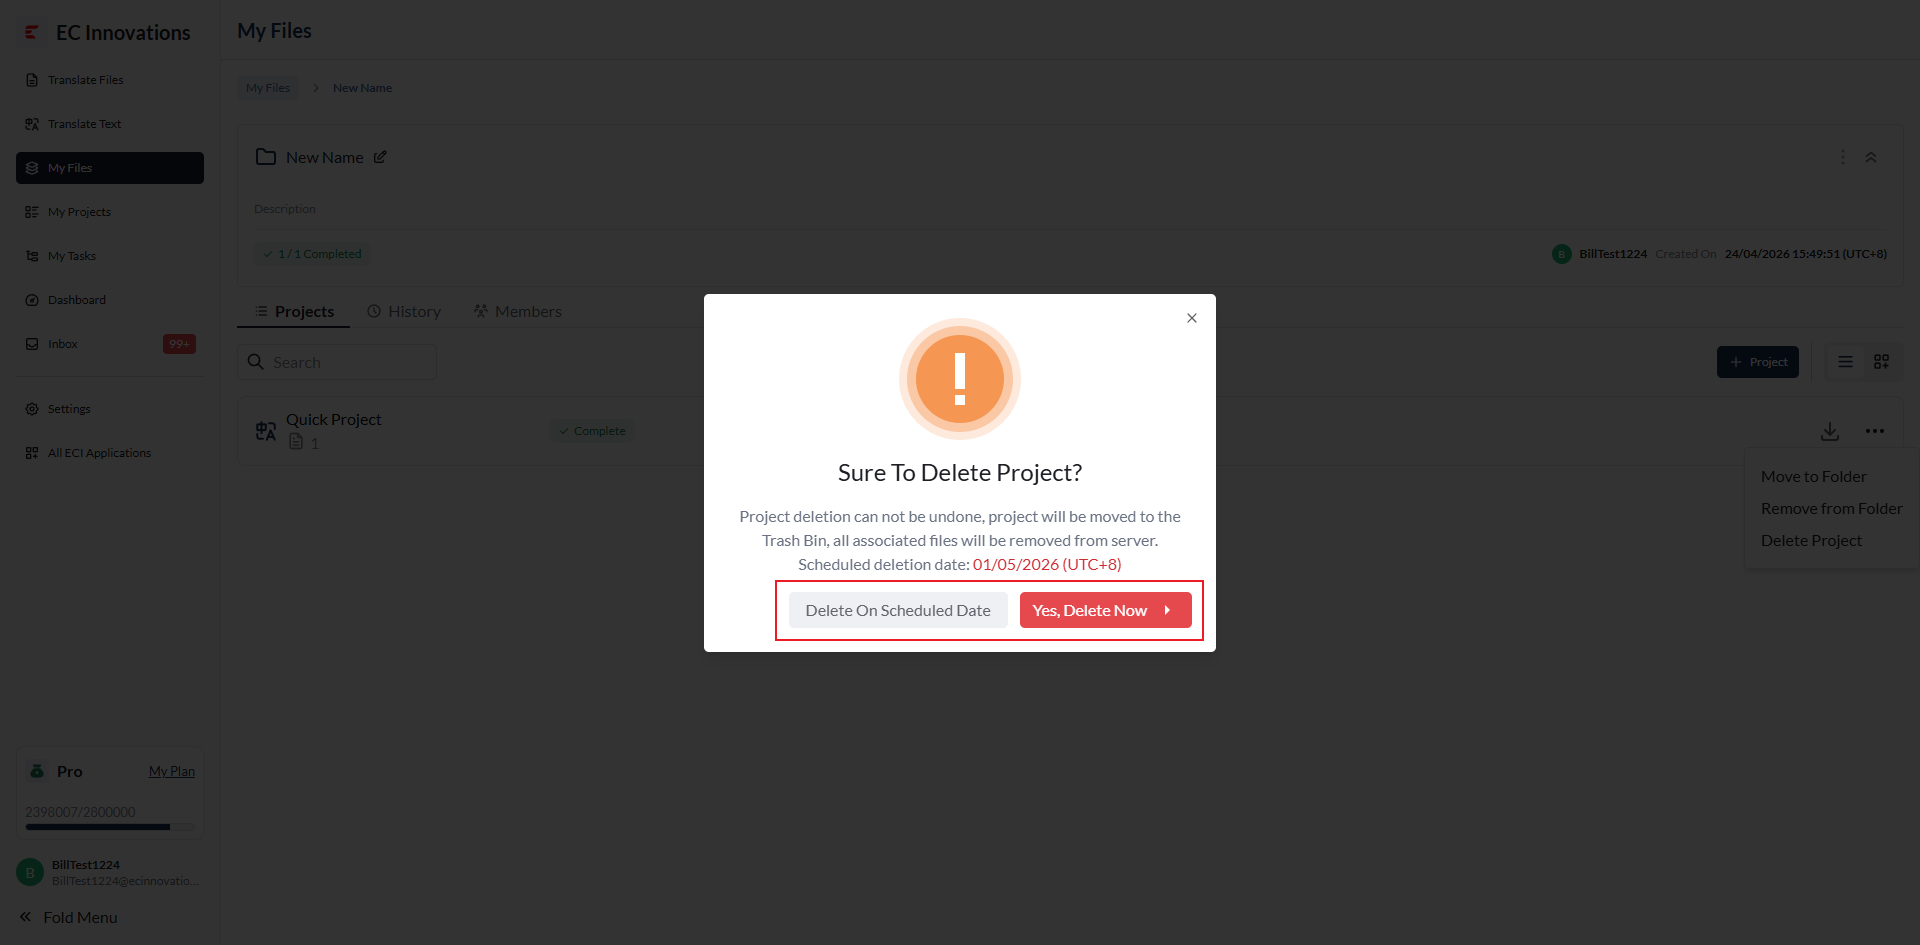
‘Delete Project’: Click ‘Yes, Delete Now’ to delete the project immediately. Click ‘Delete on Scheduled Date’ to delete the project at a scheduled time.
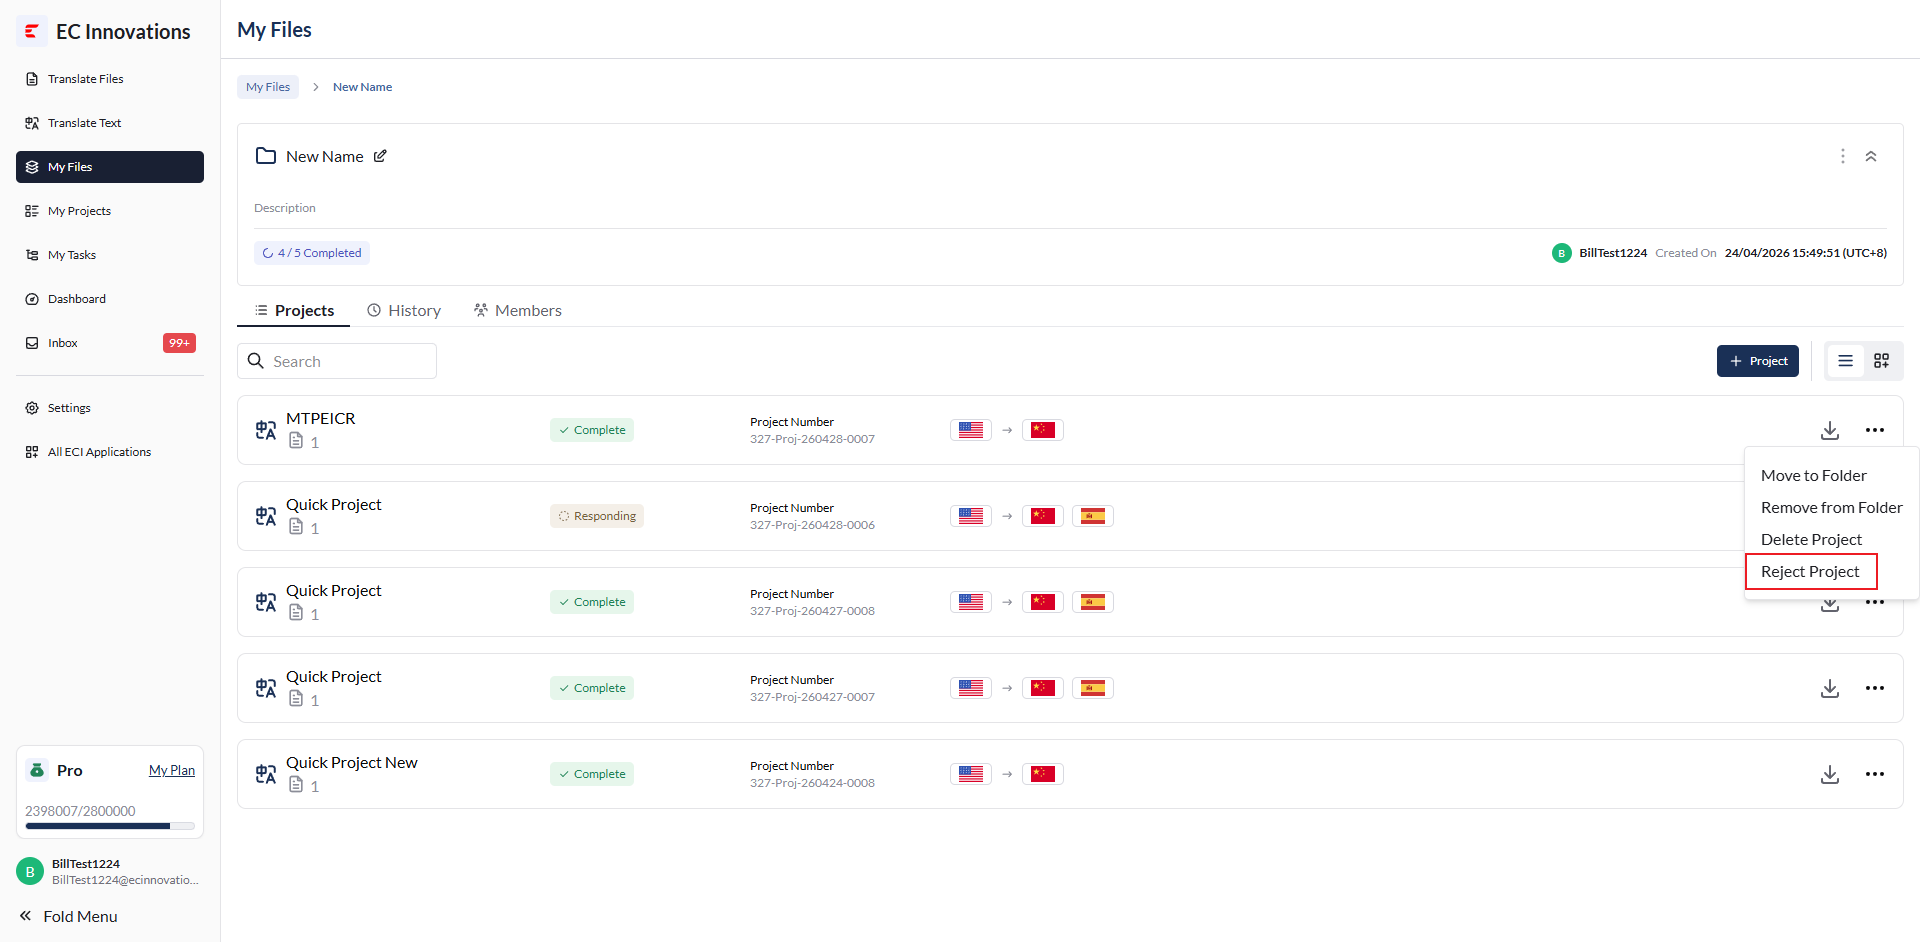
‘Reject Project’: This is only shown for completed non-machine-translation projects. Click ‘Reject Project’, enter the rejection reason in the confirmation pop-up, then click ‘Submit’ to reject the project.
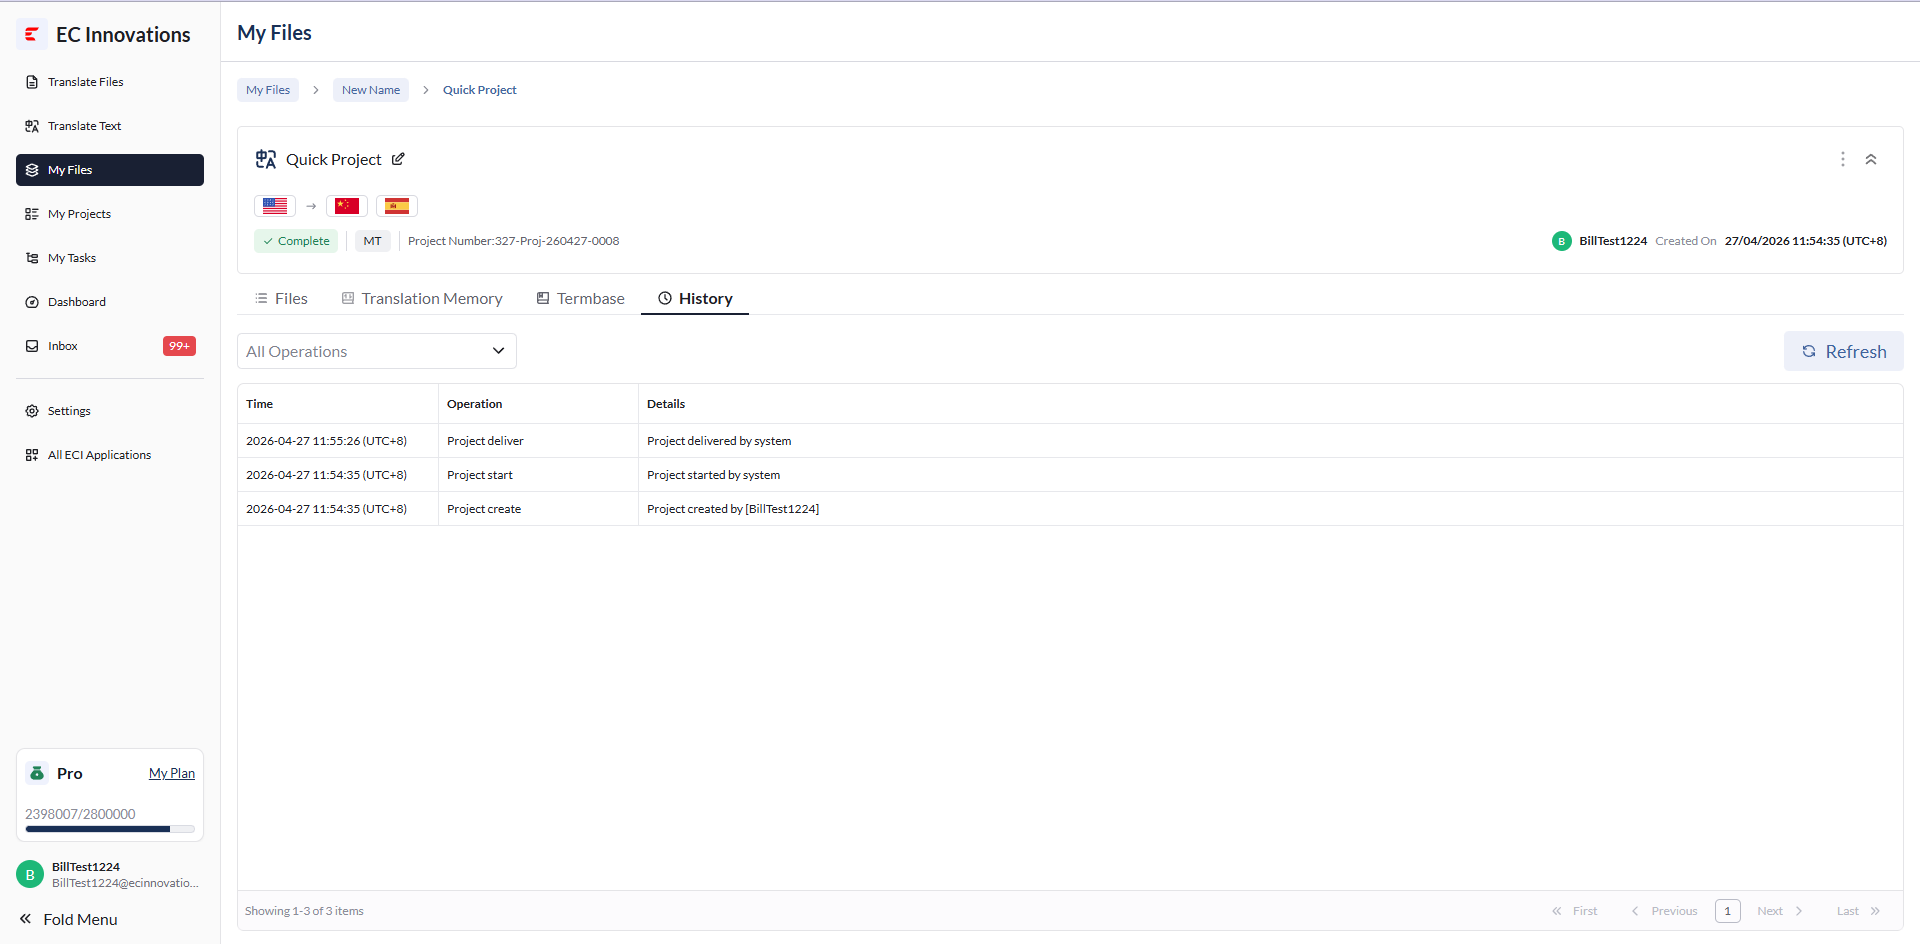
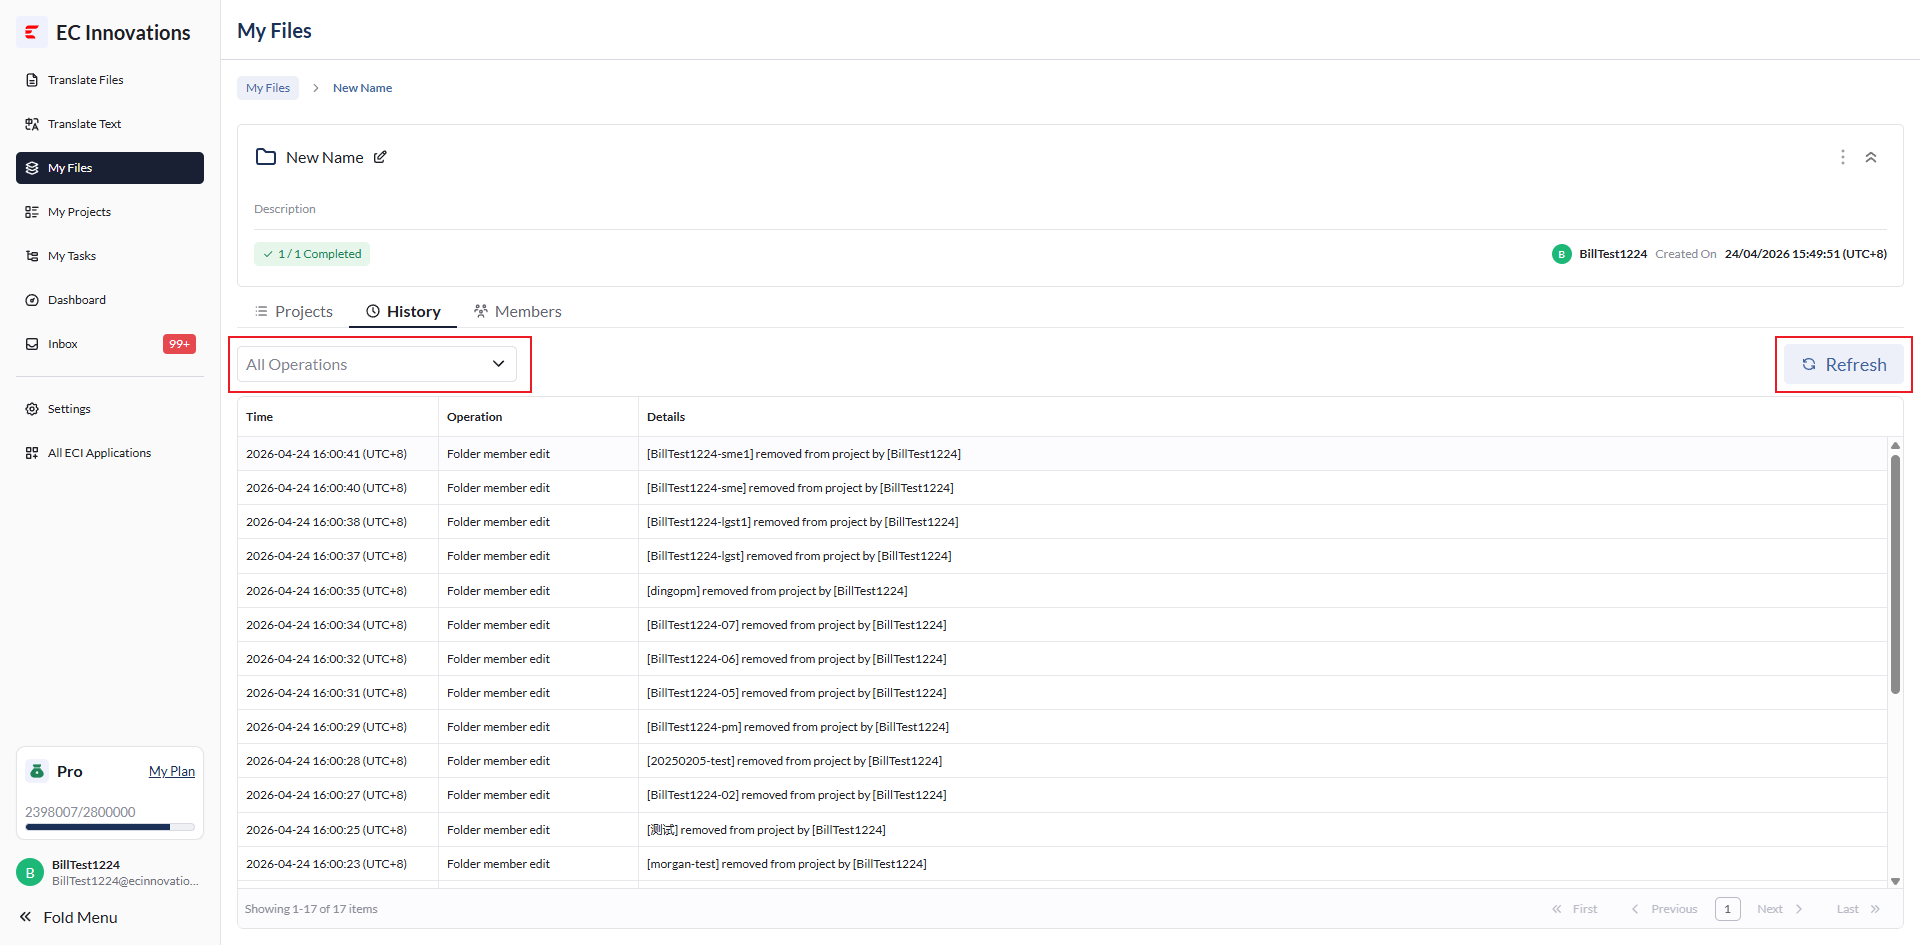
History
View the project operation history.
Top Action Buttons
The following actions are available:
‘Search’: Filter by project operation type.
‘Refresh’: Refresh the operation history list.
Members
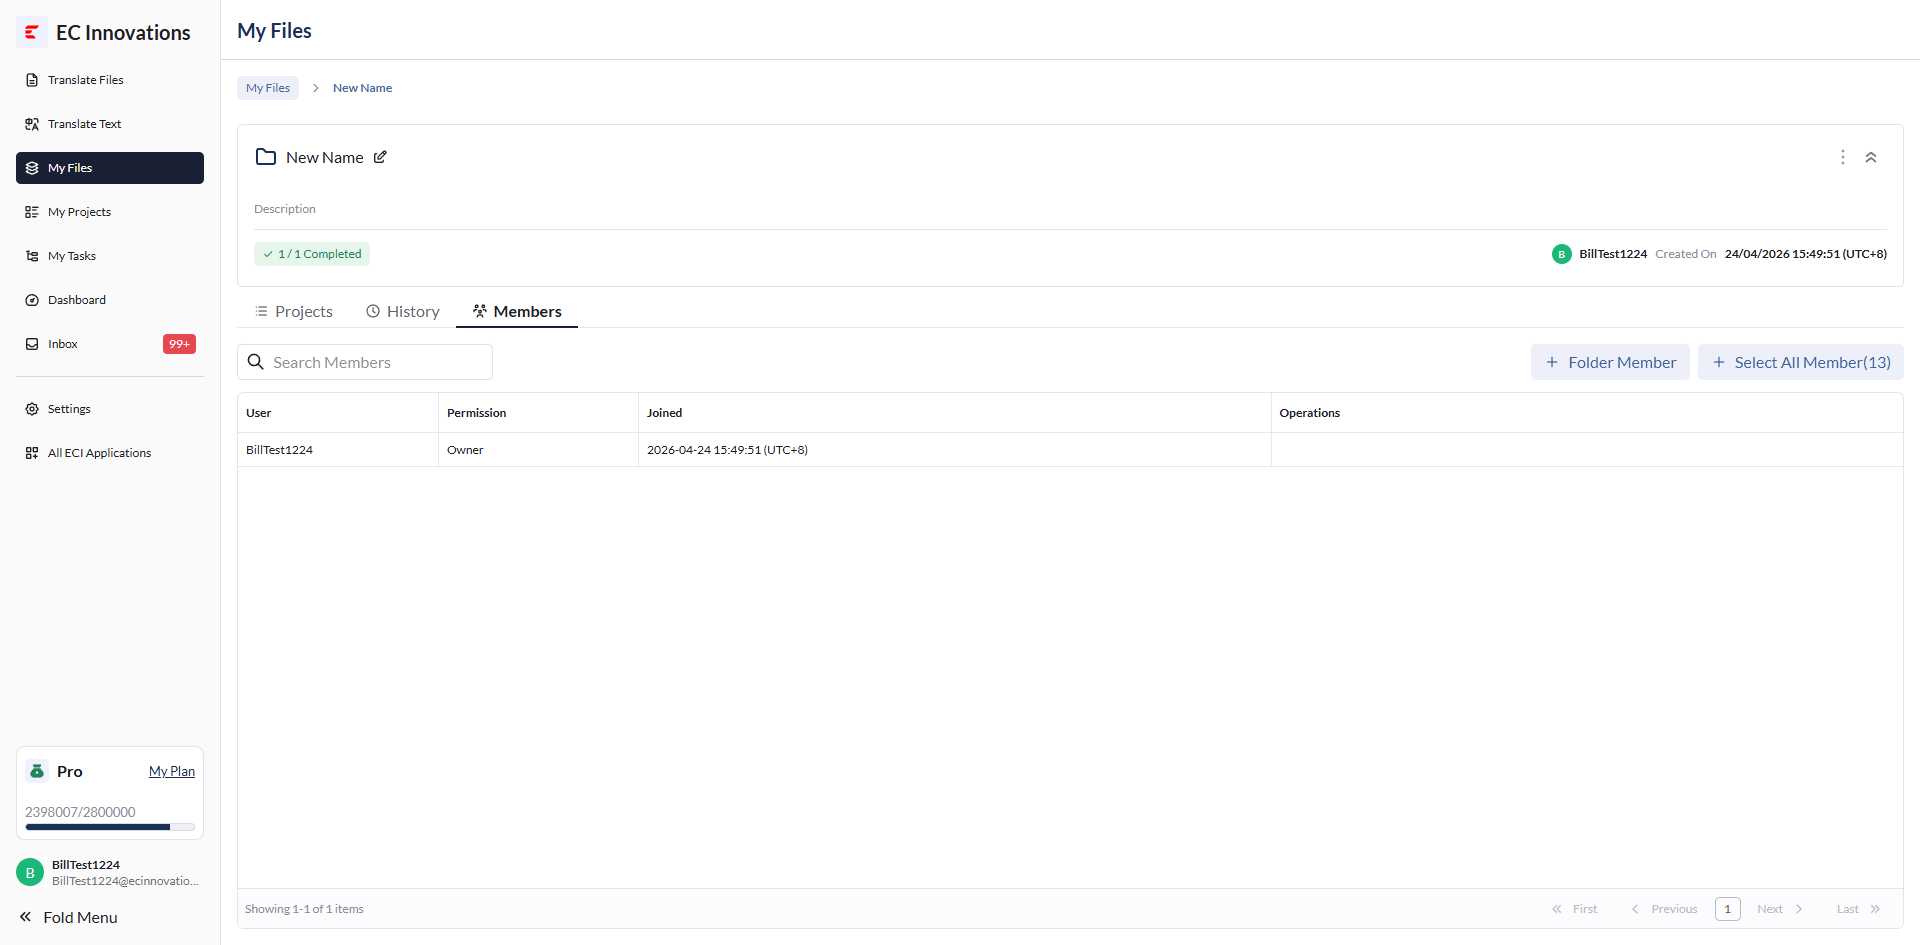
View the list of members under the folder.
Top Action Buttons
The following actions are available:
‘Search’: Filter by member name.
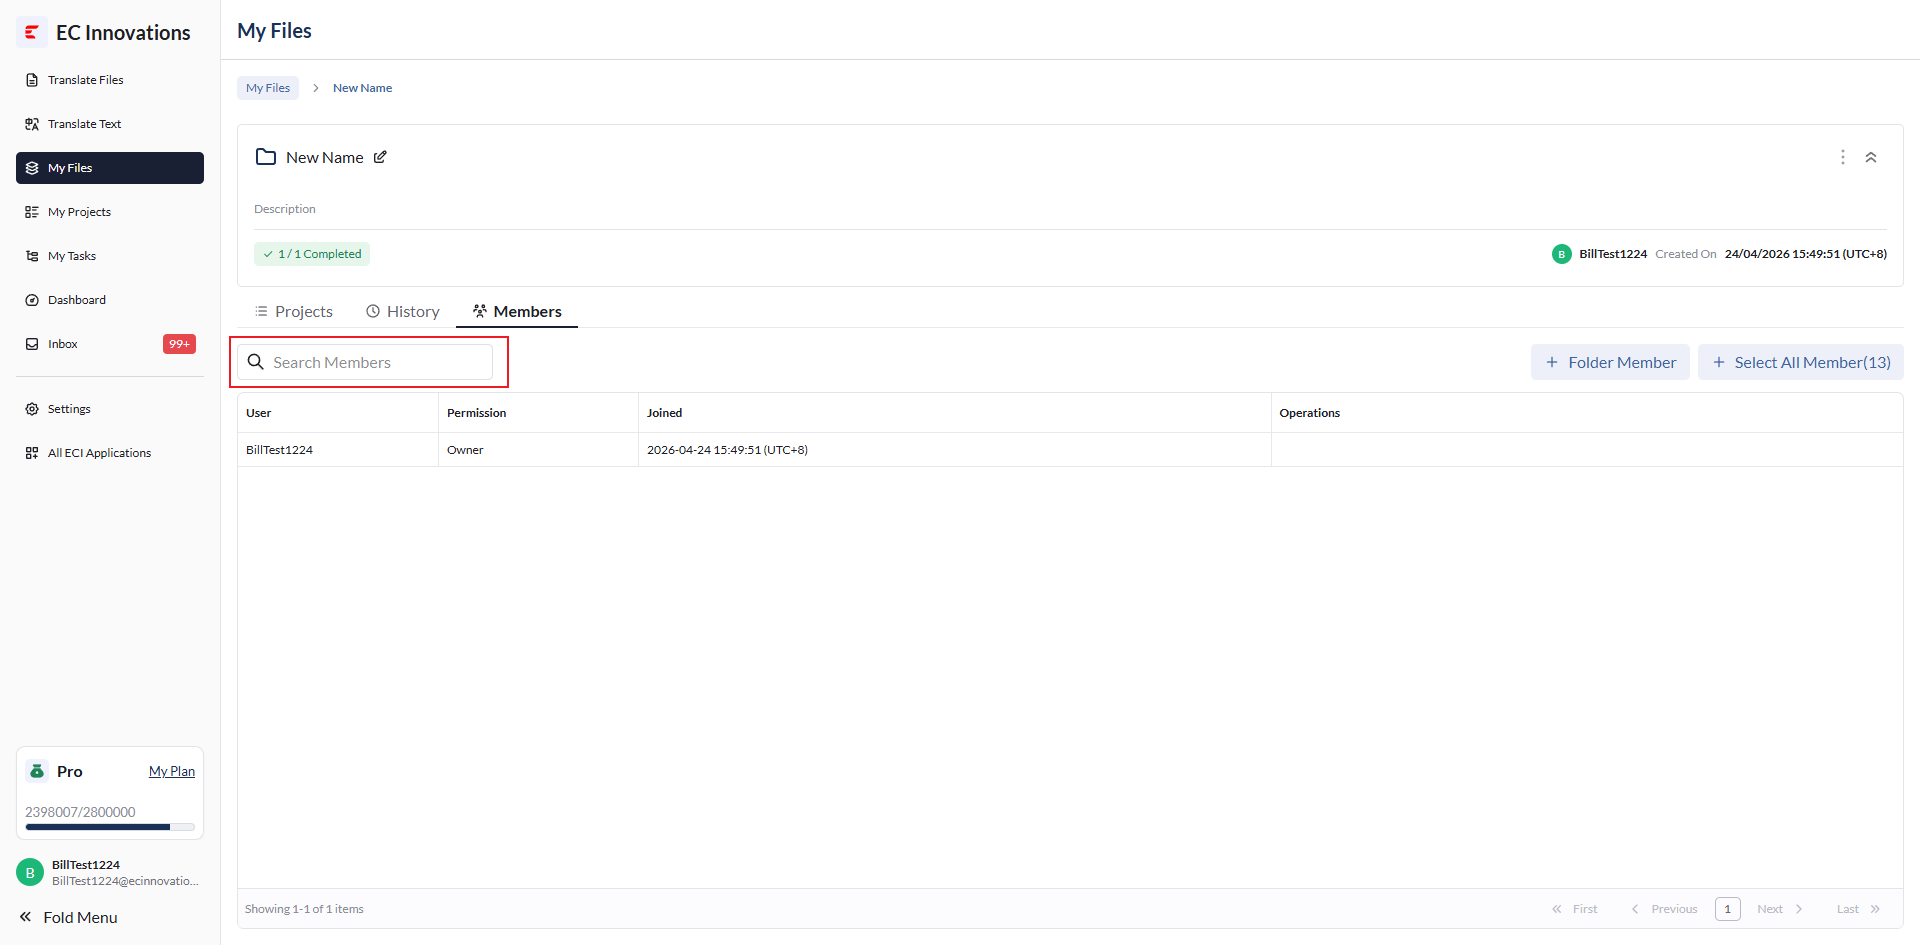
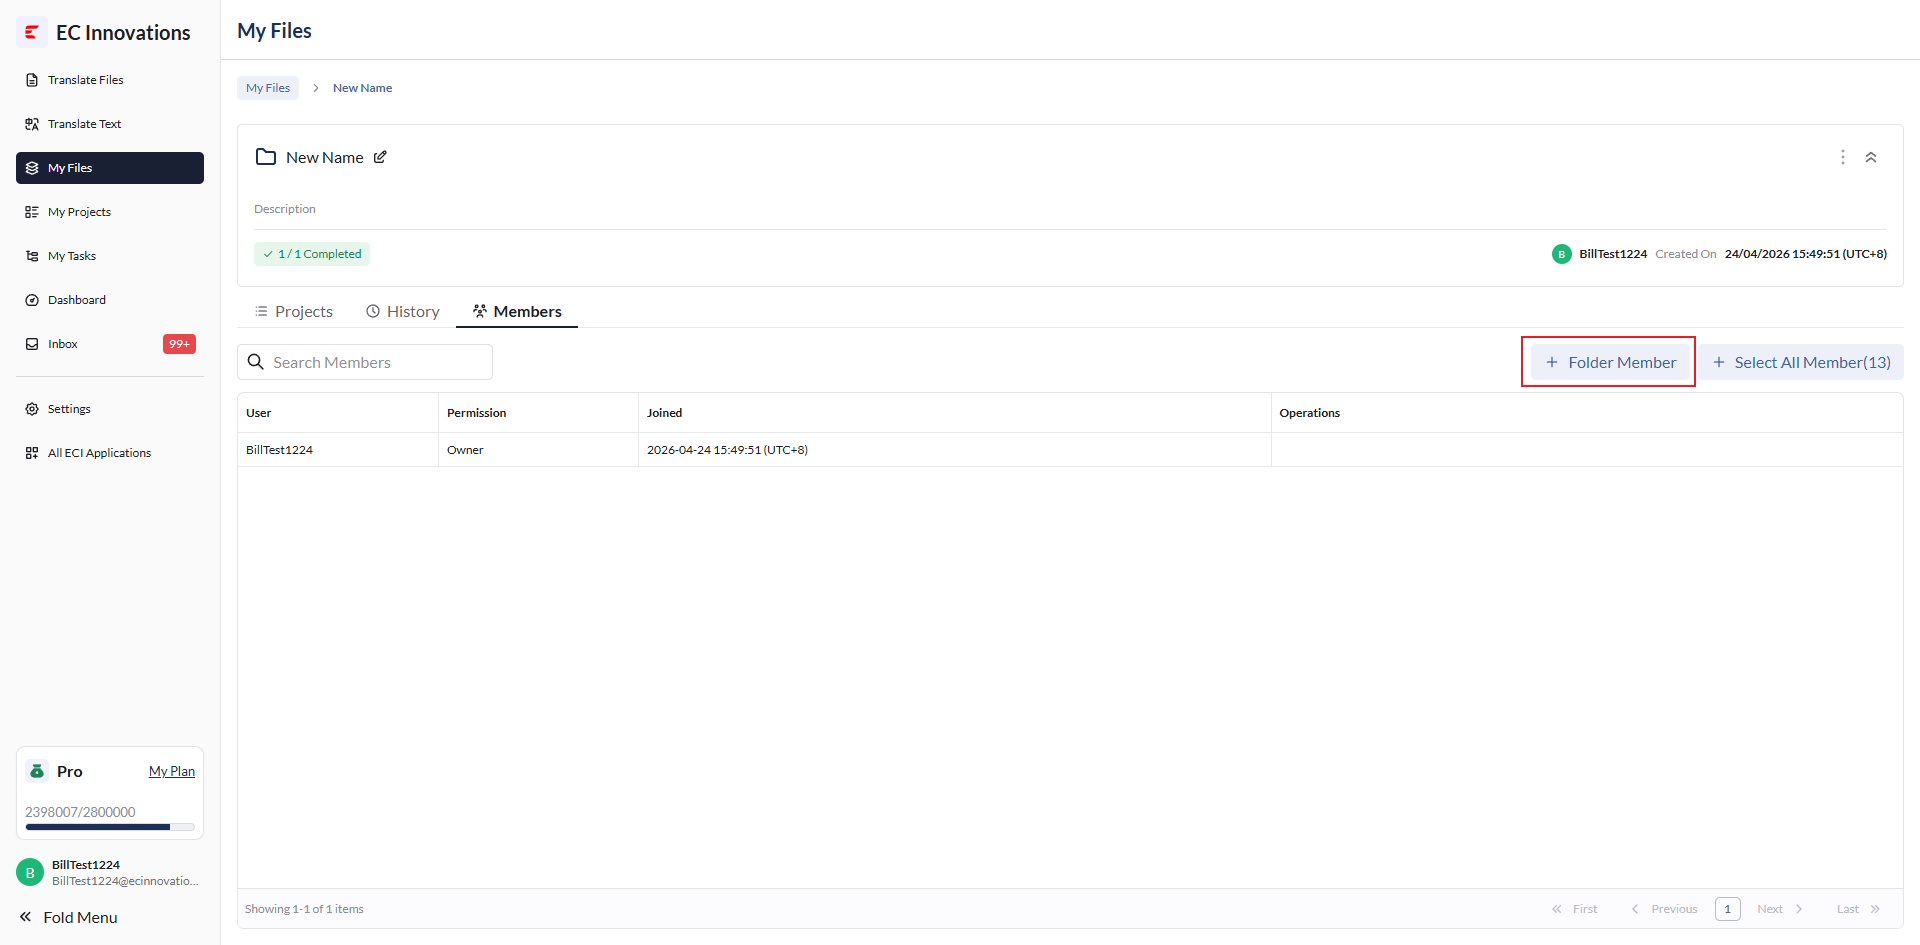
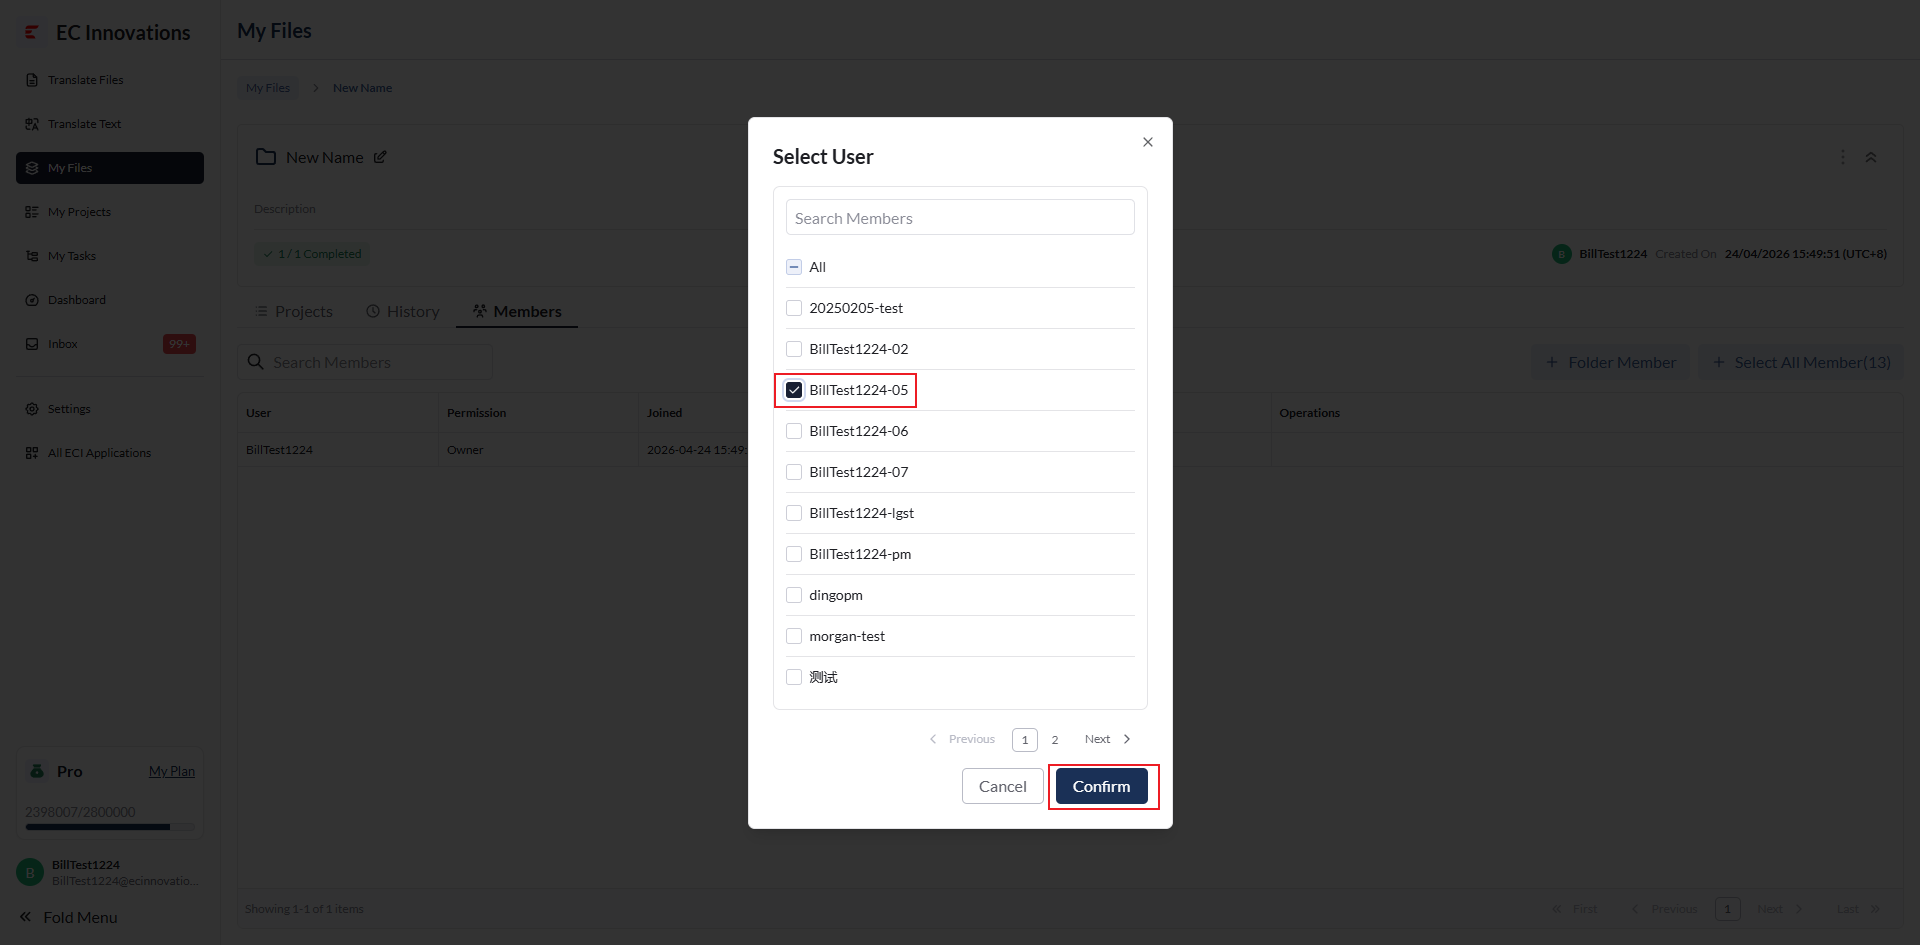
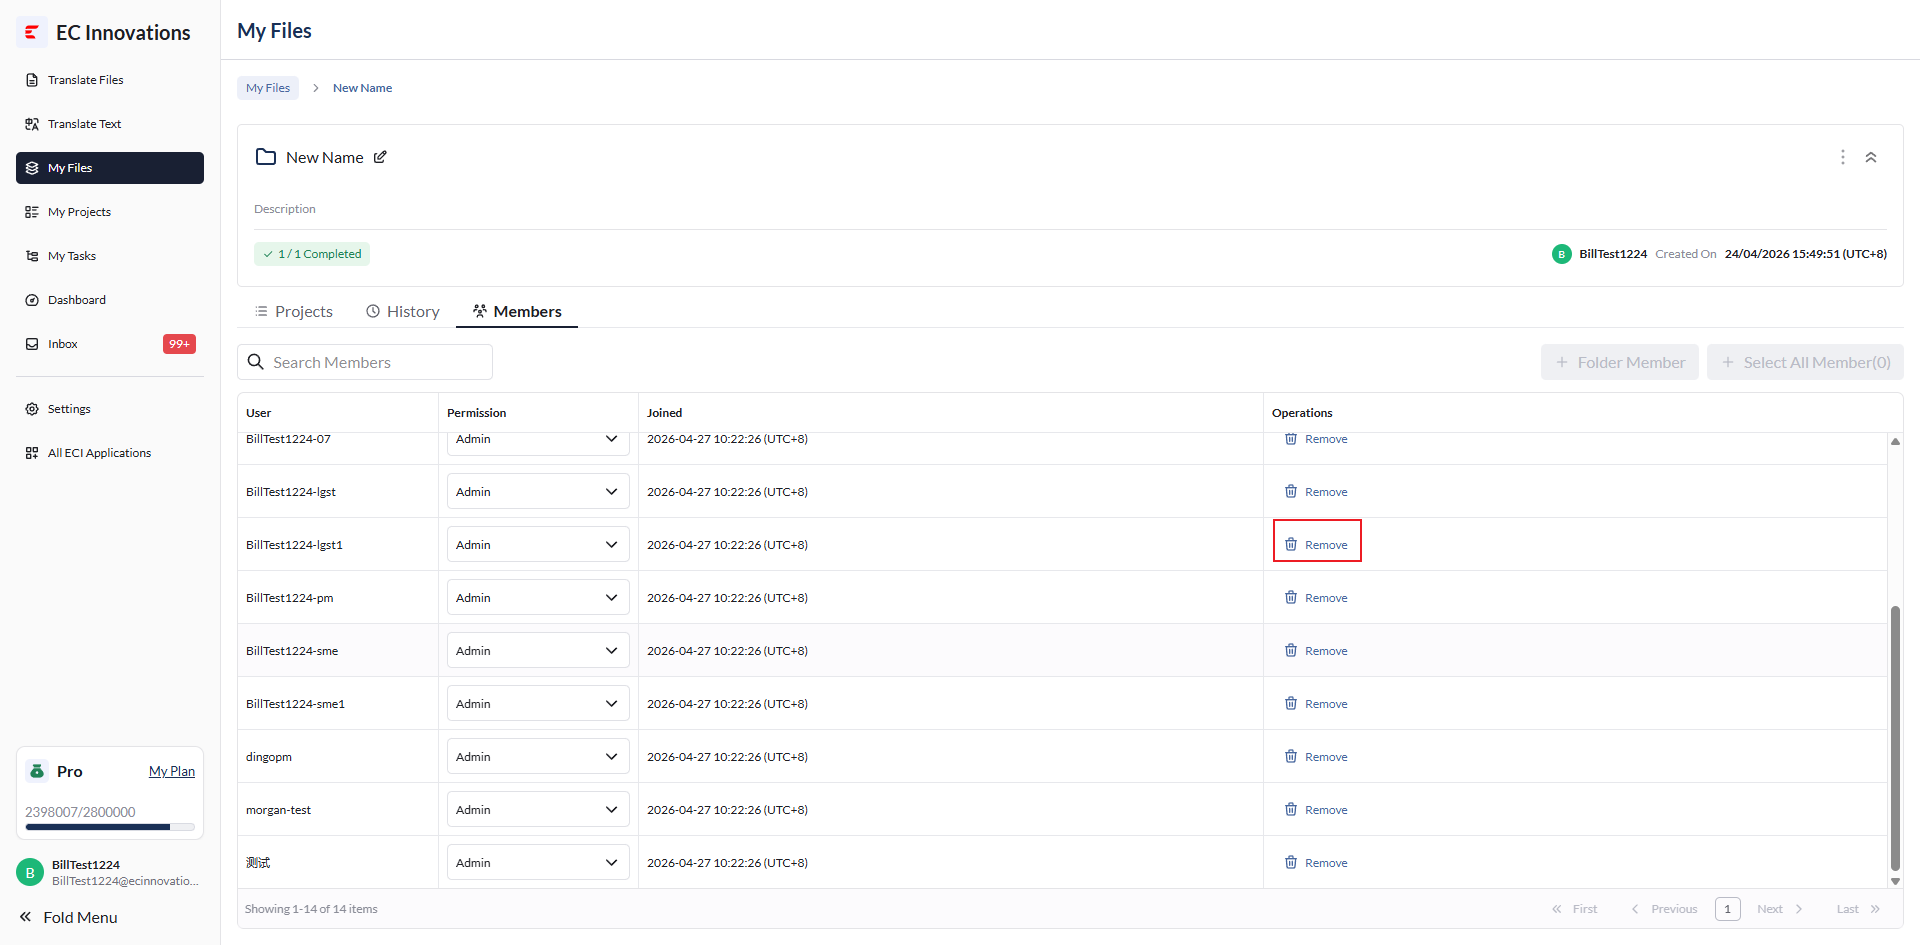
‘+Folder Member’: Add a new member. Click the button to open a pop-up, select the member you want to add, then click ‘Confirm’.
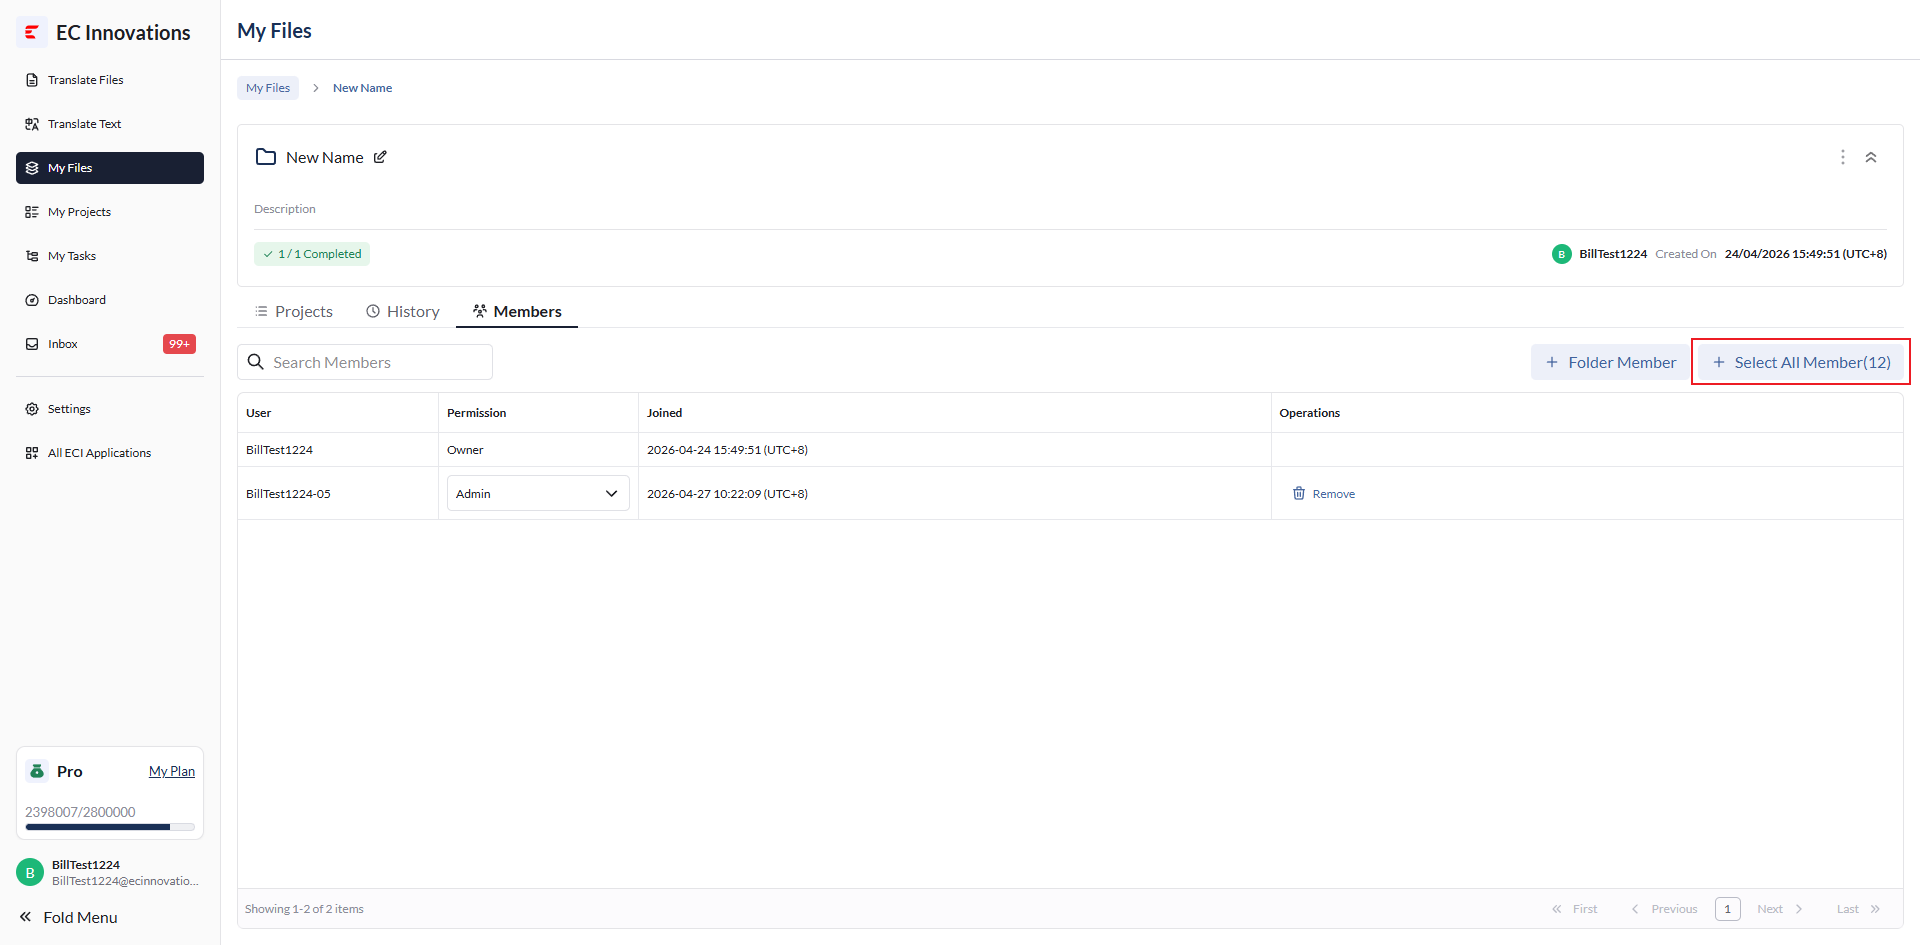
‘+Select All Members’: Select all members. After you click the button, all members will be added to the folder.
Member List
The following actions are available:
‘Permission’: Select the member’s permission level, including ‘Admin’, ‘Editor’, and ‘Viewer’. The folder creator is the ‘Owner’.
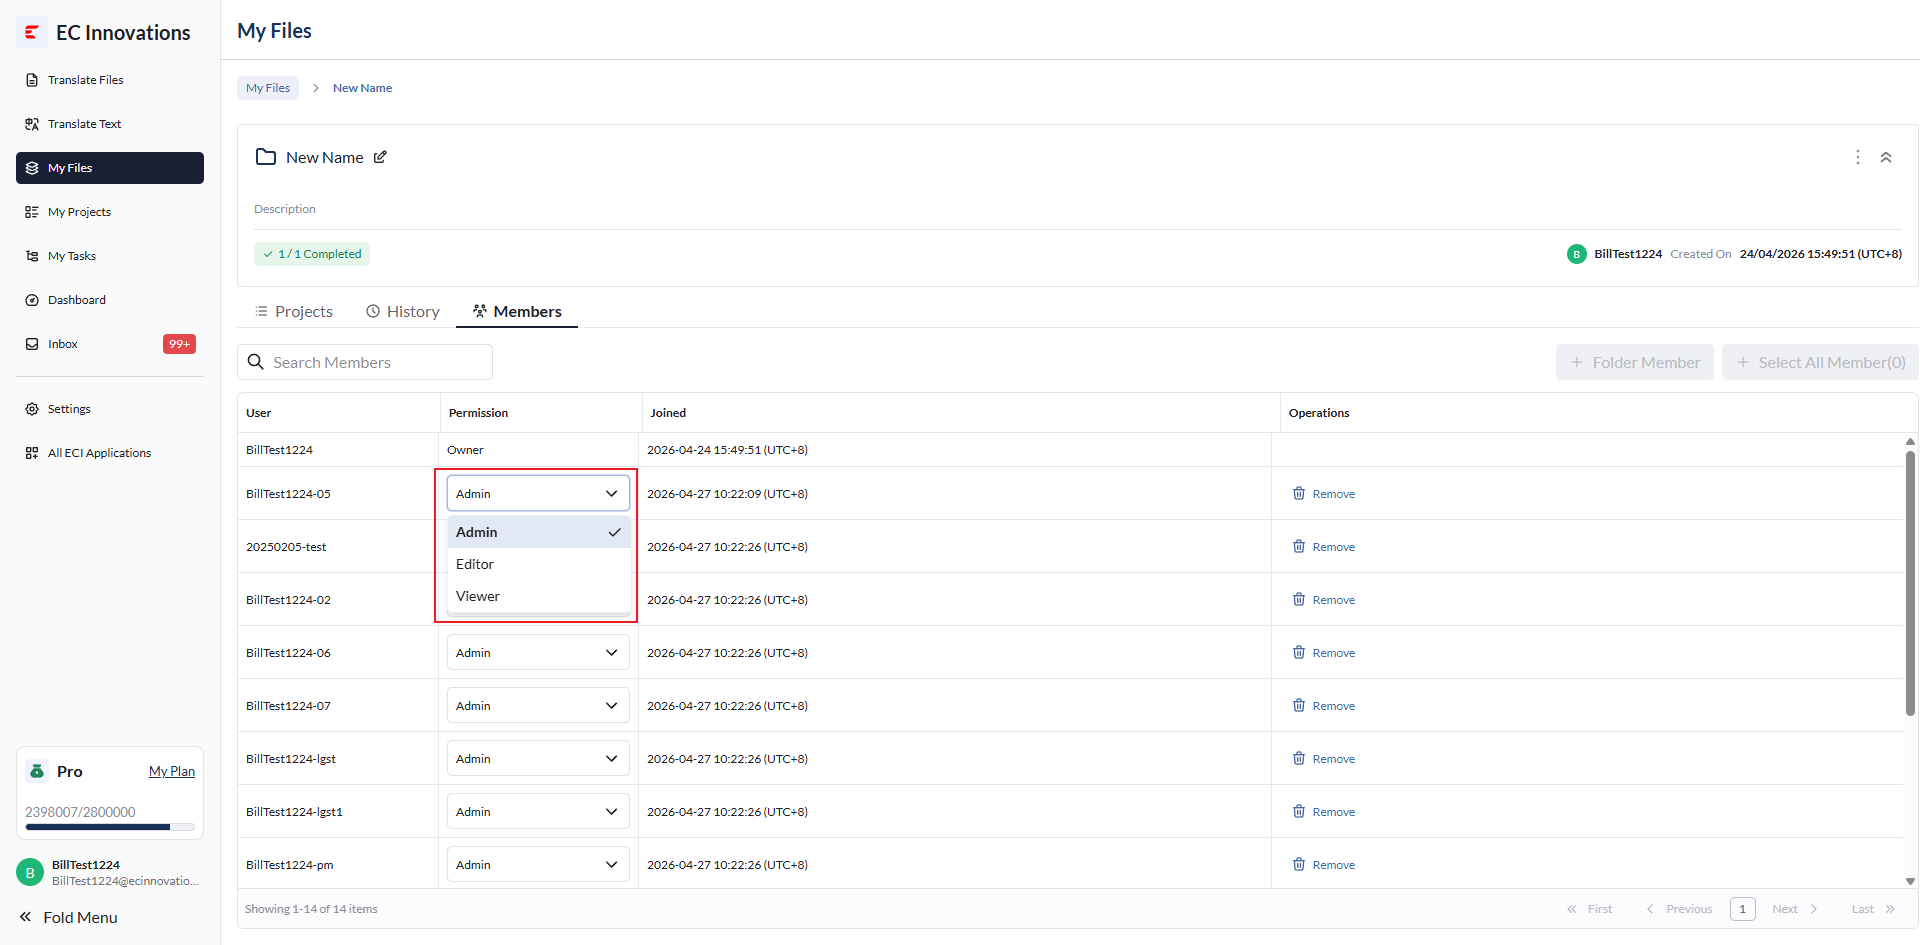
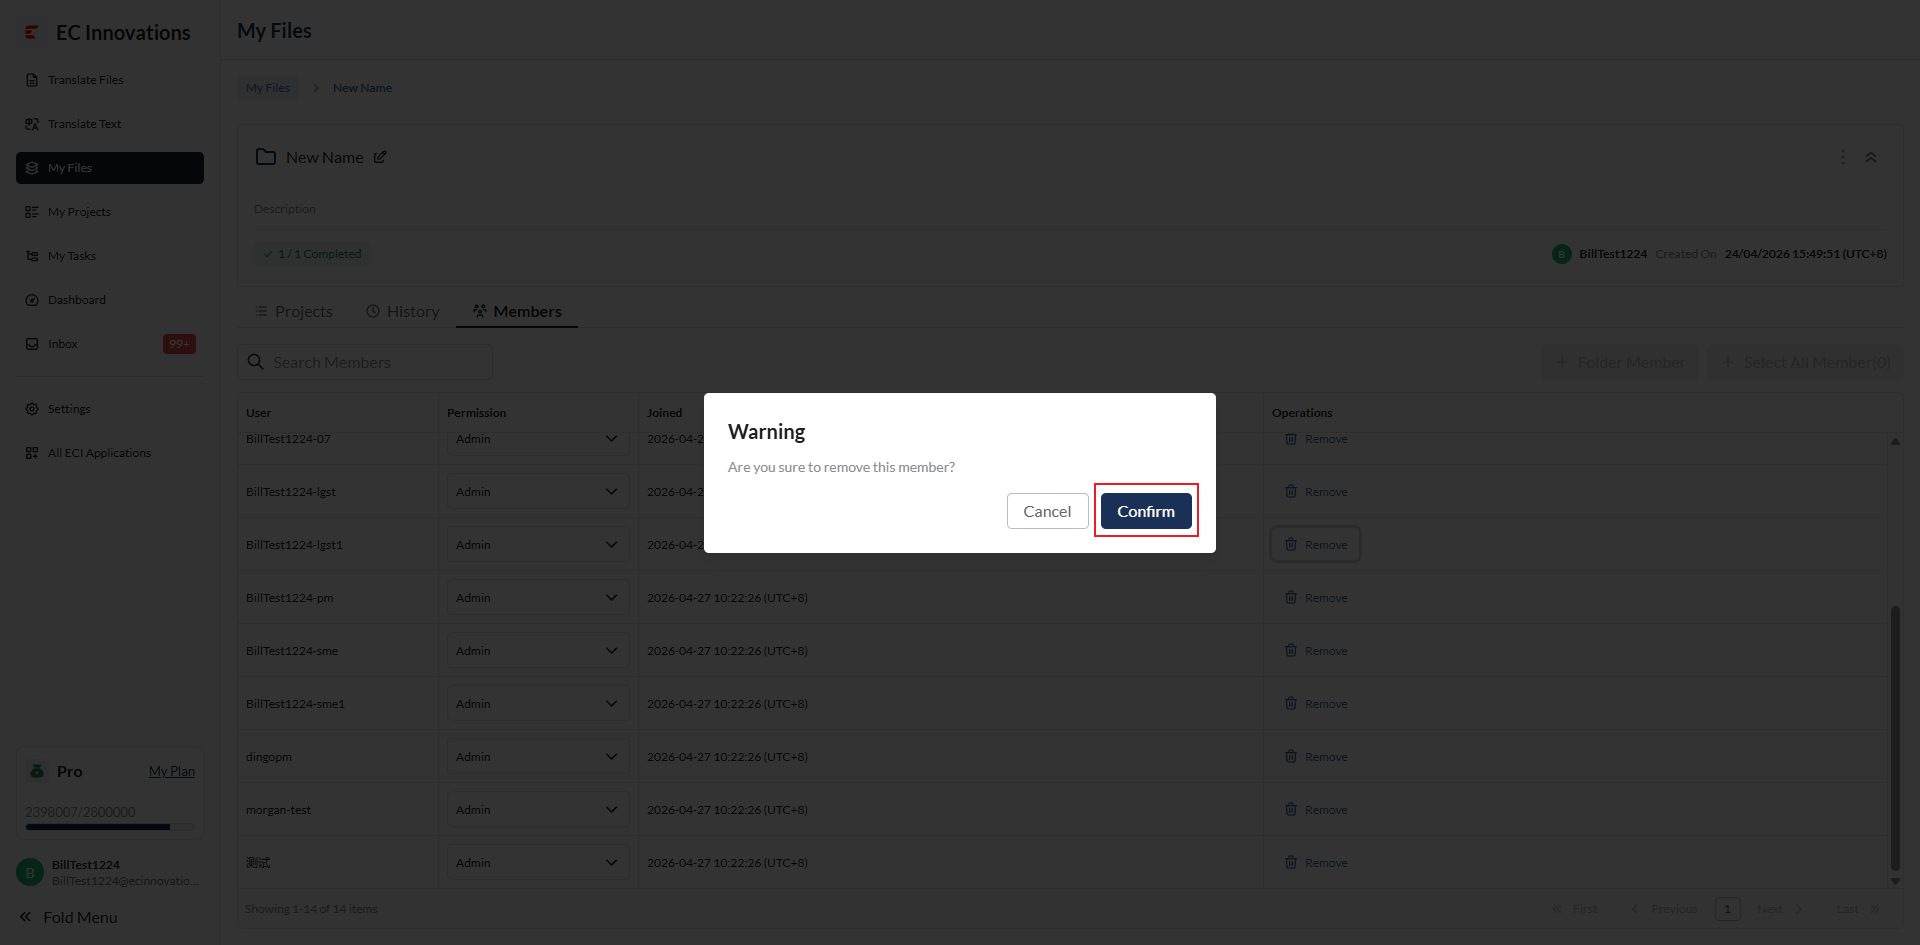
‘Remove’: Click to open a secondary confirmation pop-up. Click ‘Confirm’ to remove the member.
Project Detail
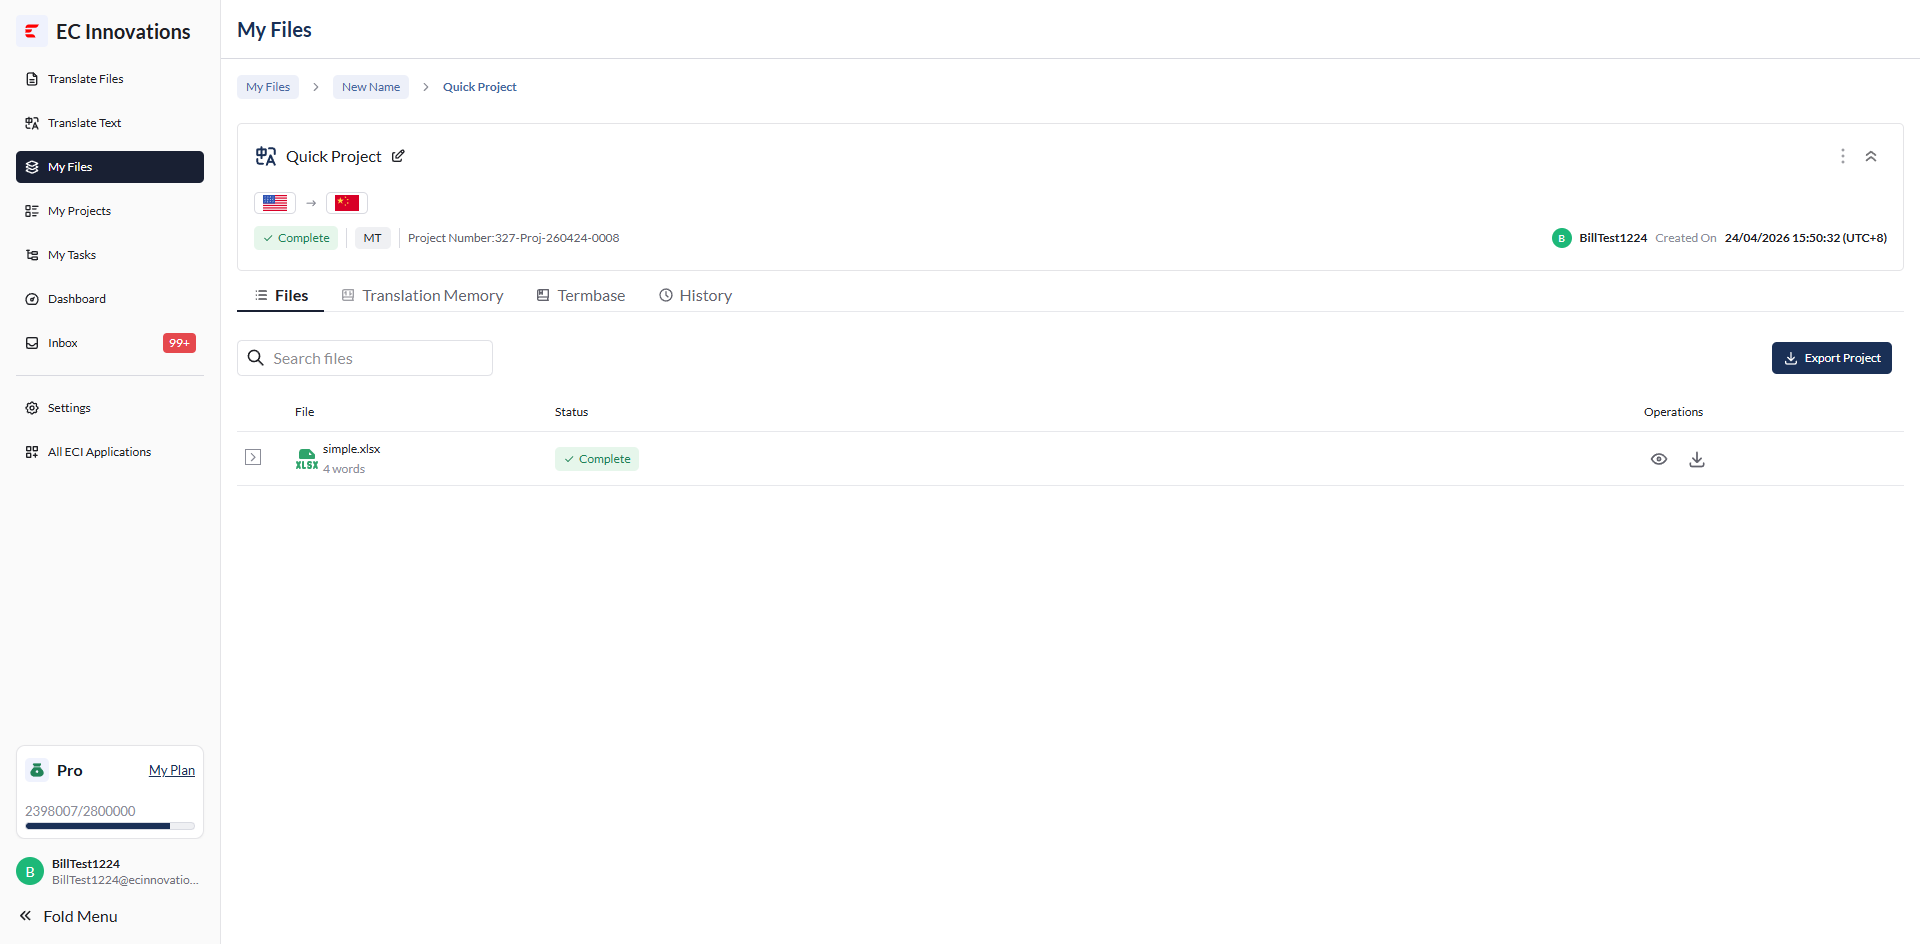
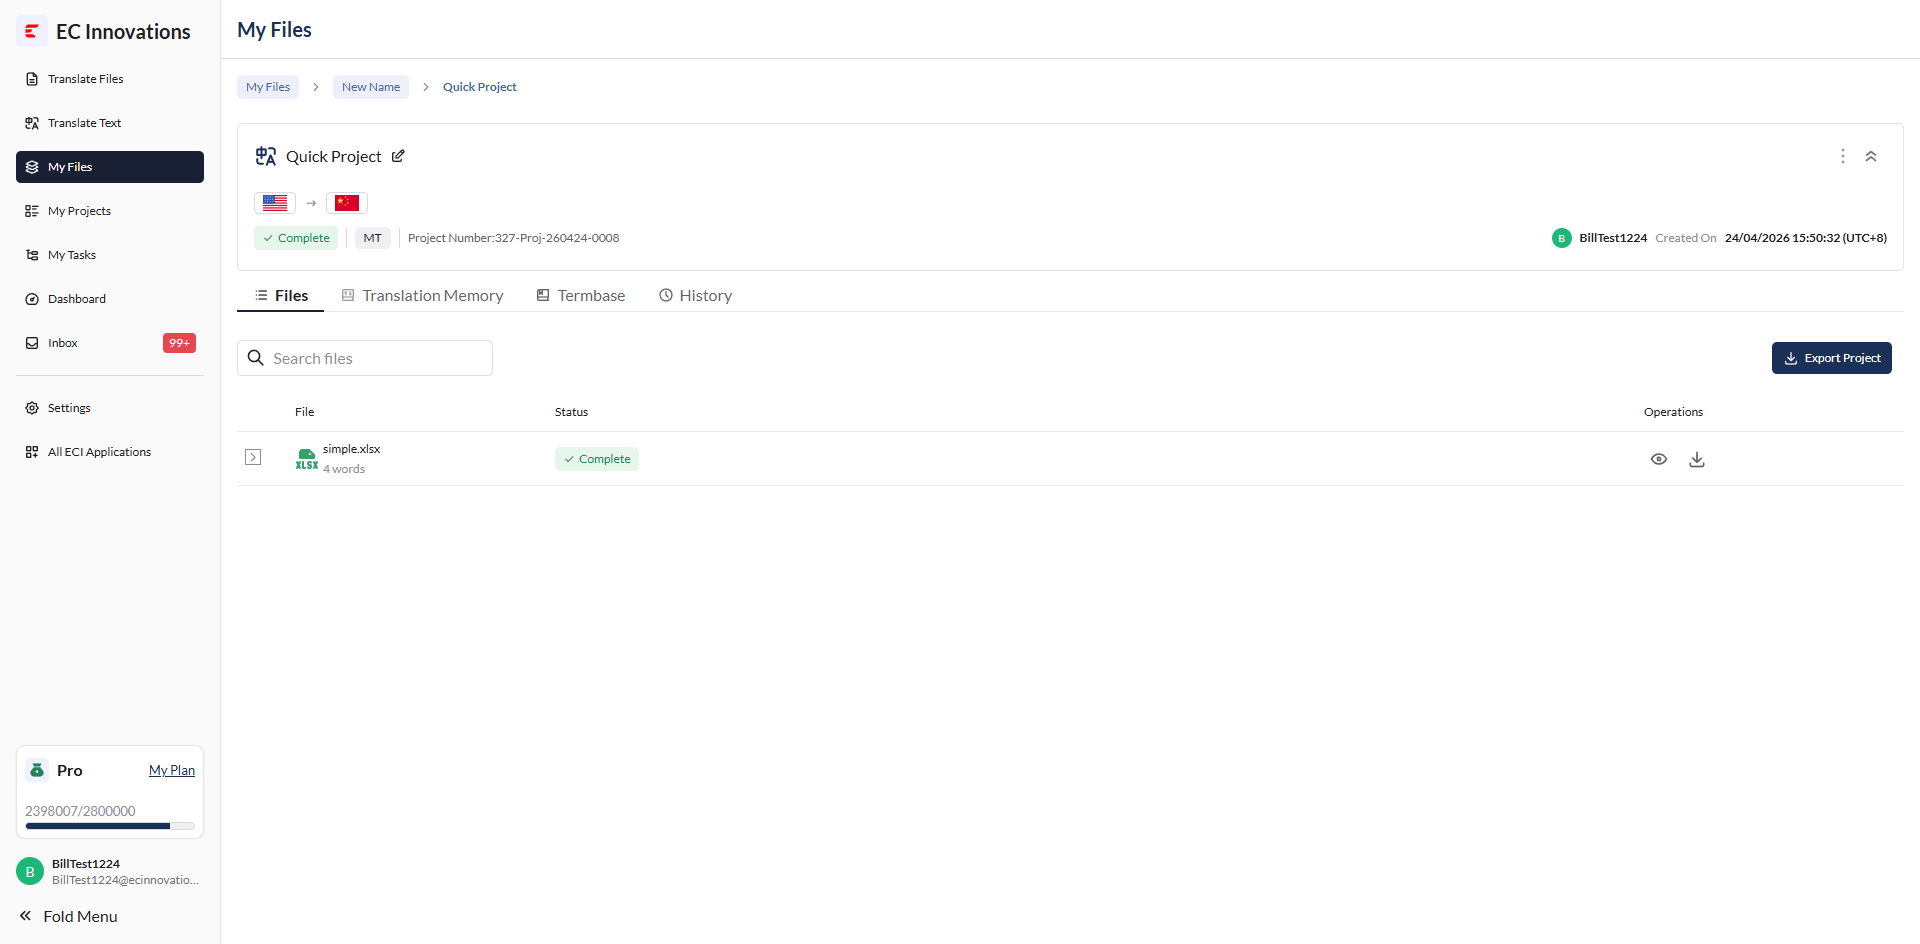
Click the project name to view the project details.
Edit Project Name
Click the edit icon to the right of the project name.
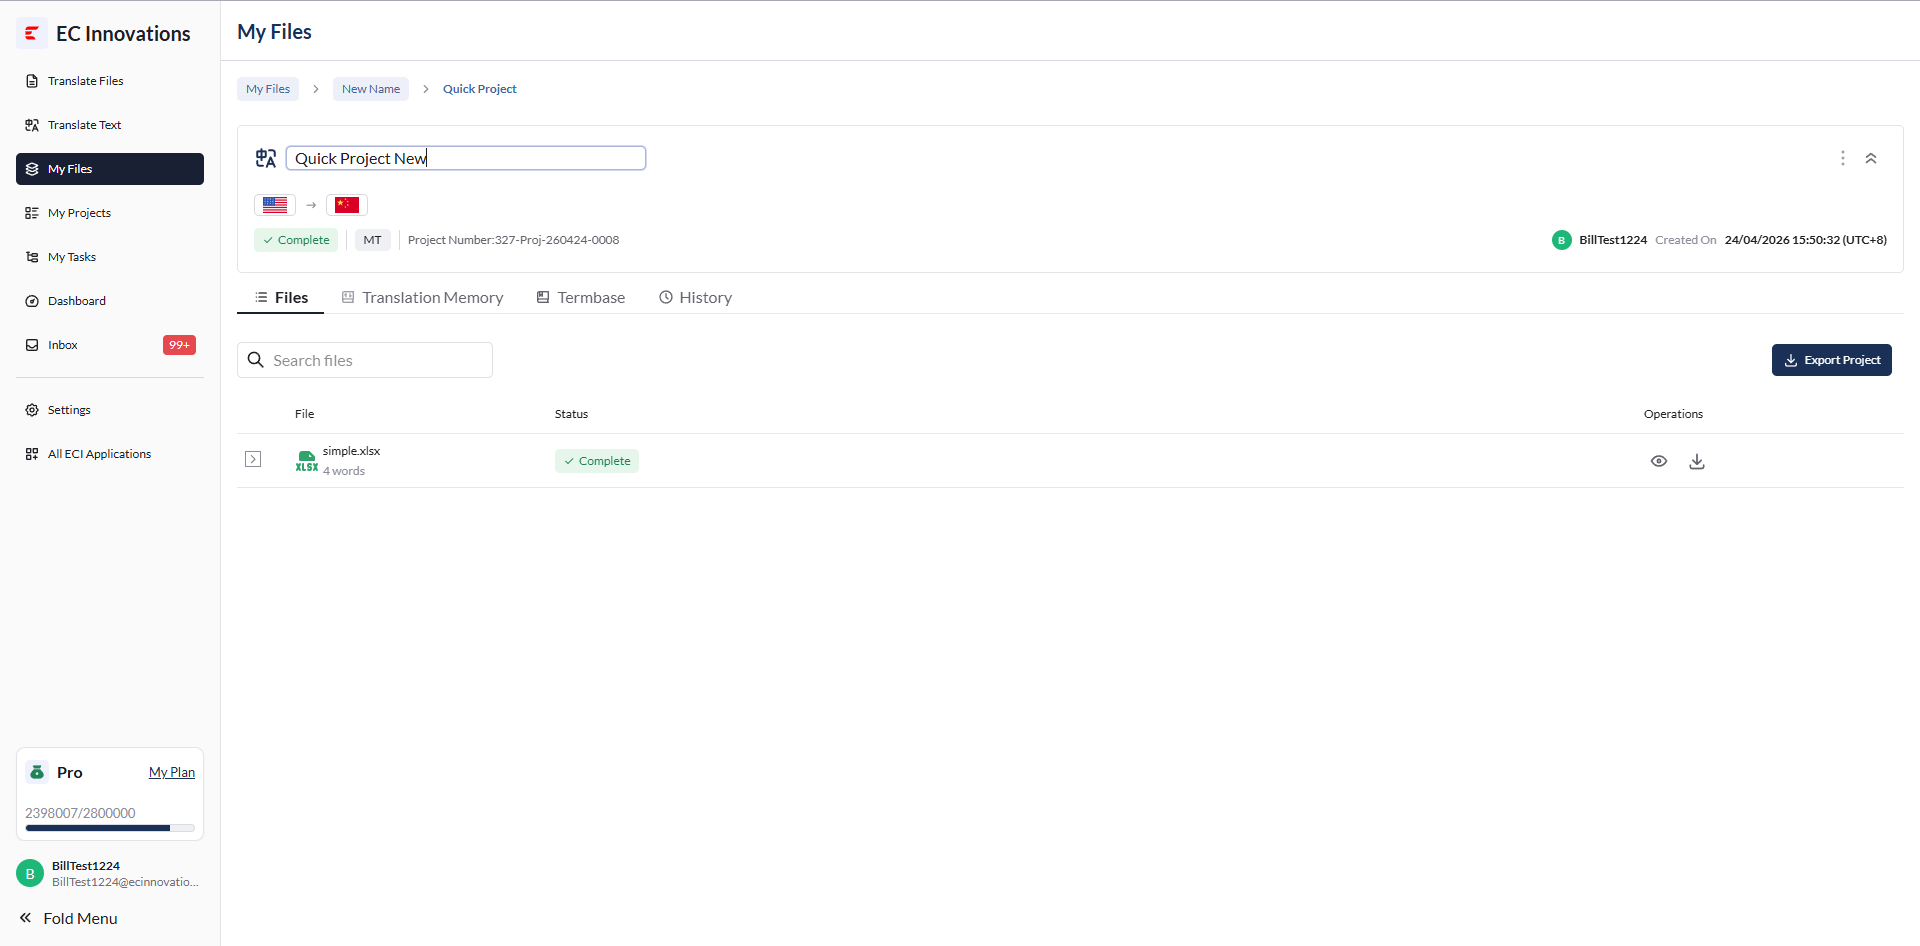
Enter a new project name. The project name is updated after the field loses focus.
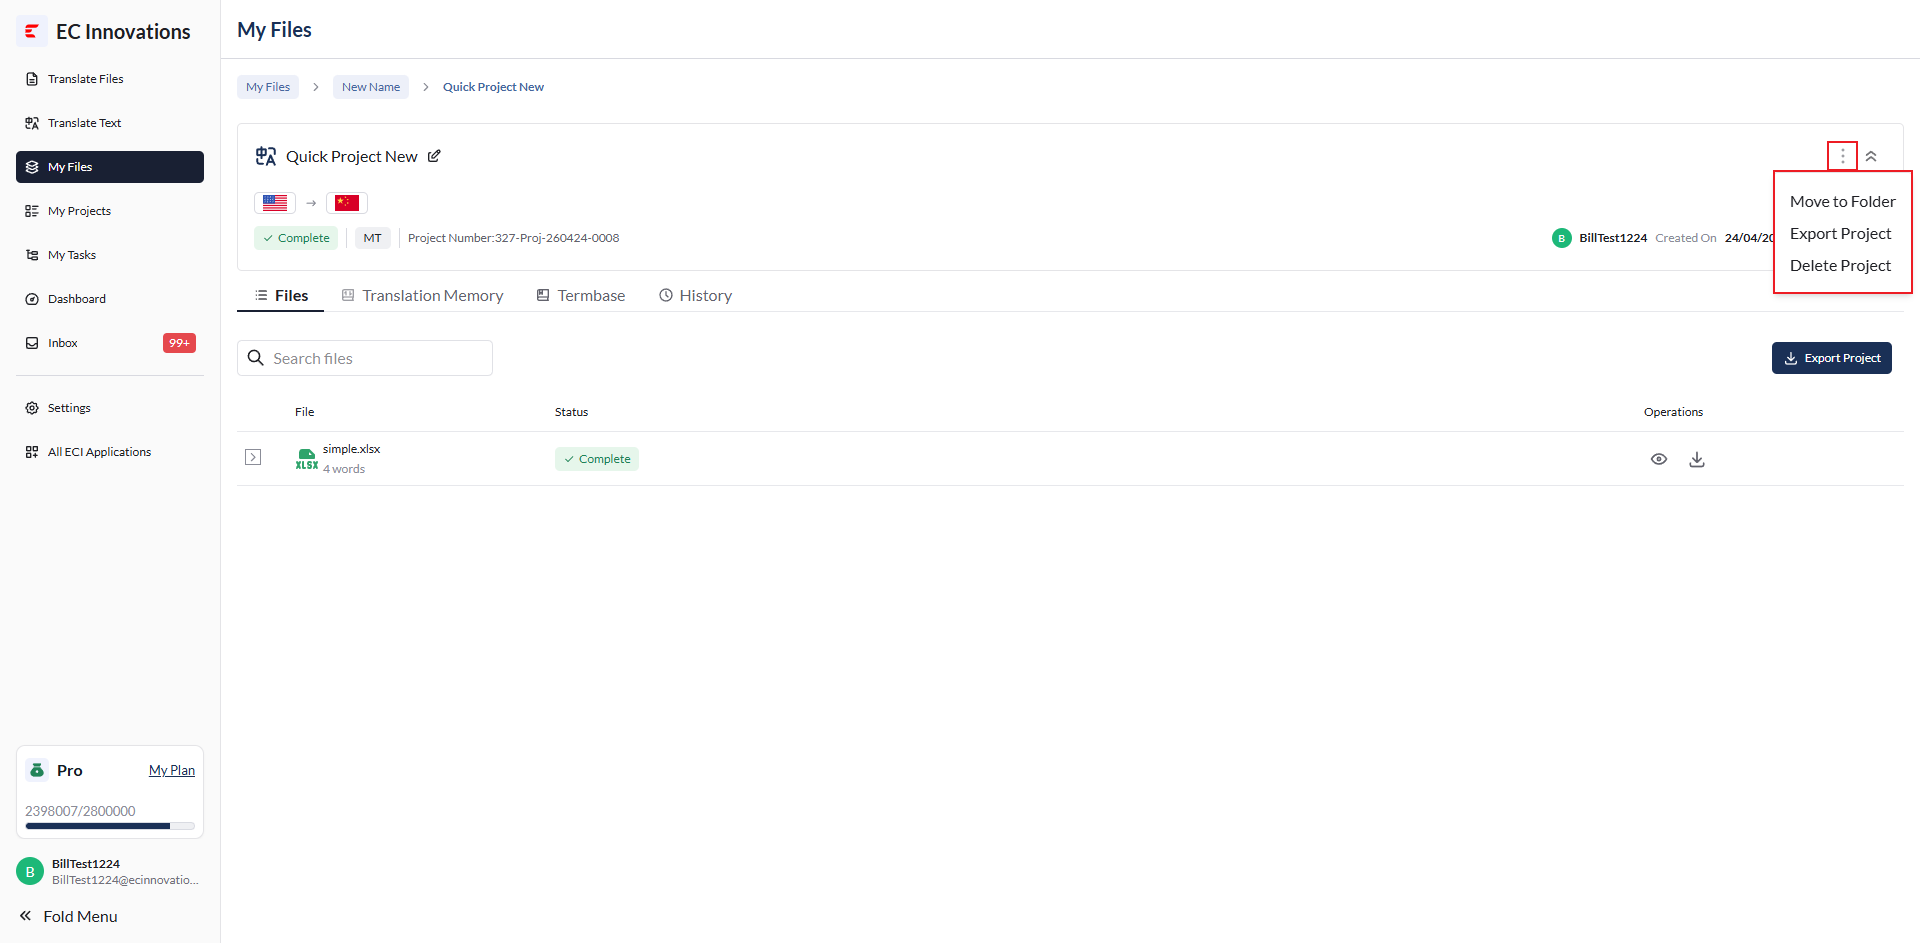
More Project Settings
Click the first button in the upper-right corner of the project header to open a drop-down menu with four options: ‘Move to Folder’, ‘Remove from Folder’, ‘Delete Project’, and ‘Reject Project’. ‘Reject Project’ is only shown for completed non-machine-translation projects. The operations are the same as the project actions in the Folder List.
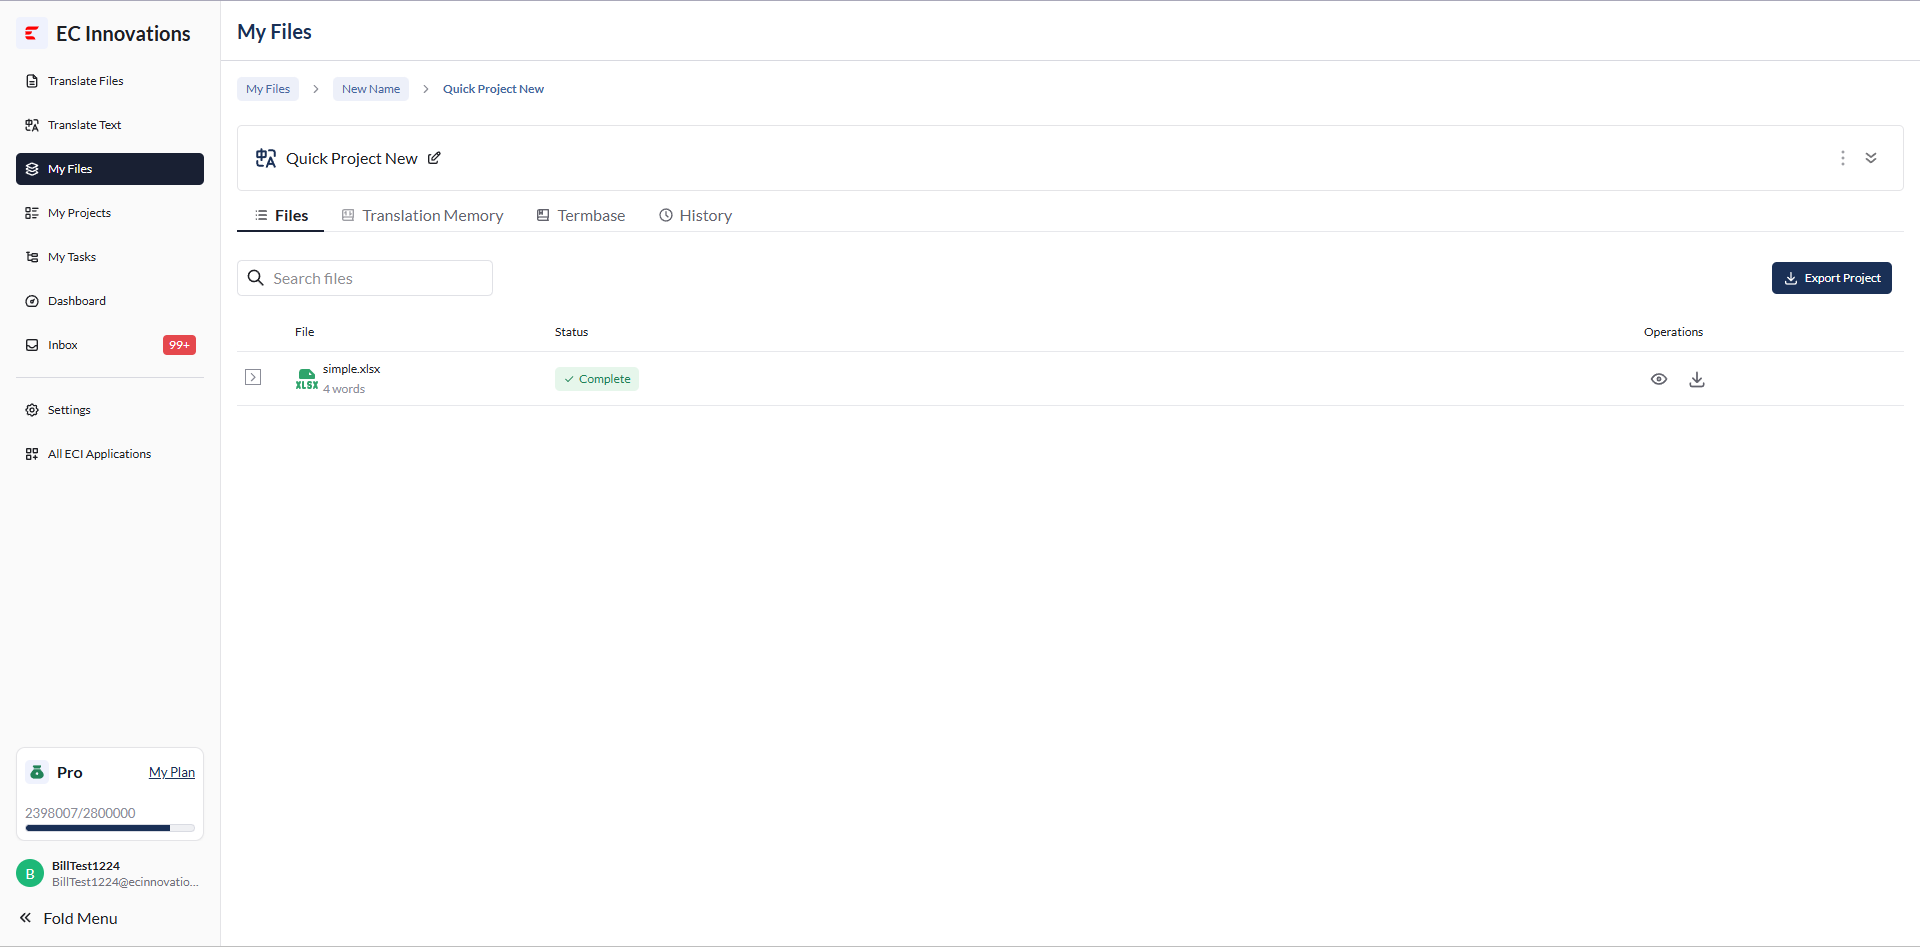
Collapse Project Information
Click the second button in the upper-right corner of the project header to collapse the project information.
Before collapsing:
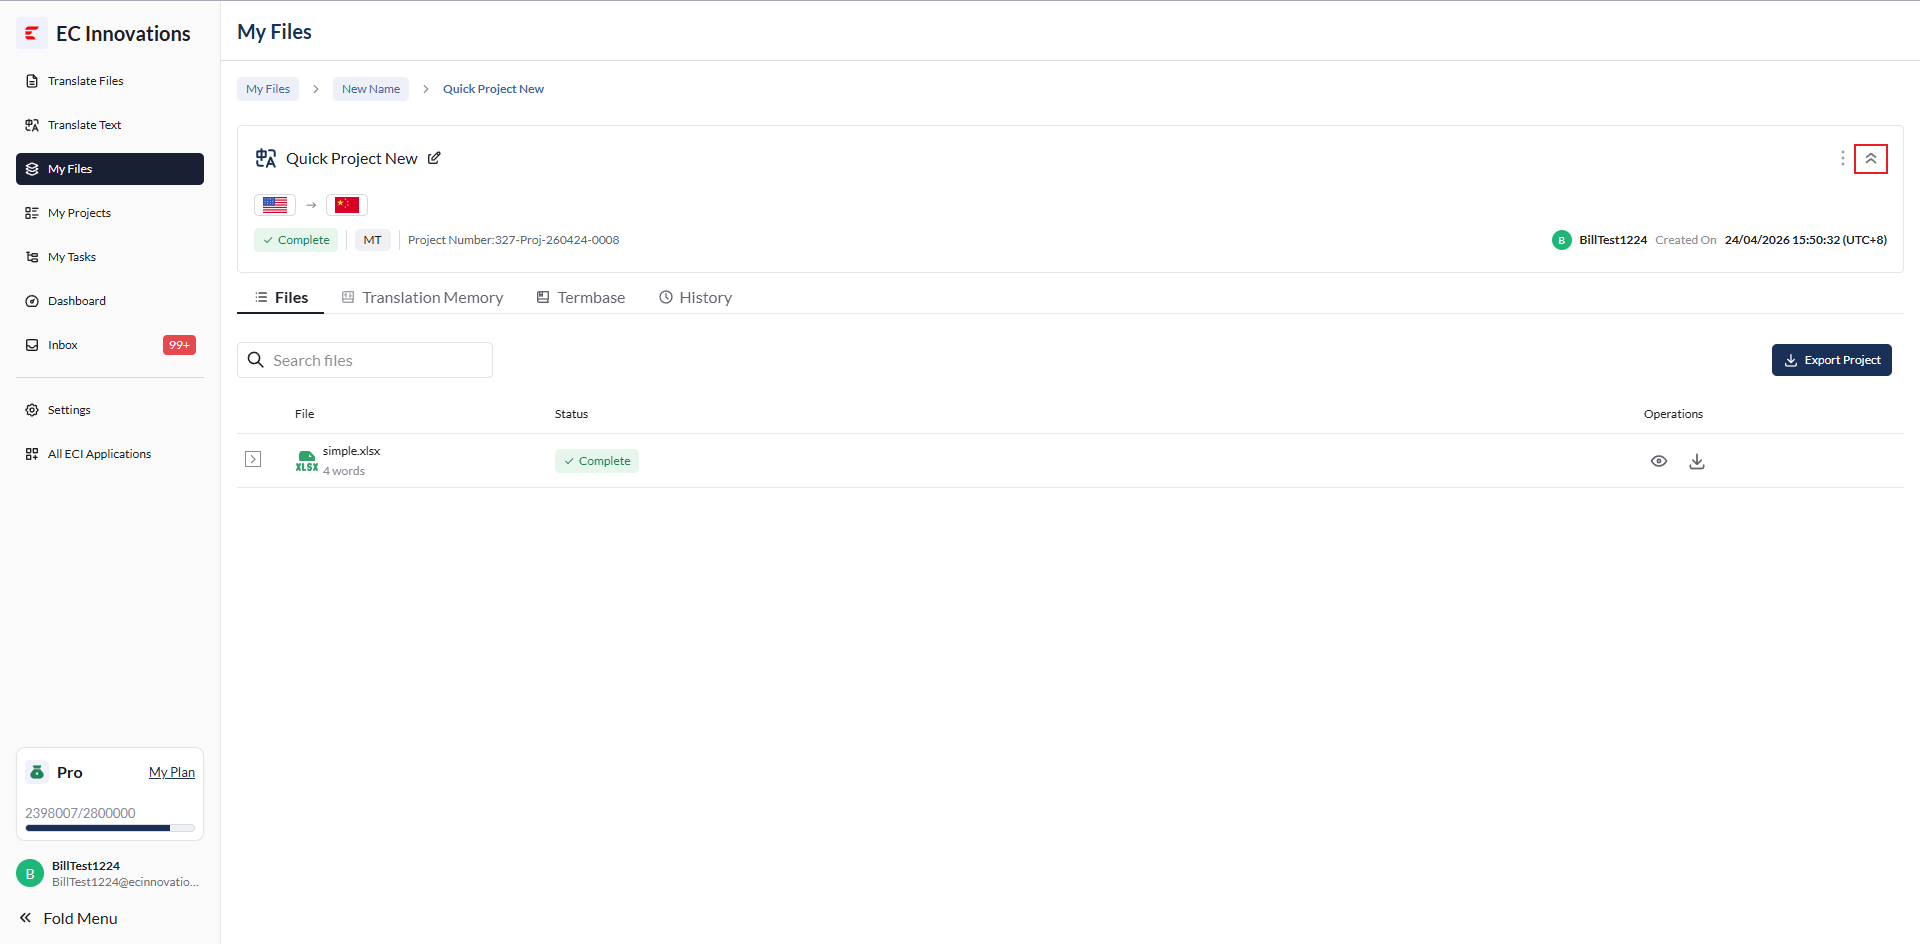
After collapsing:
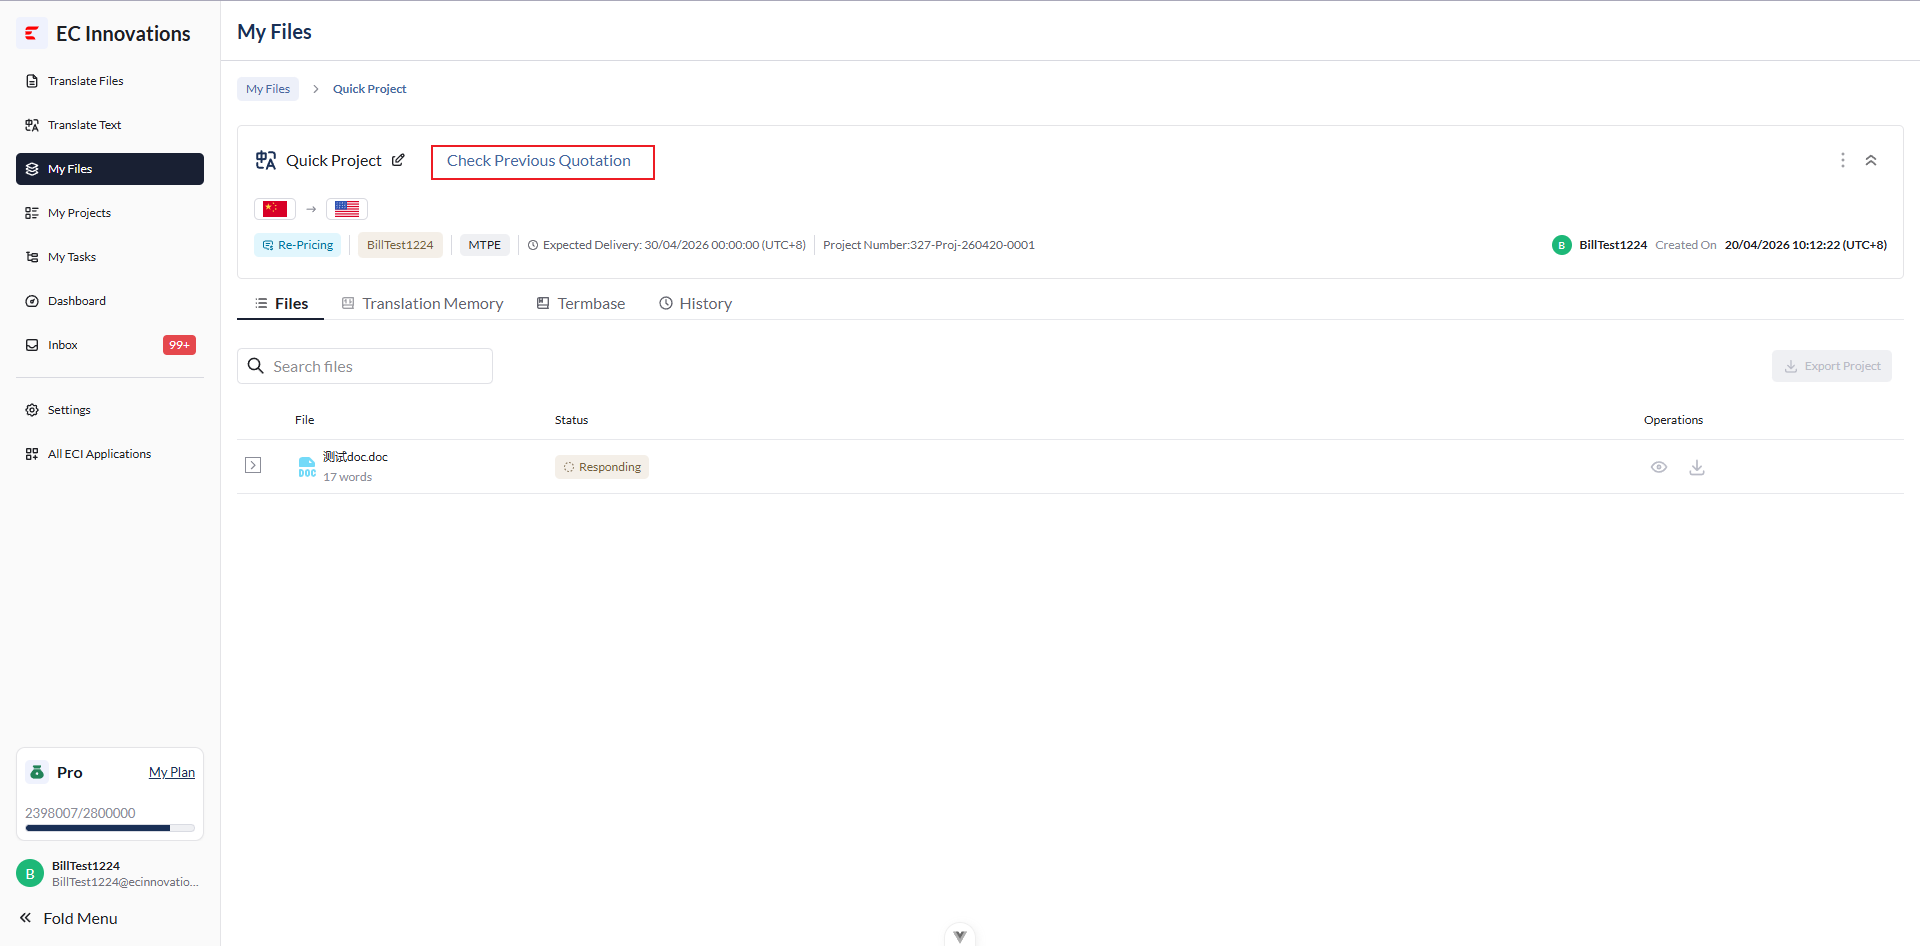
View Previous Quotation
When the project is in the negotiation stage, click ‘Check Previous Quotation’ to open a pop-up.
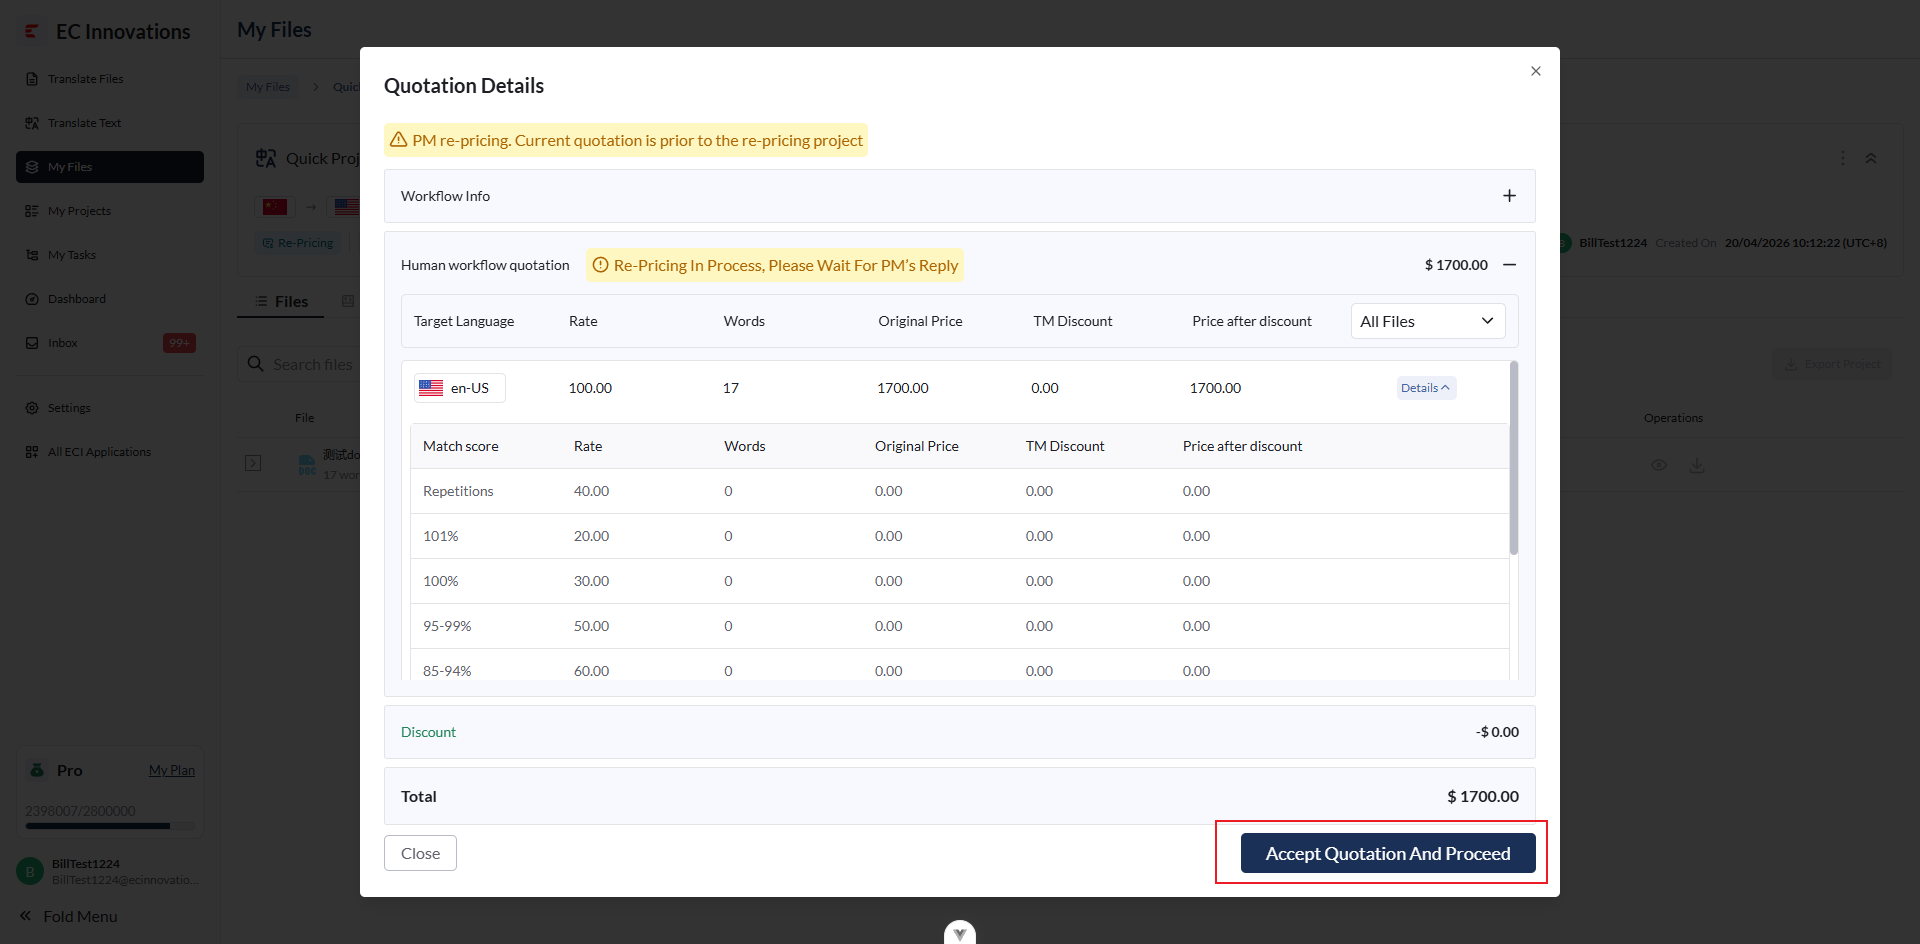
The pop-up displays the quotation details. Click ‘Accept Quotation And Proceed’ to accept the quotation and start the project.
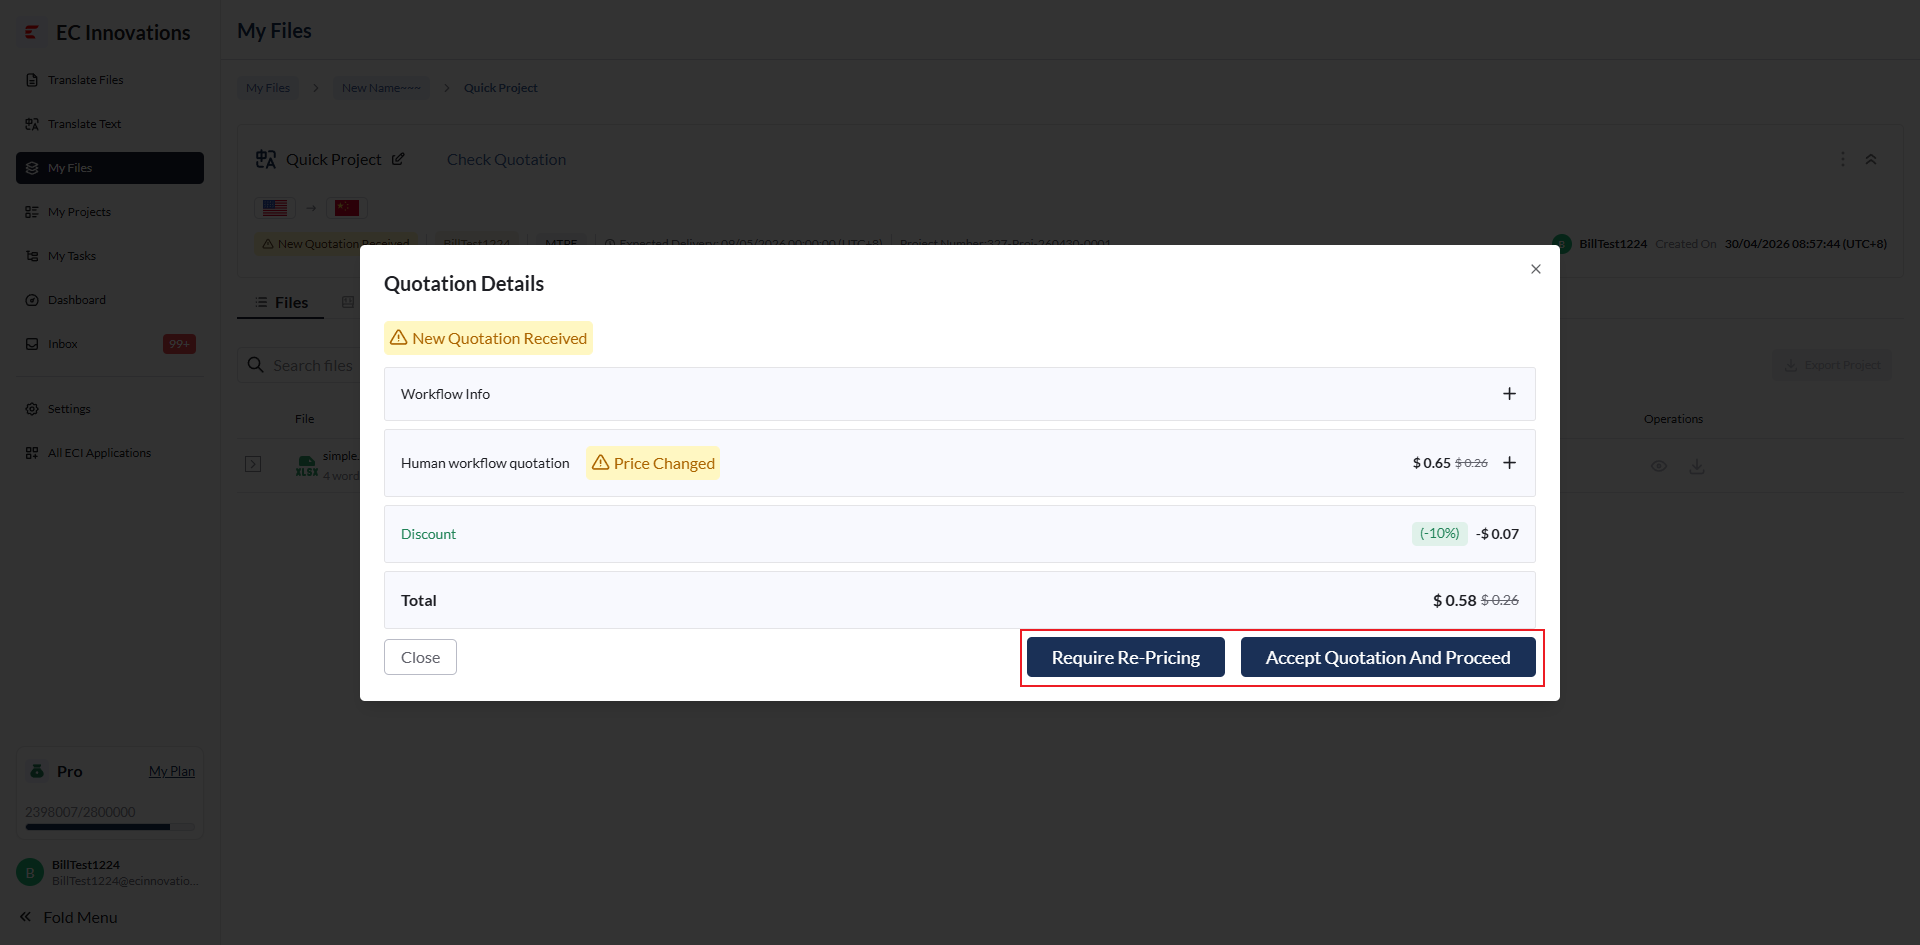
View Latest Quotation
After the quotation is updated, click ‘Check Quotation’ to view the latest quotation in the pop-up.
You can then choose:
‘Require Quotation’ to start price negotiation.
‘Accept Quotation And Proceed’ to accept the quotation and start the project.
Project Tabs
Below the project information, there are five tabs: ‘Files’, ‘Translation Memory’, ‘Termbase’, ‘Quotation’, and ‘History’.
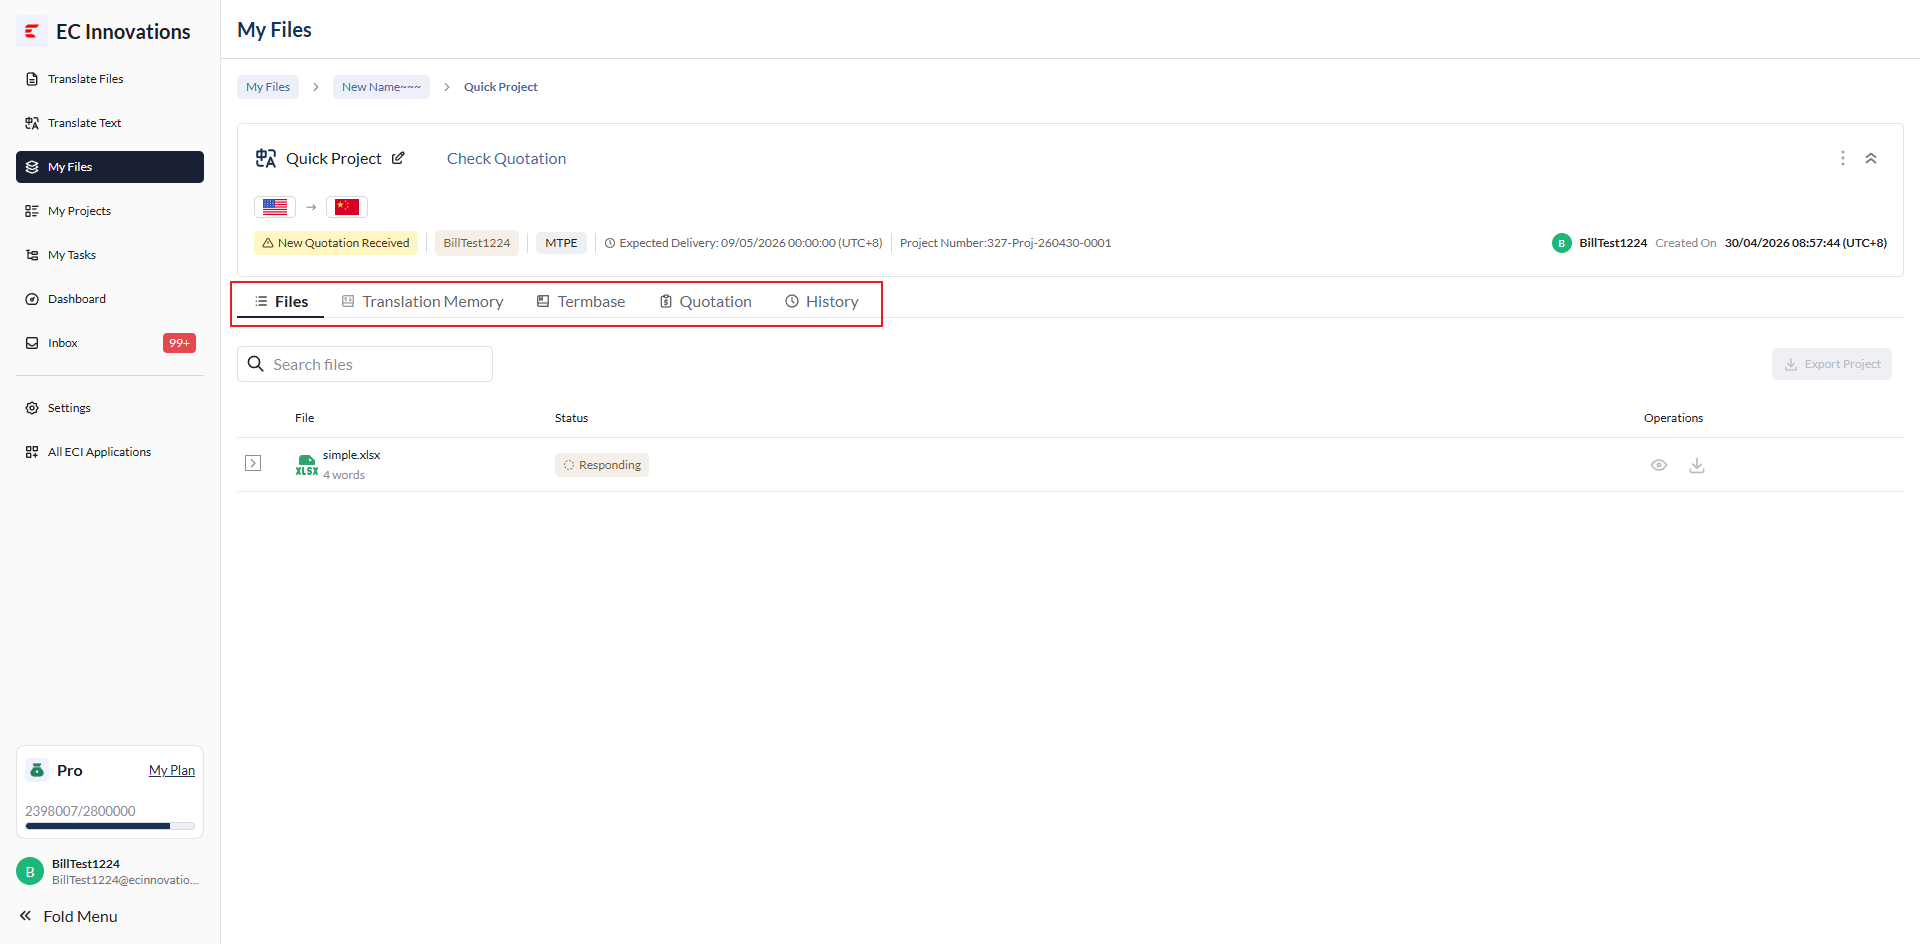
Files
View the list of files under the project.
Top Action Buttons
The following actions are available:
‘Search’: Filter by file name.
‘Export Project’: Export the project. The operation is the same as exporting a project under a folder.
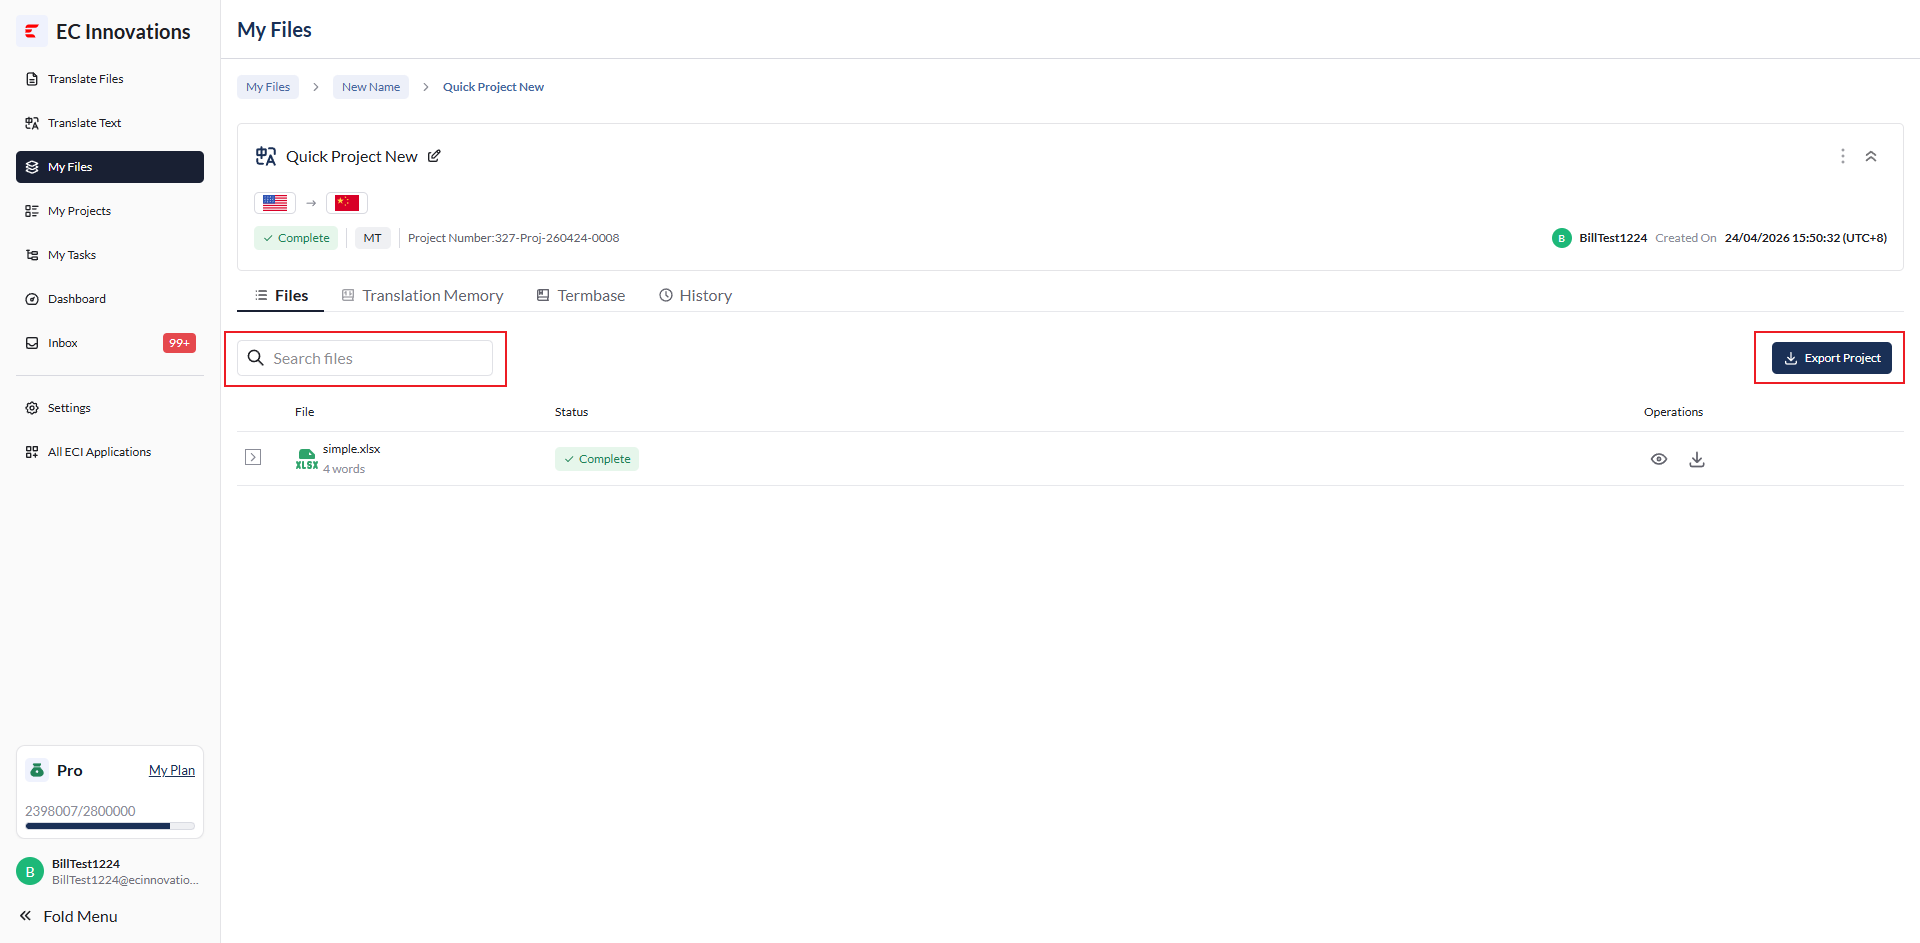
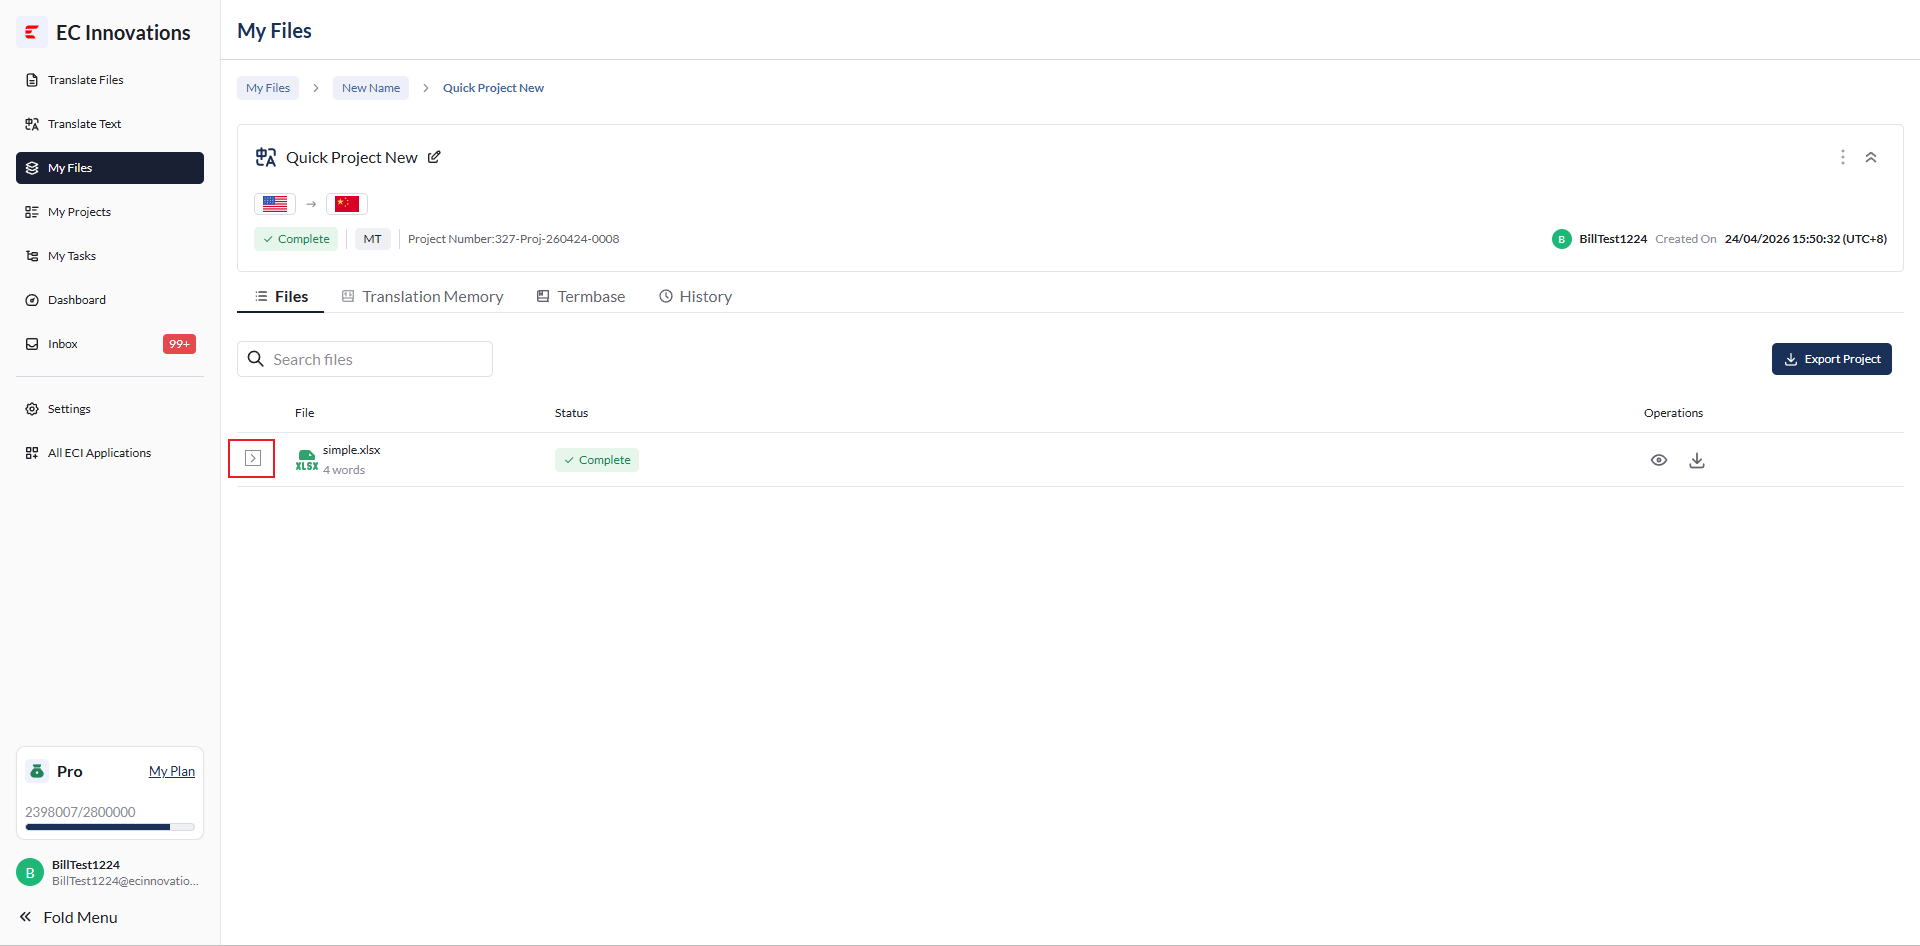
File Action Buttons
Expand or collapse a file.
Before expanding:
After expanding:
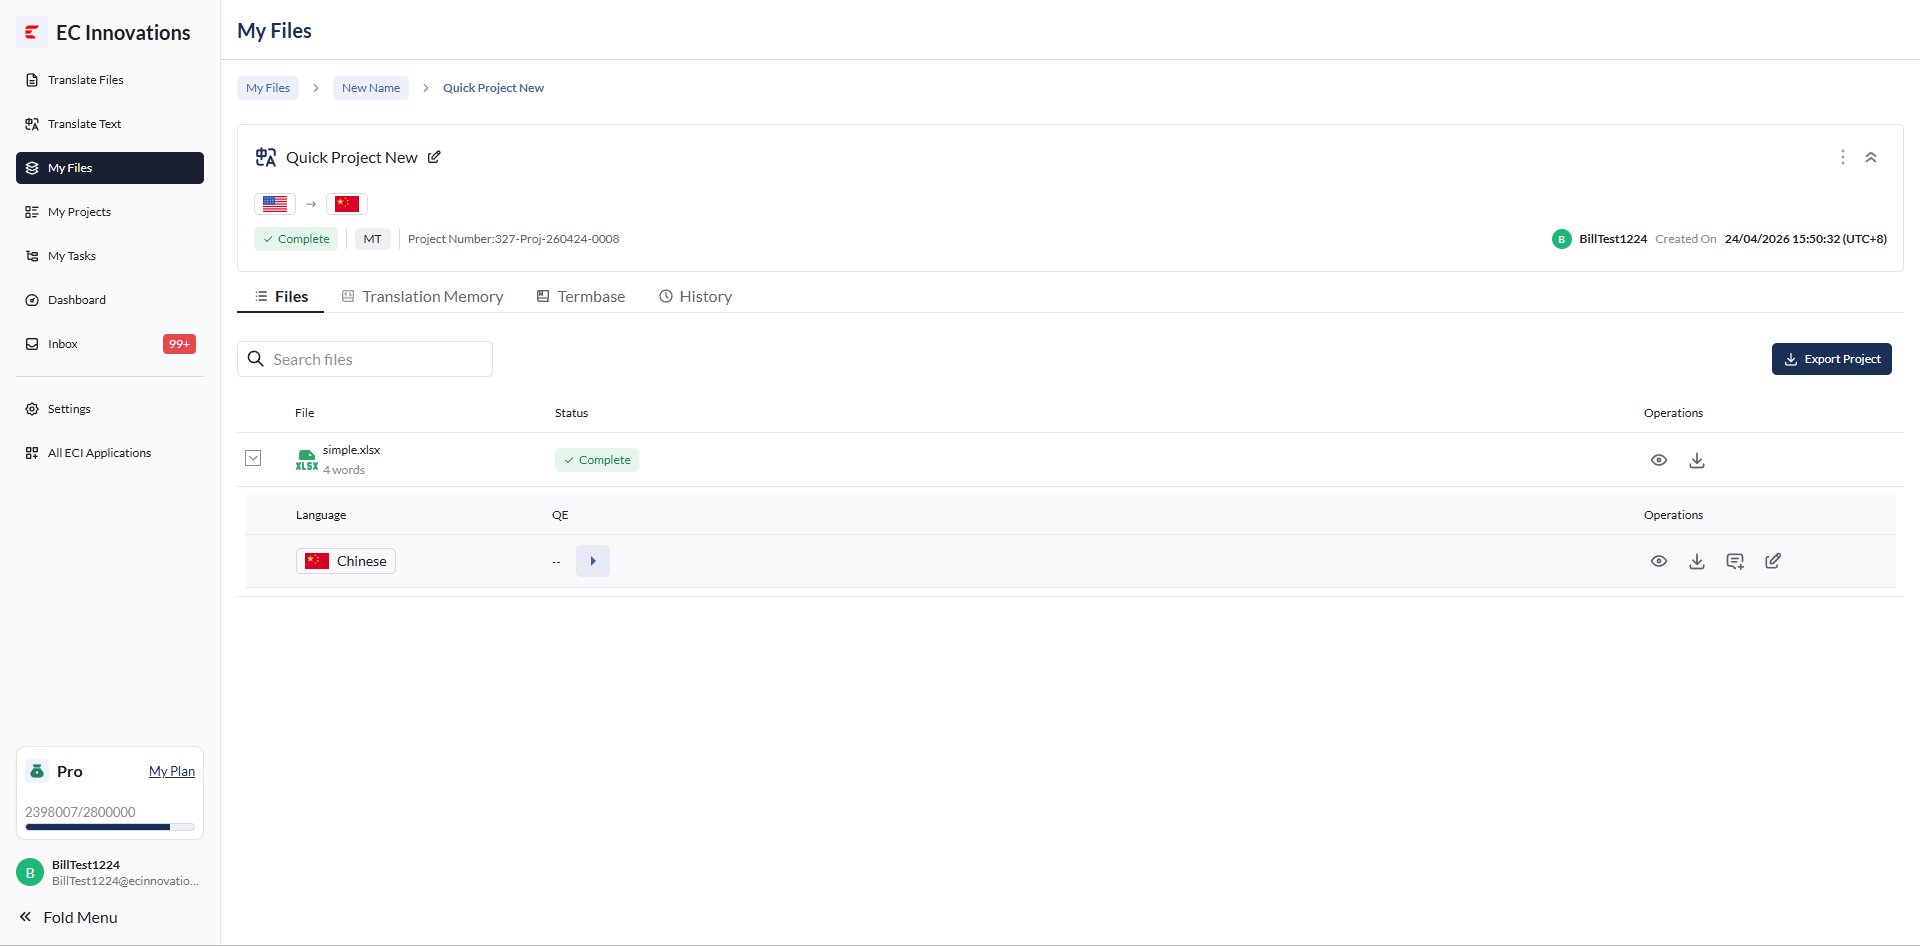
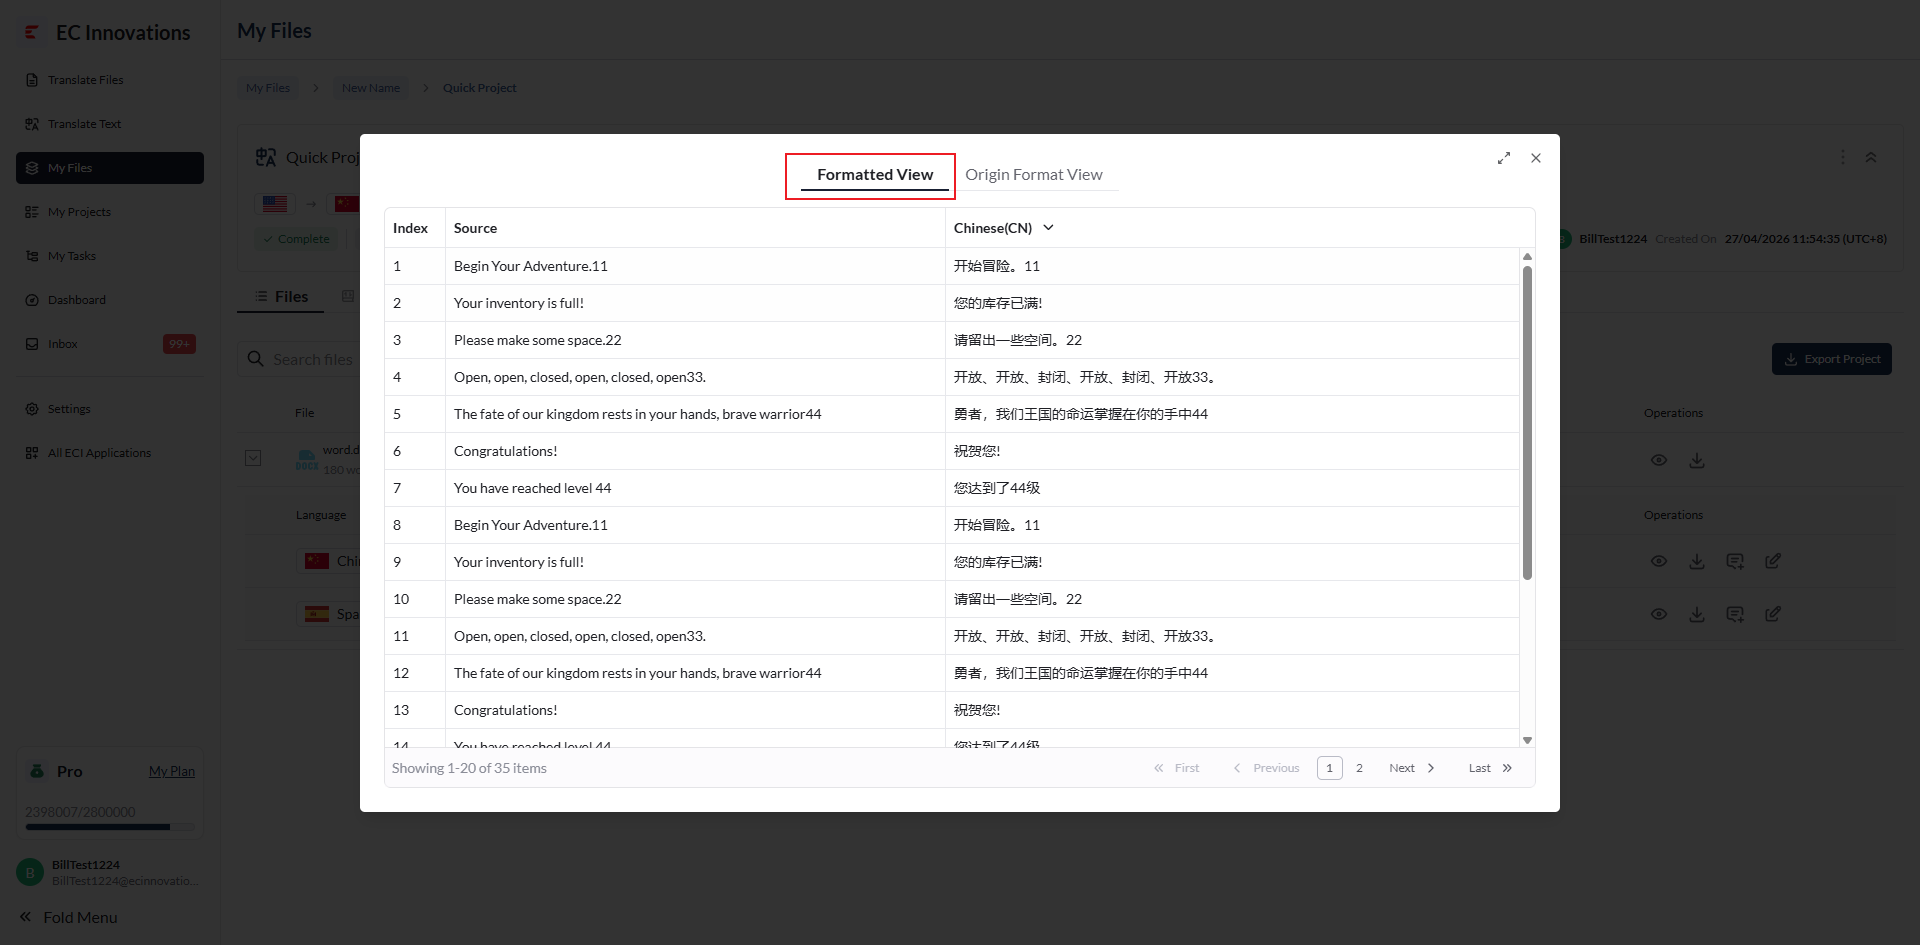
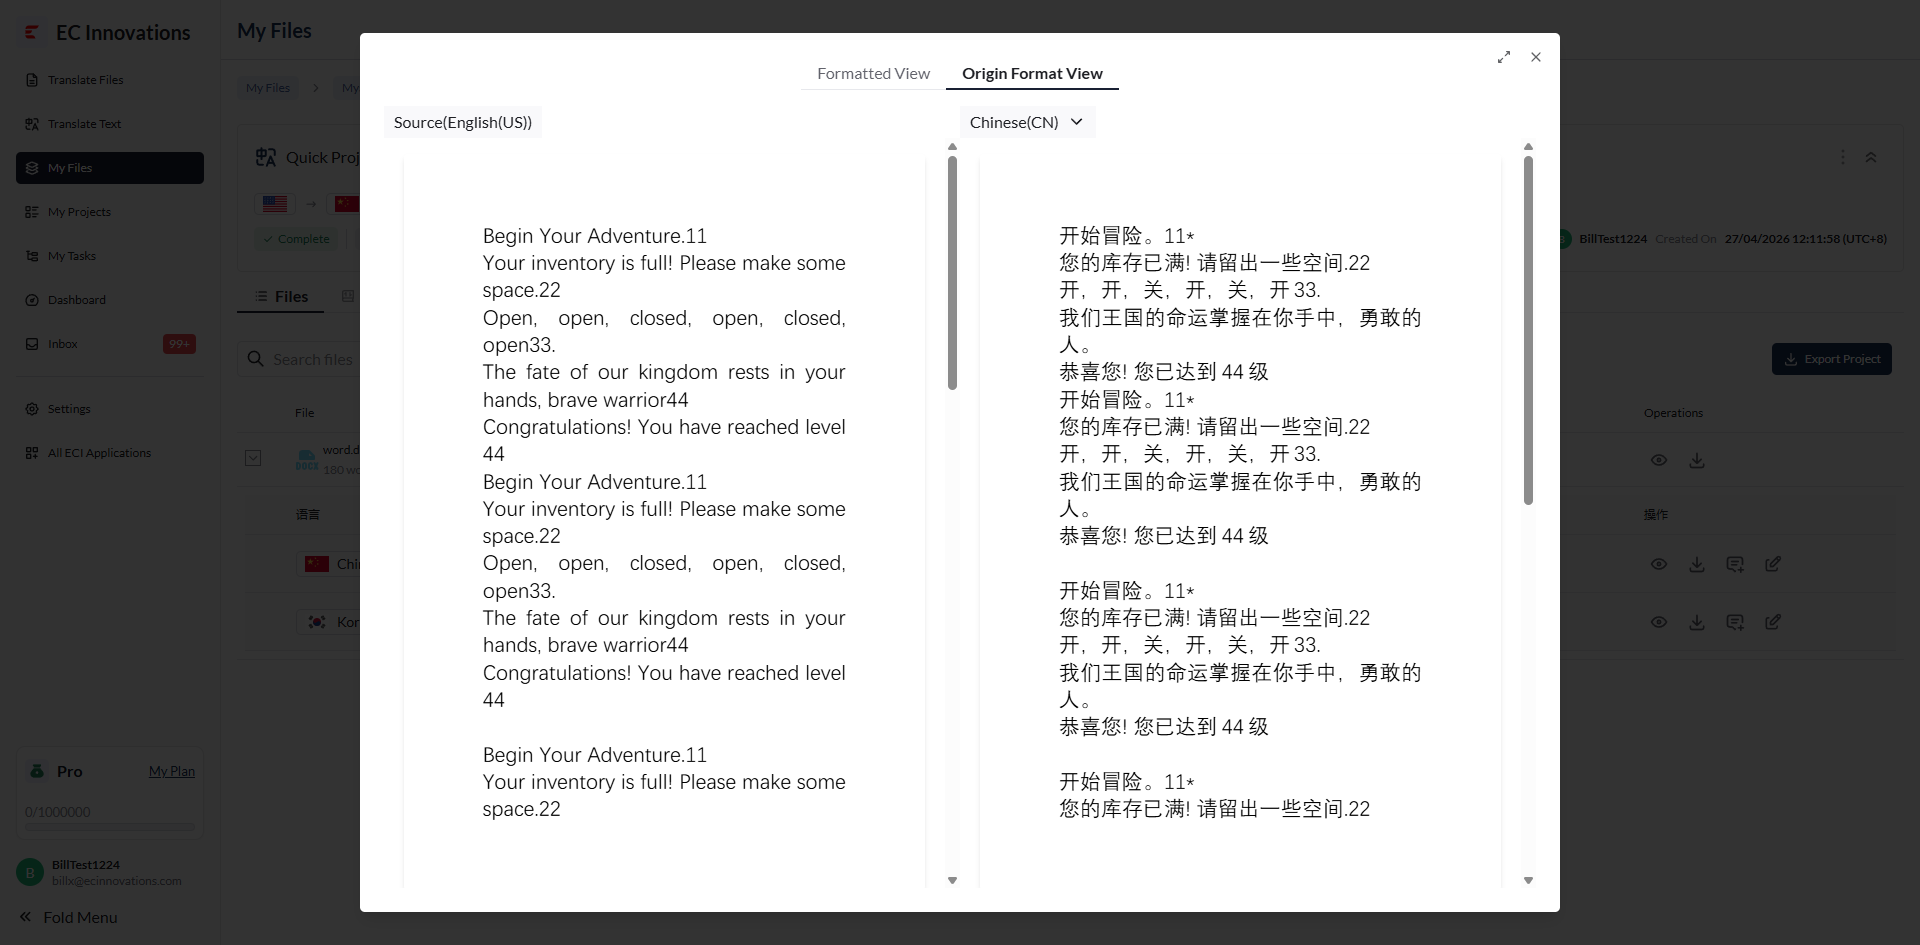
Preview a file. You can directly view the source and target text side by side.
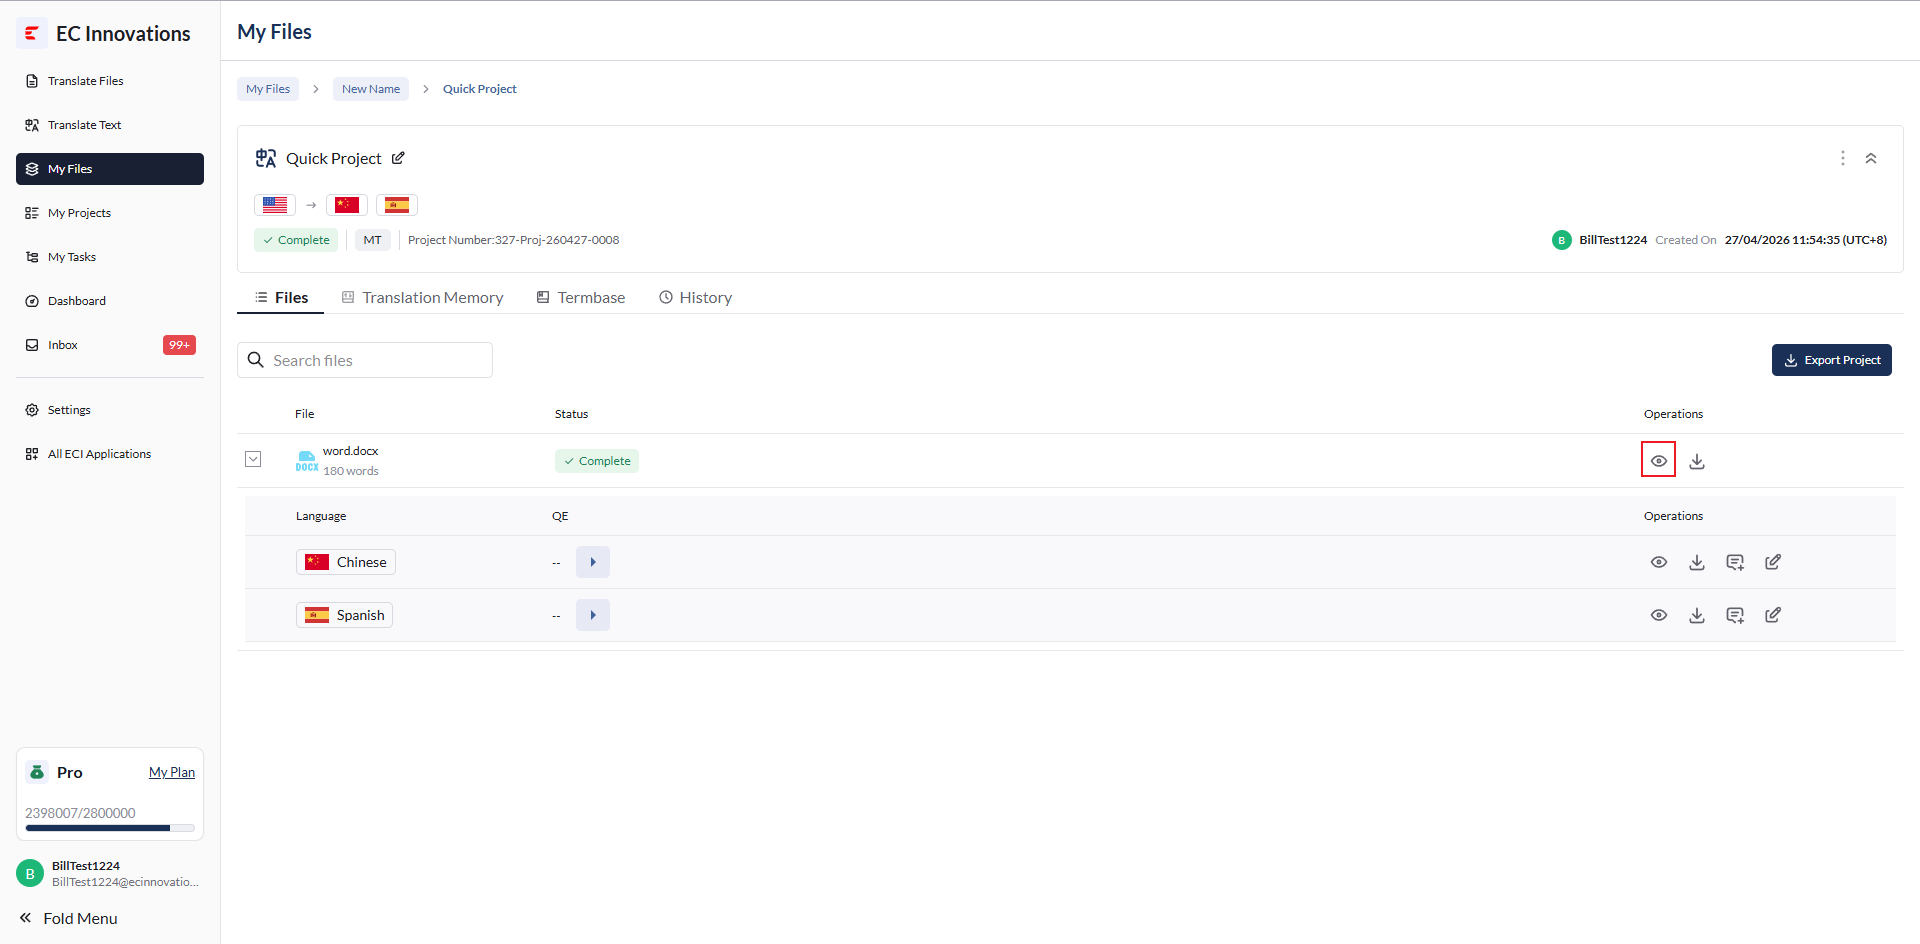
Two views are available:
Formatted View
Original Format View
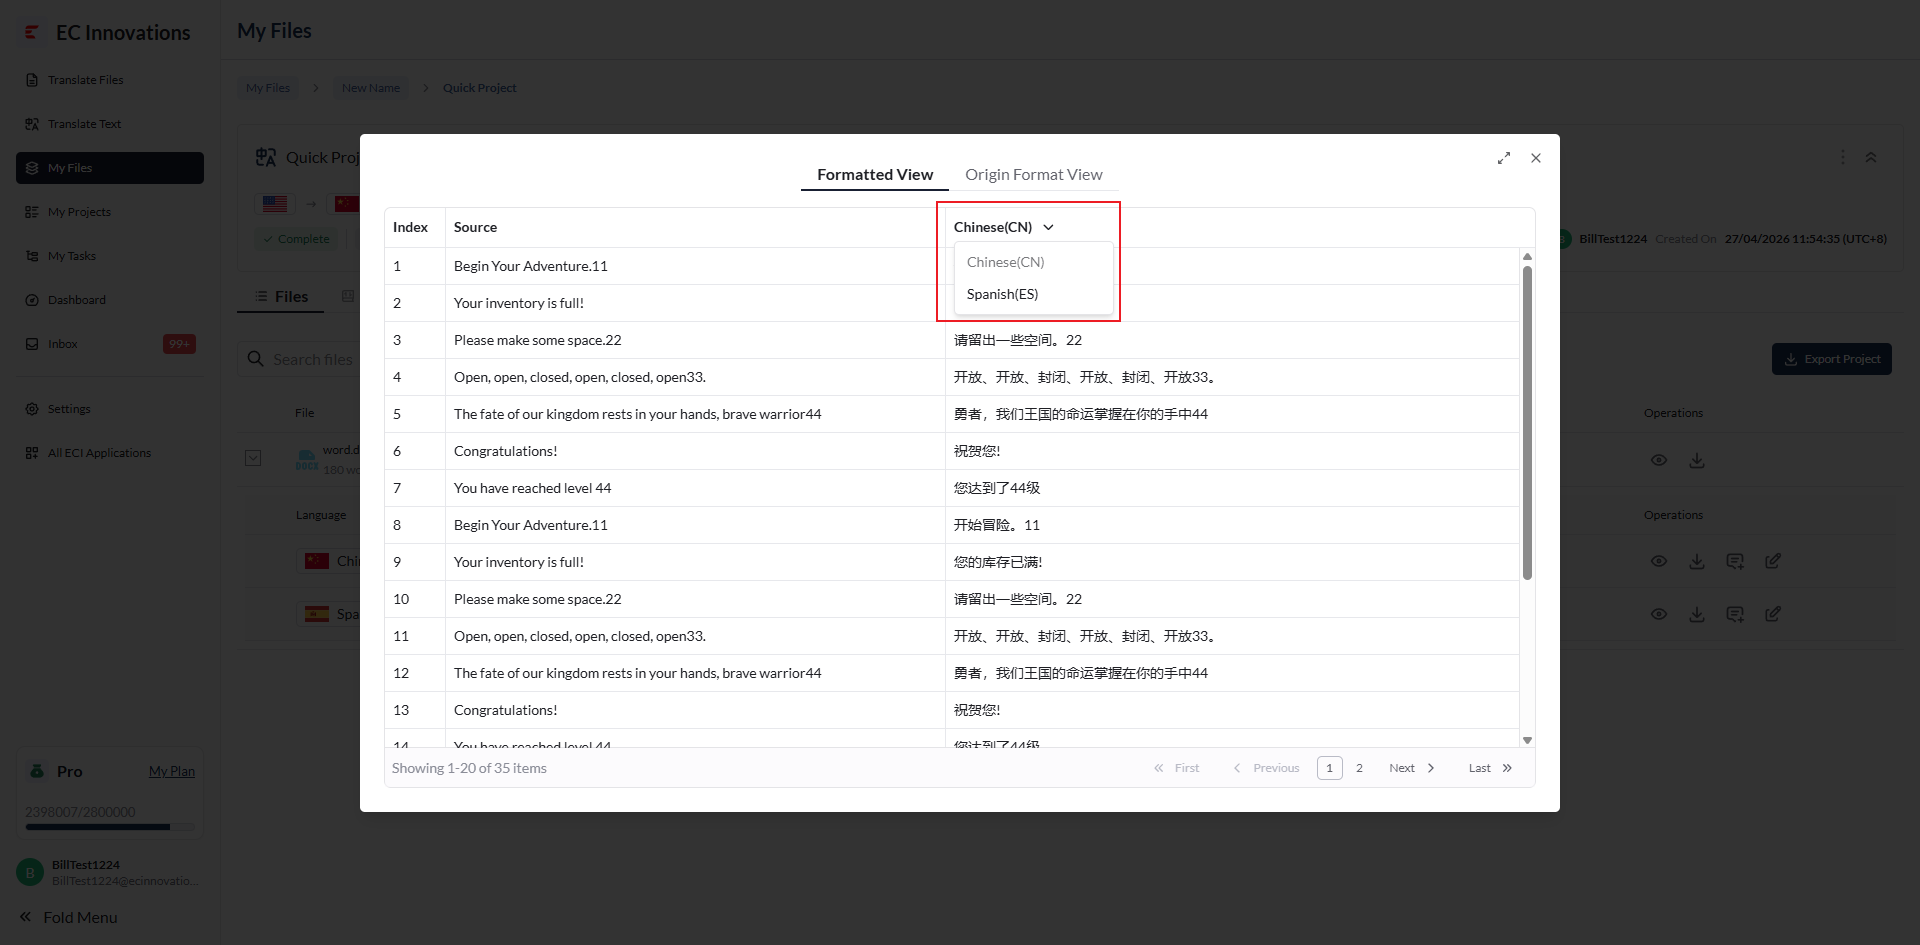
Target language switching is supported, allowing you to preview different target languages.
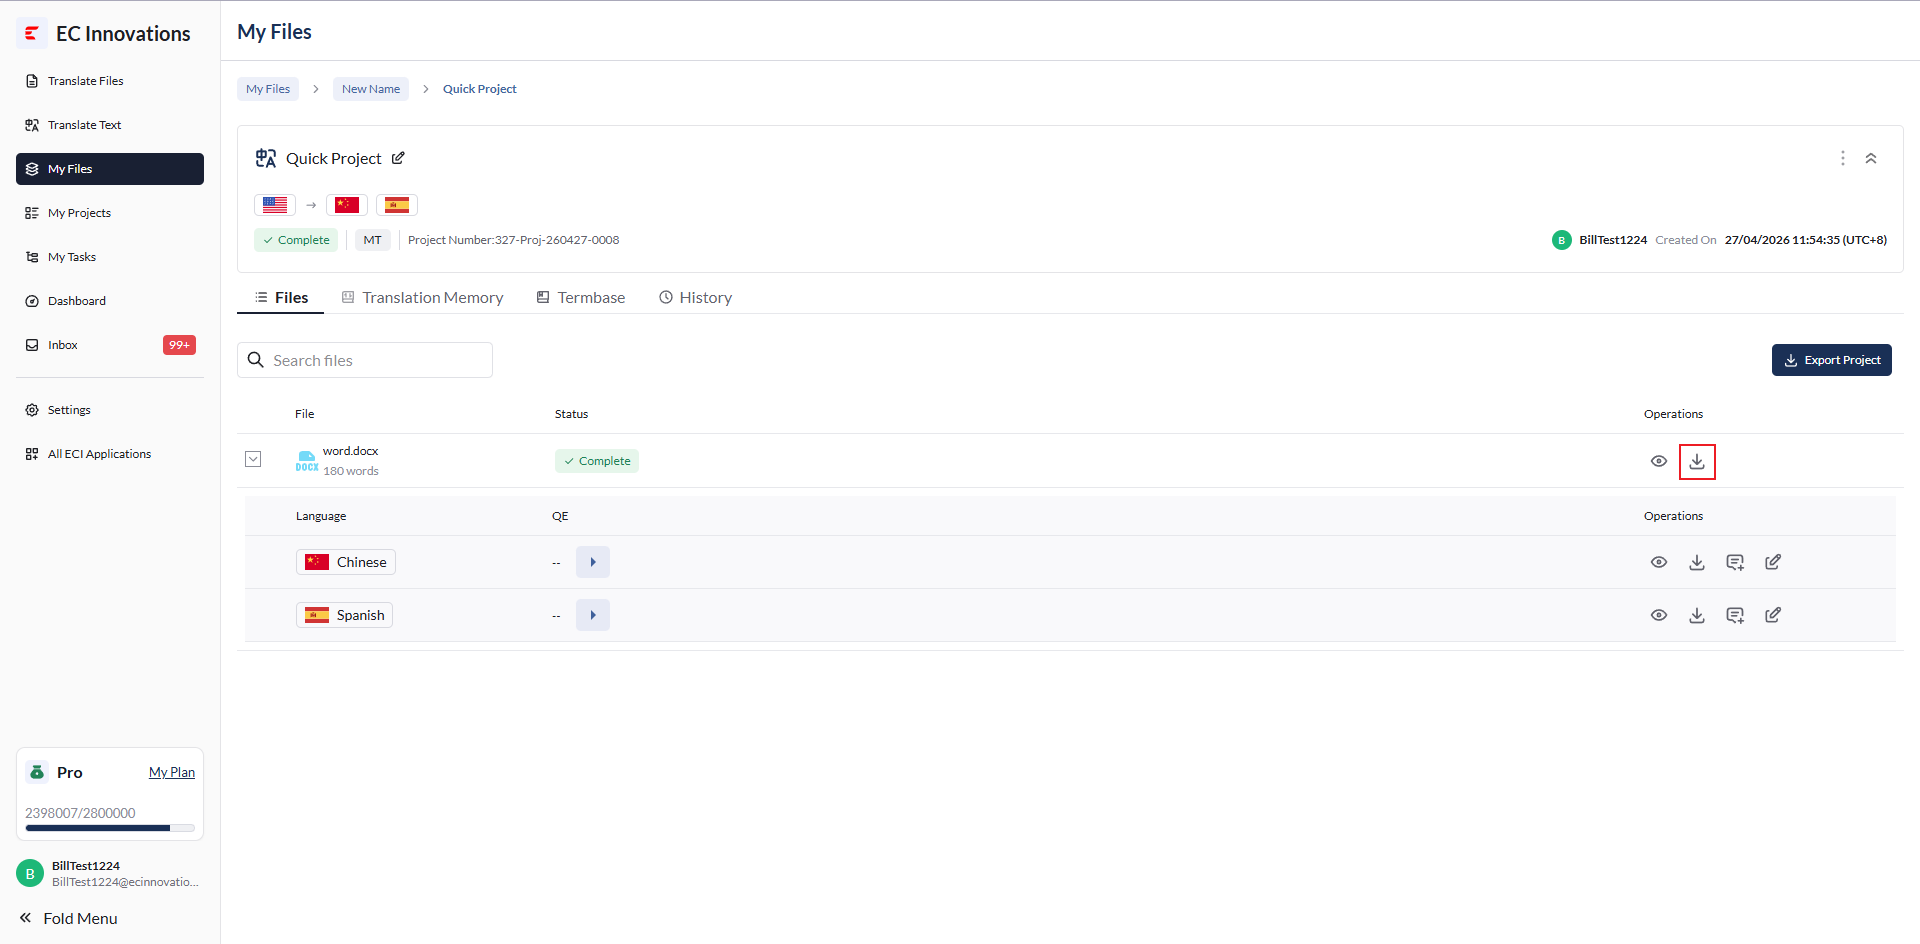
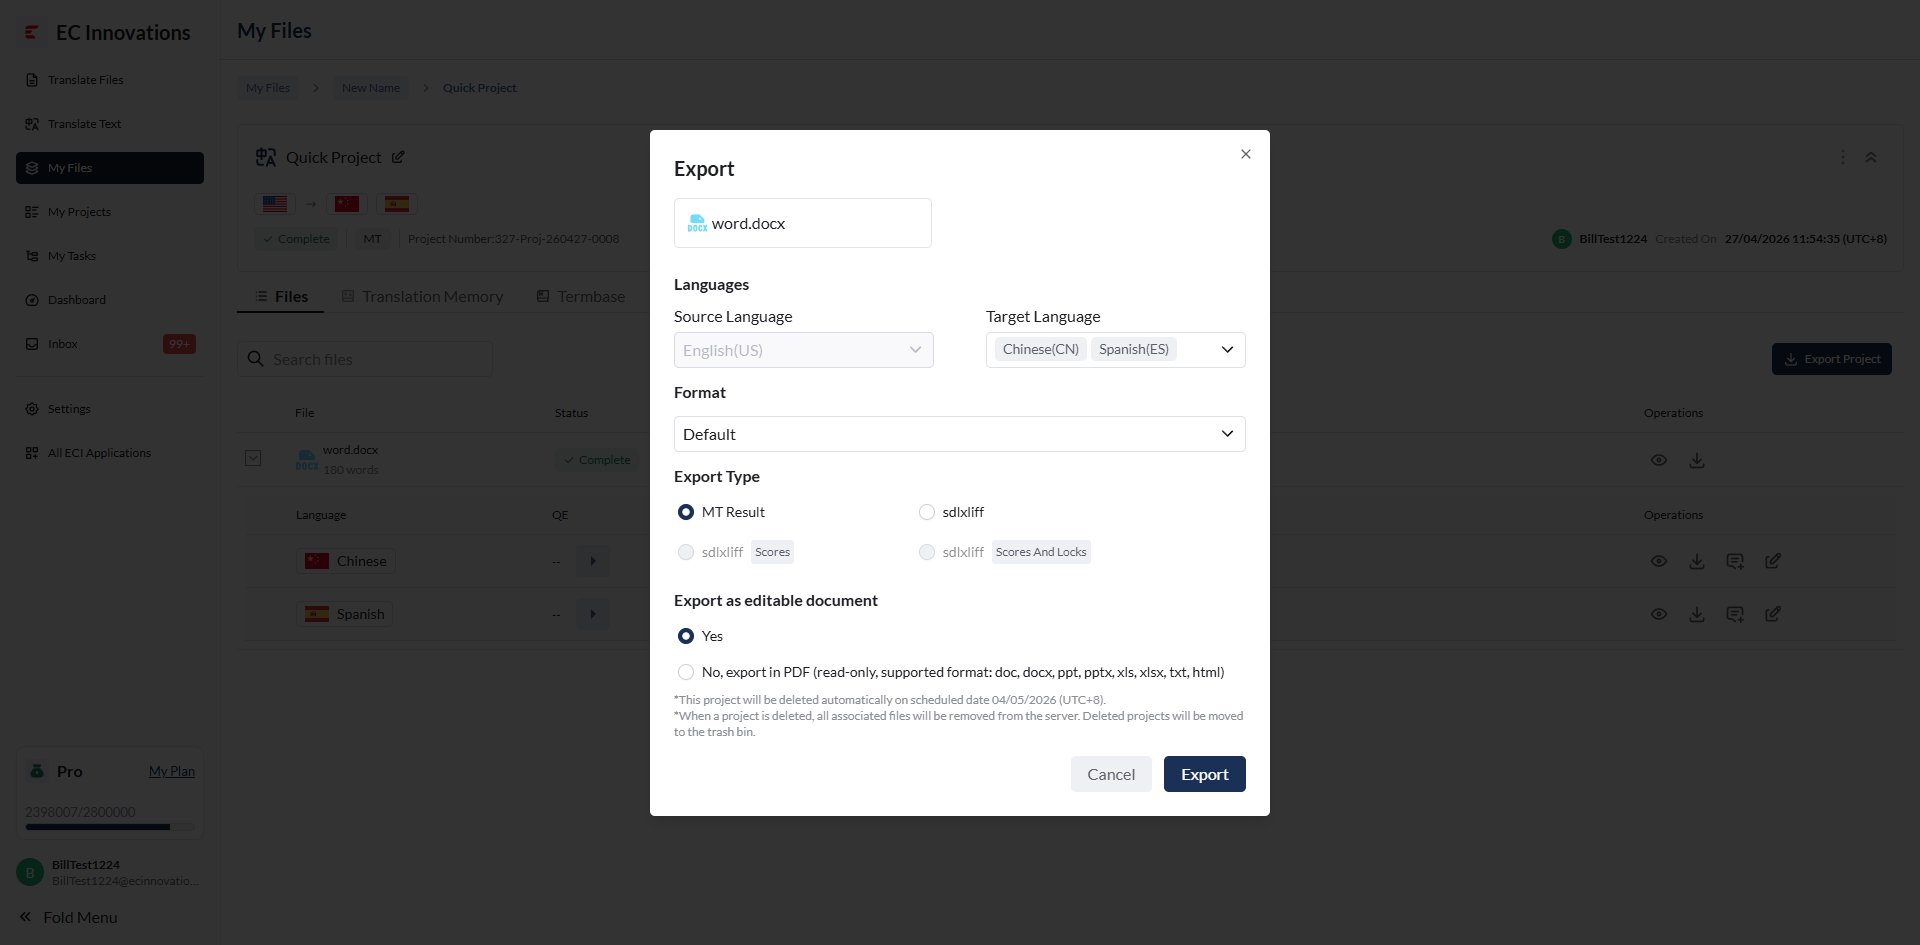
Export a file. Click the button to open the file export pop-up. After configuration, click ‘Export’ to export the file.
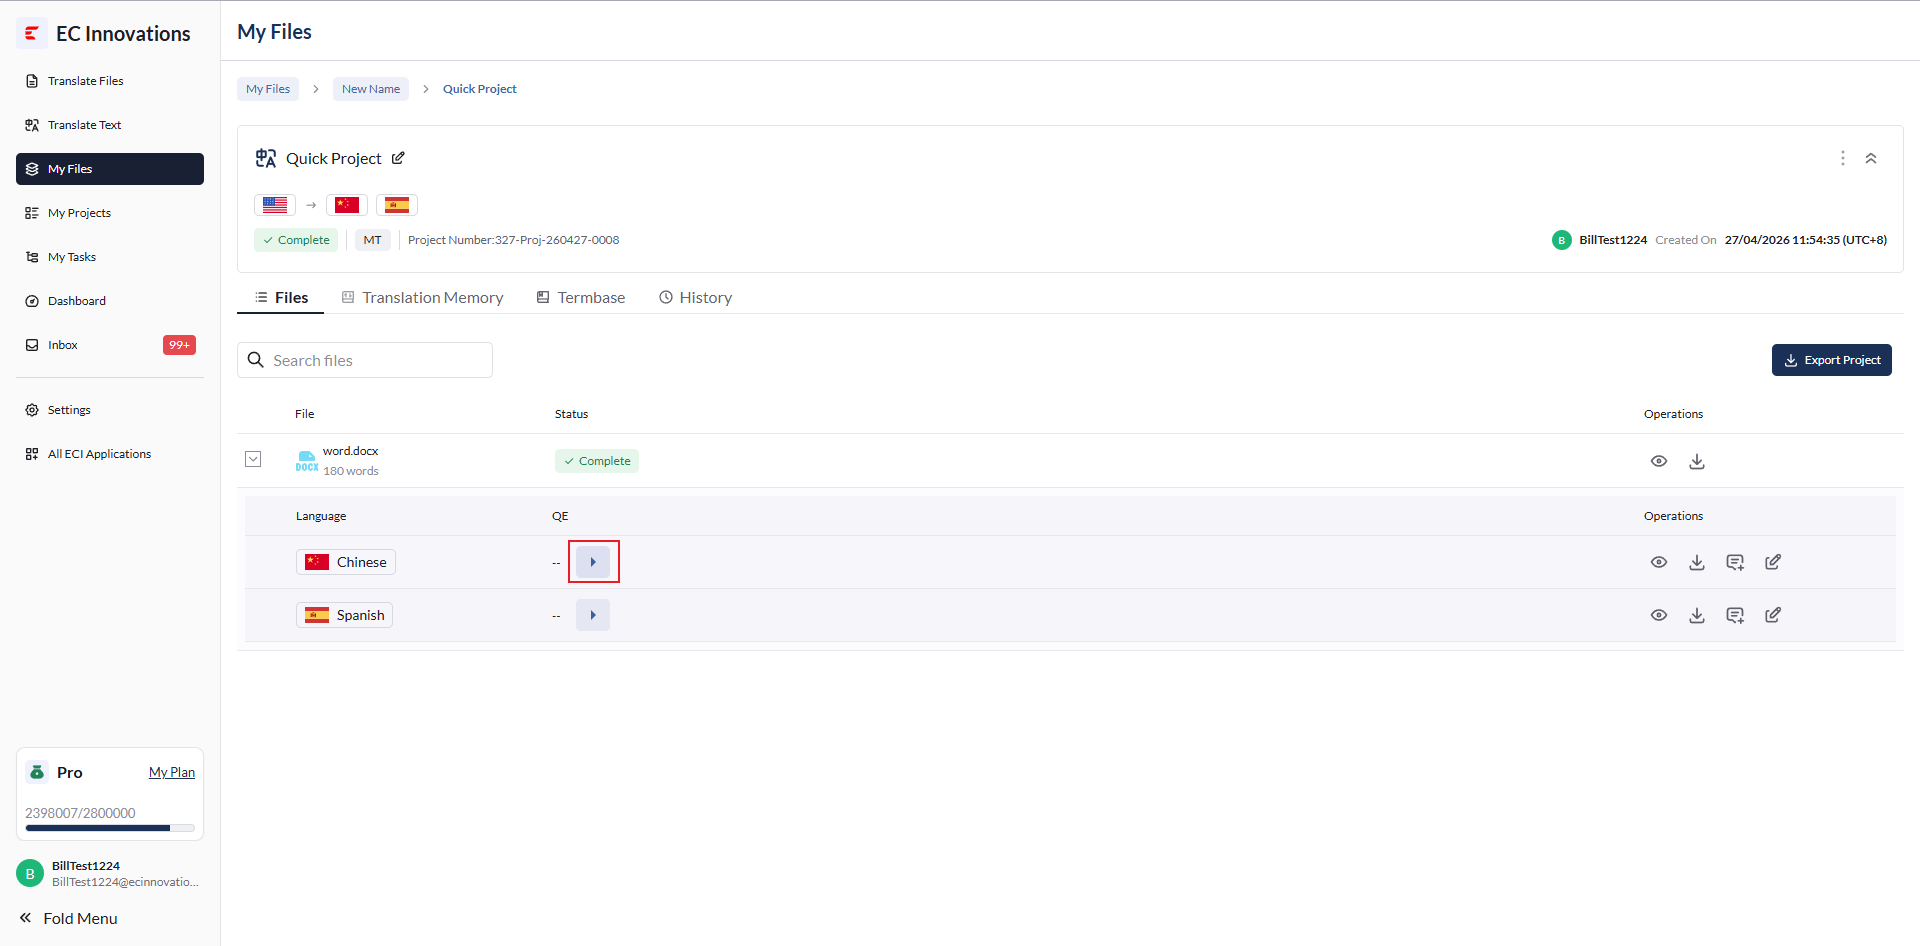
Actions for Different Target Languages
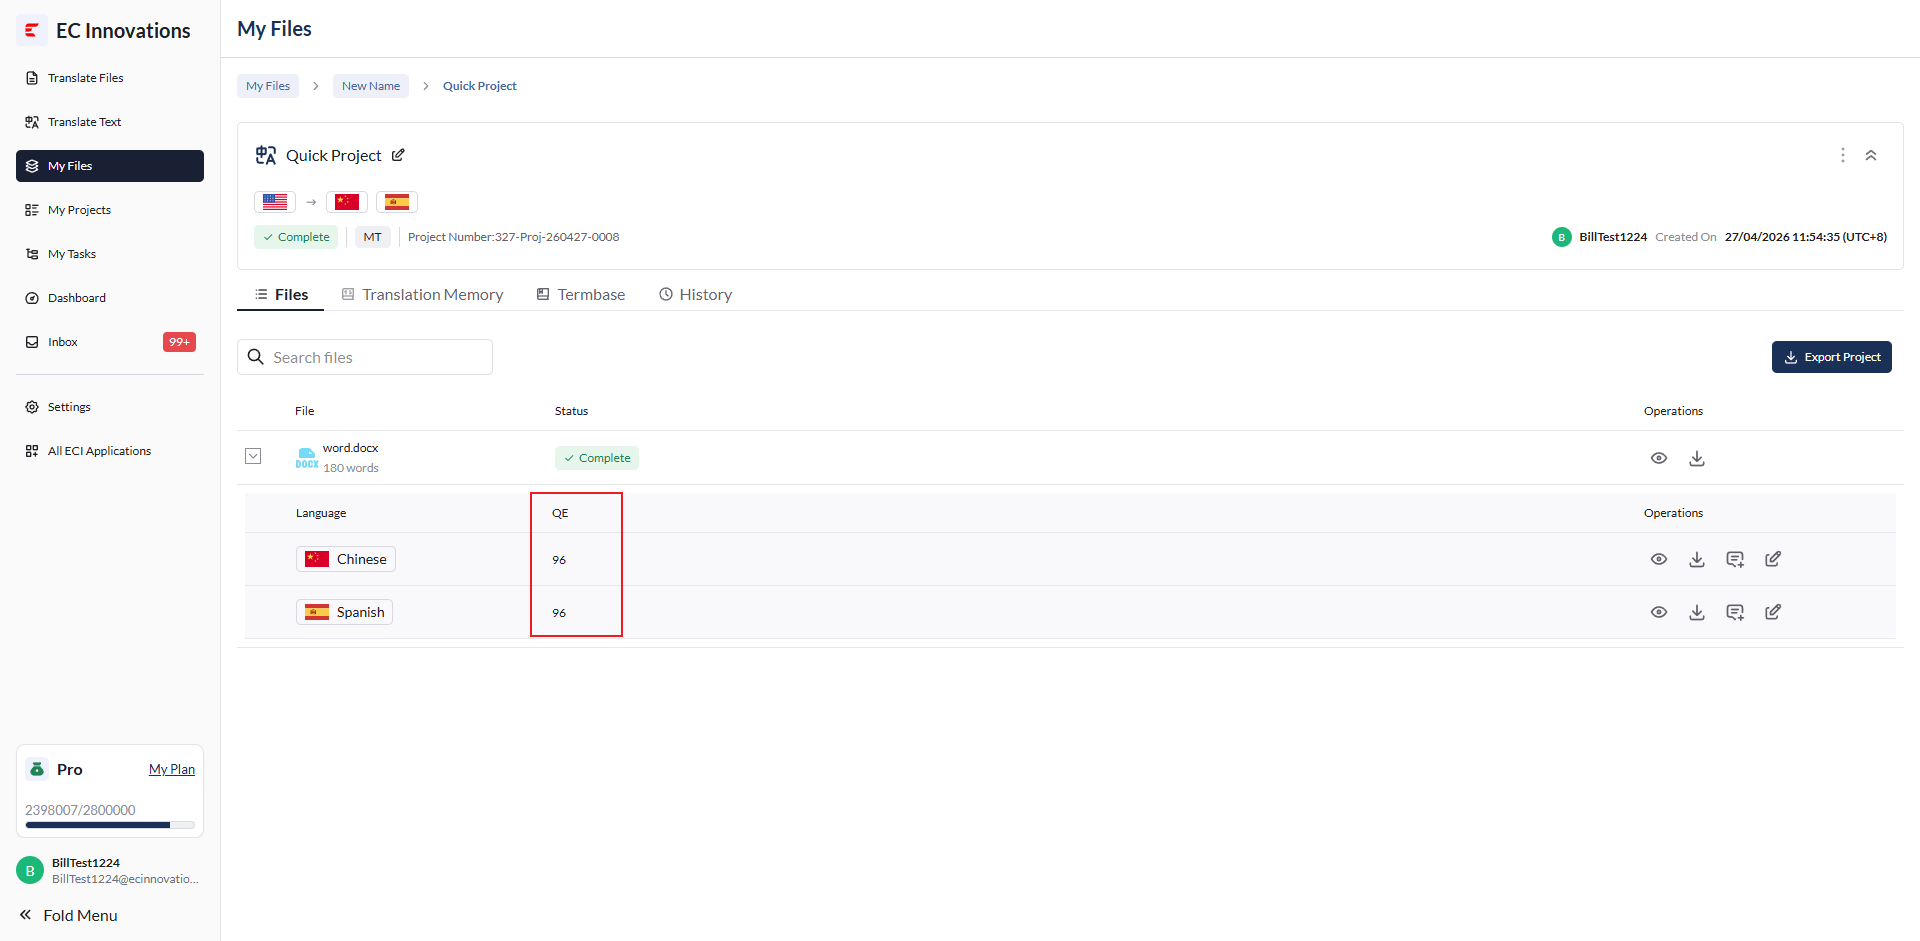
QE query: View an overall QE score preview for the translation.
Preview: Same as file-level preview.
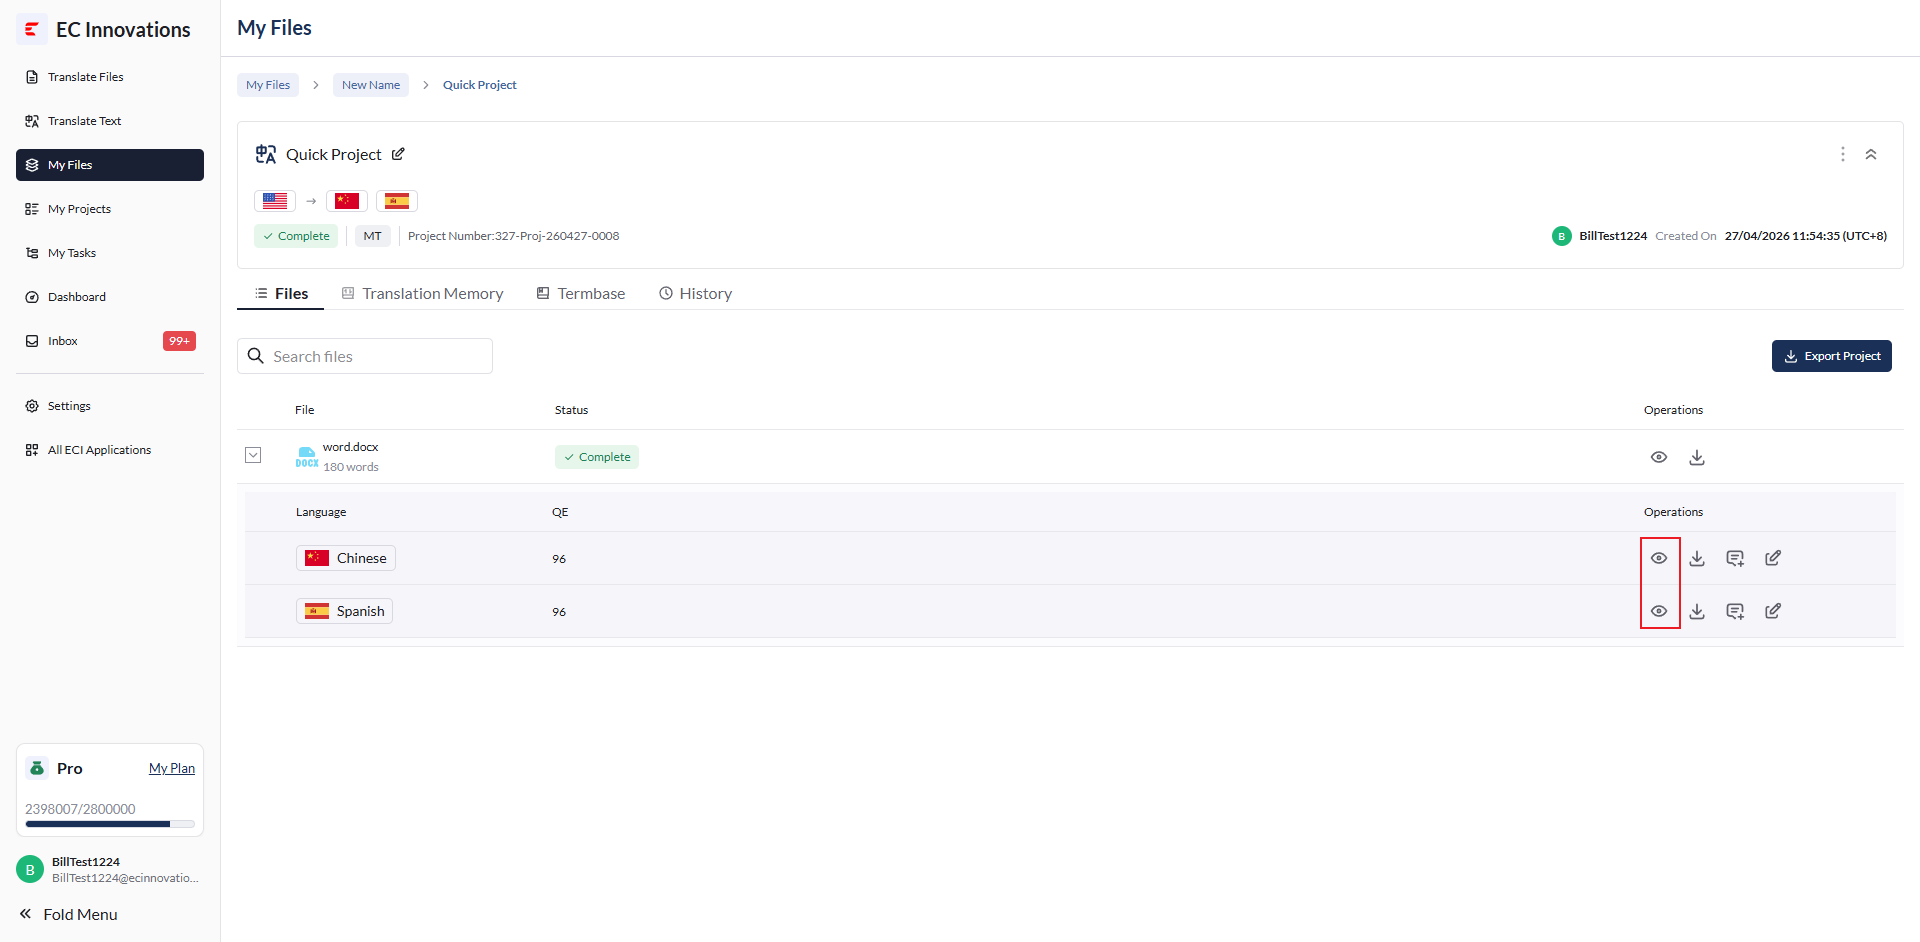
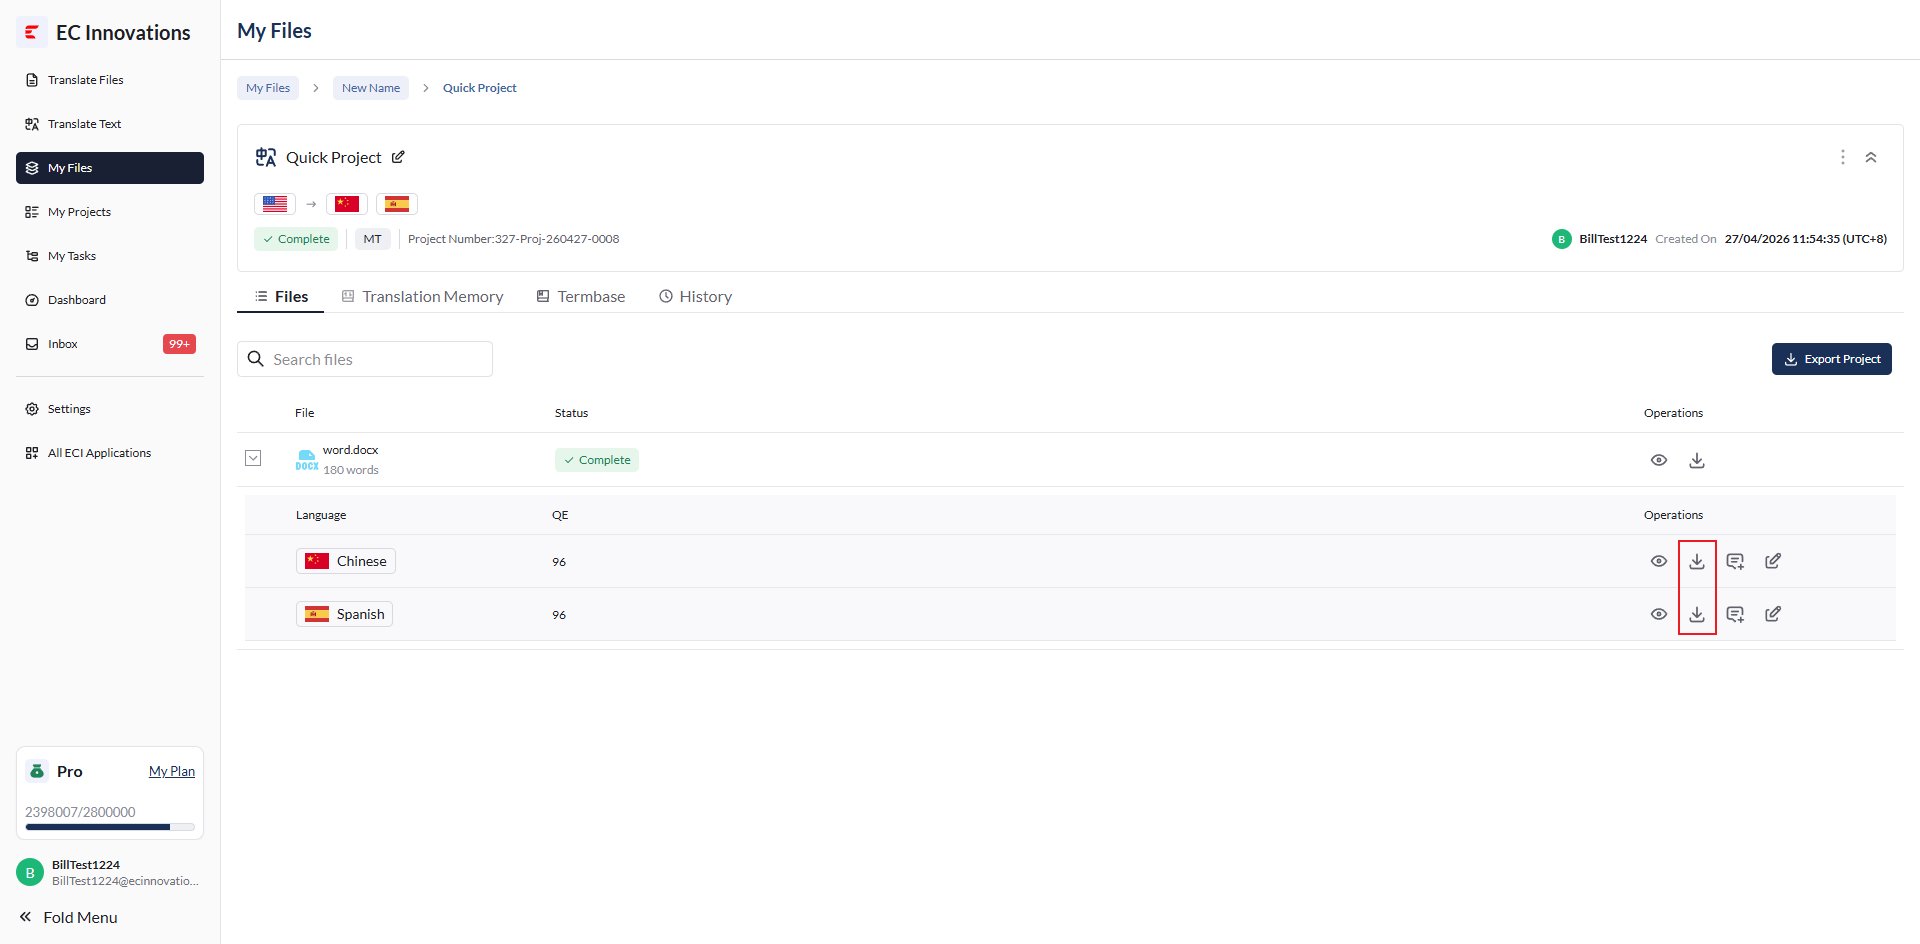
Export file: Same as file-level export.
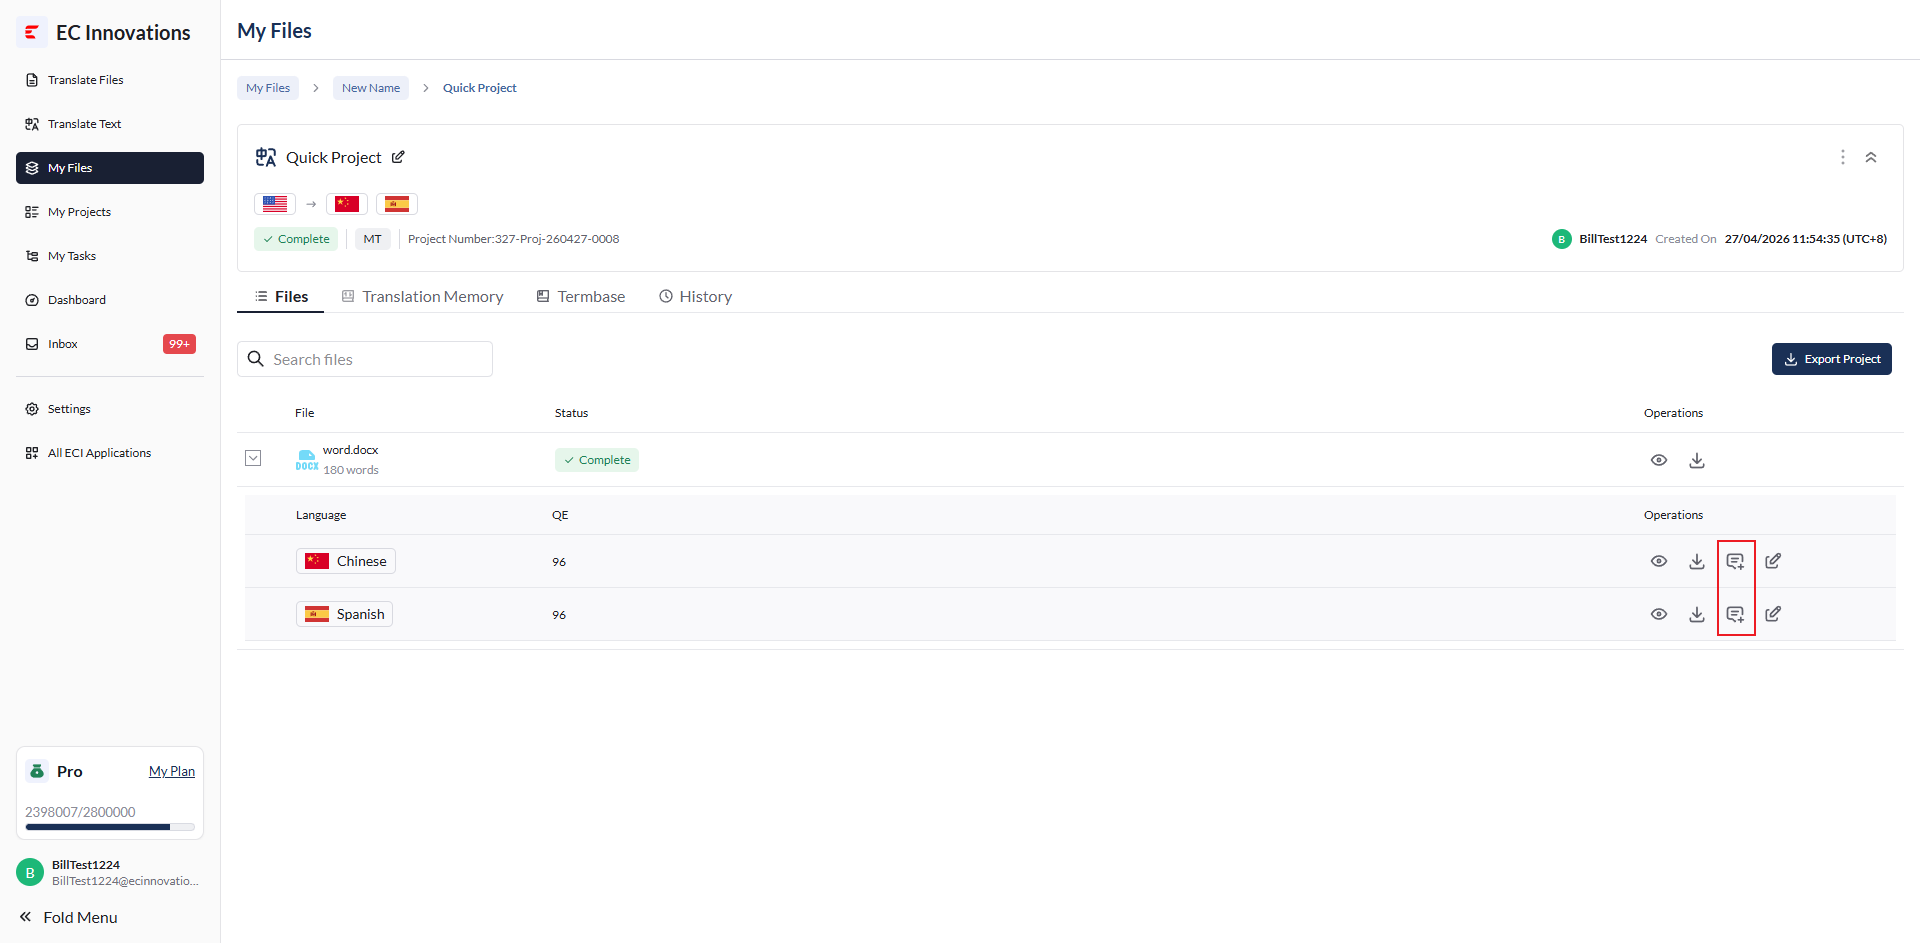
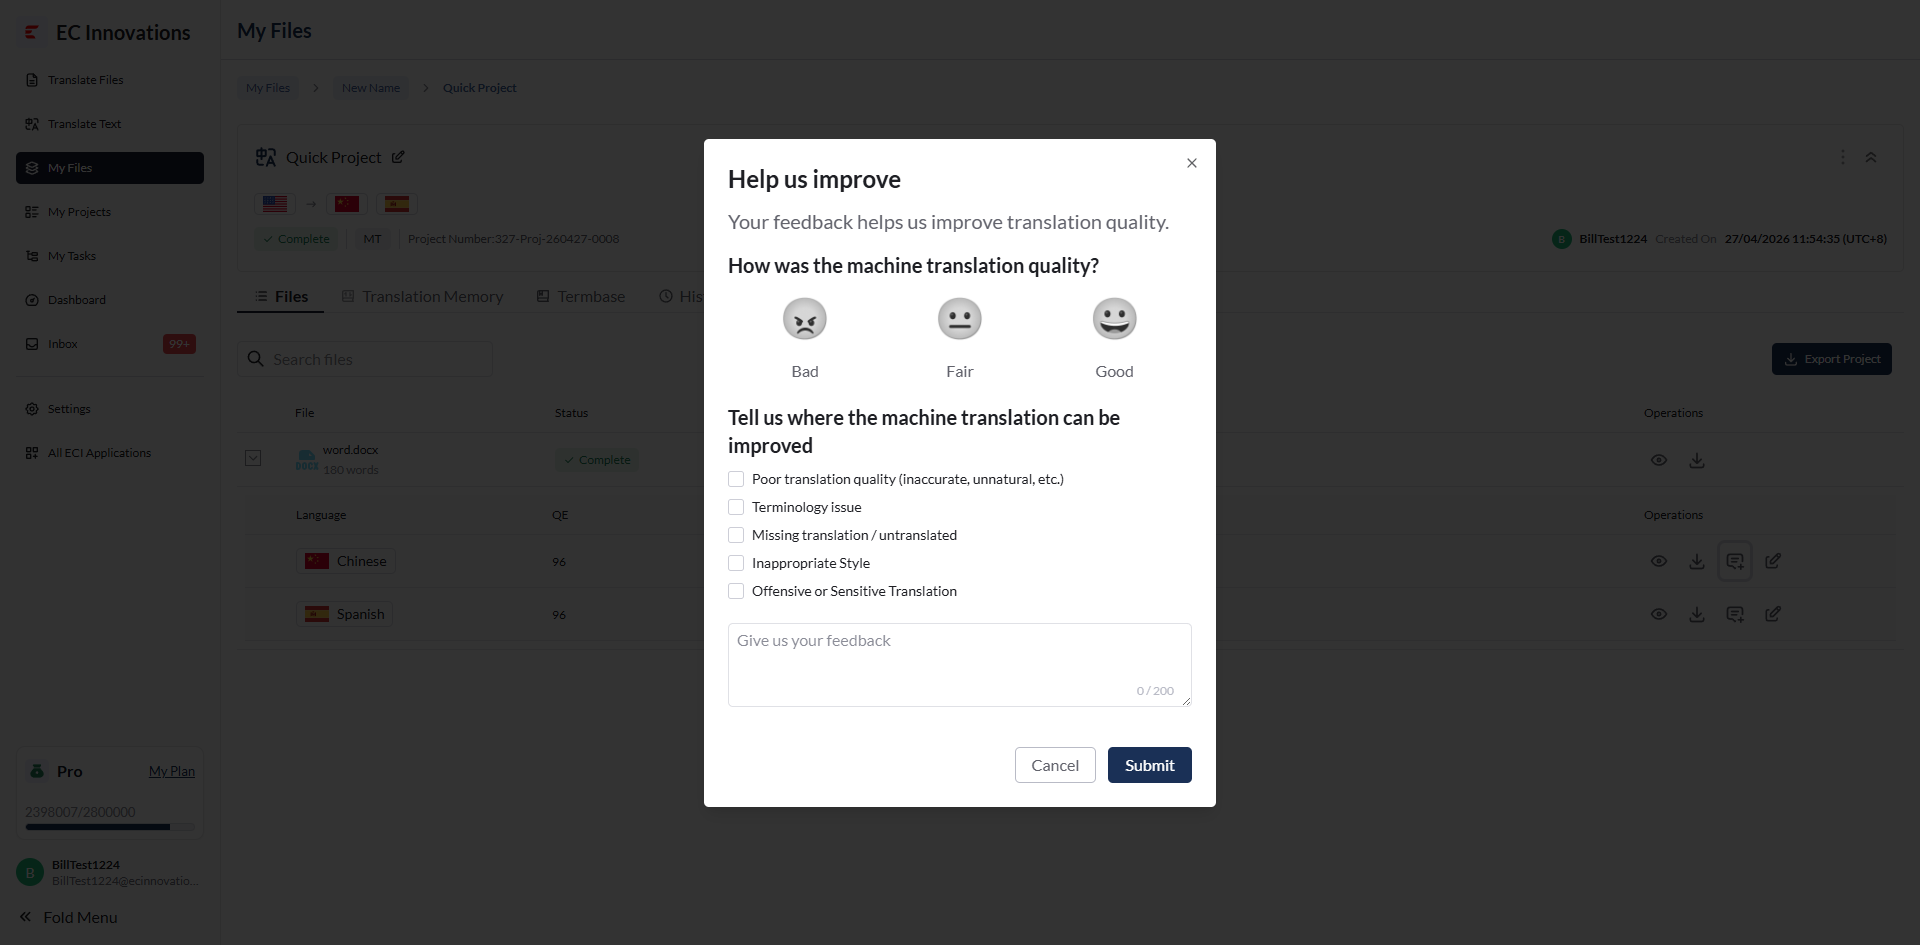
Machine translation quality feedback: Select the machine translation quality, then click ‘Submit’ to submit feedback.
Edit: If you are not satisfied with machine-translated segments, you can open the online CAT tool for detailed segment-level editing. Supported actions include target text editing, tag insertion, TM/TB lookup, and more.
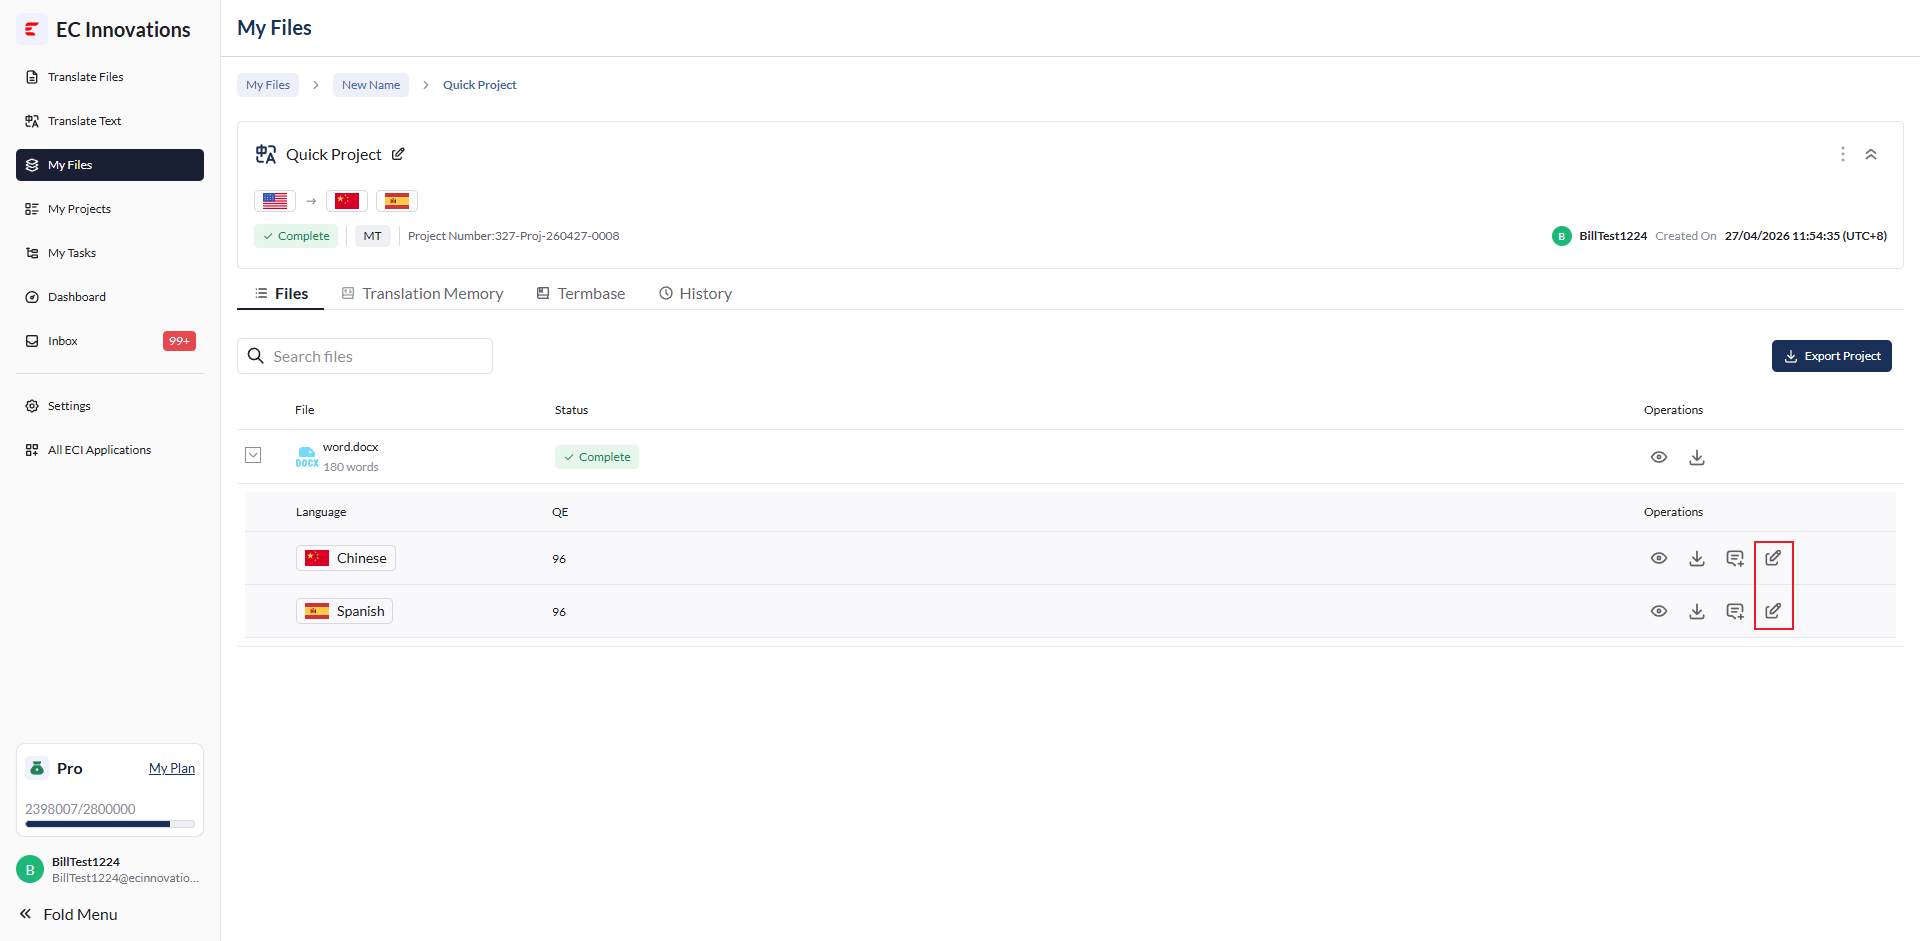
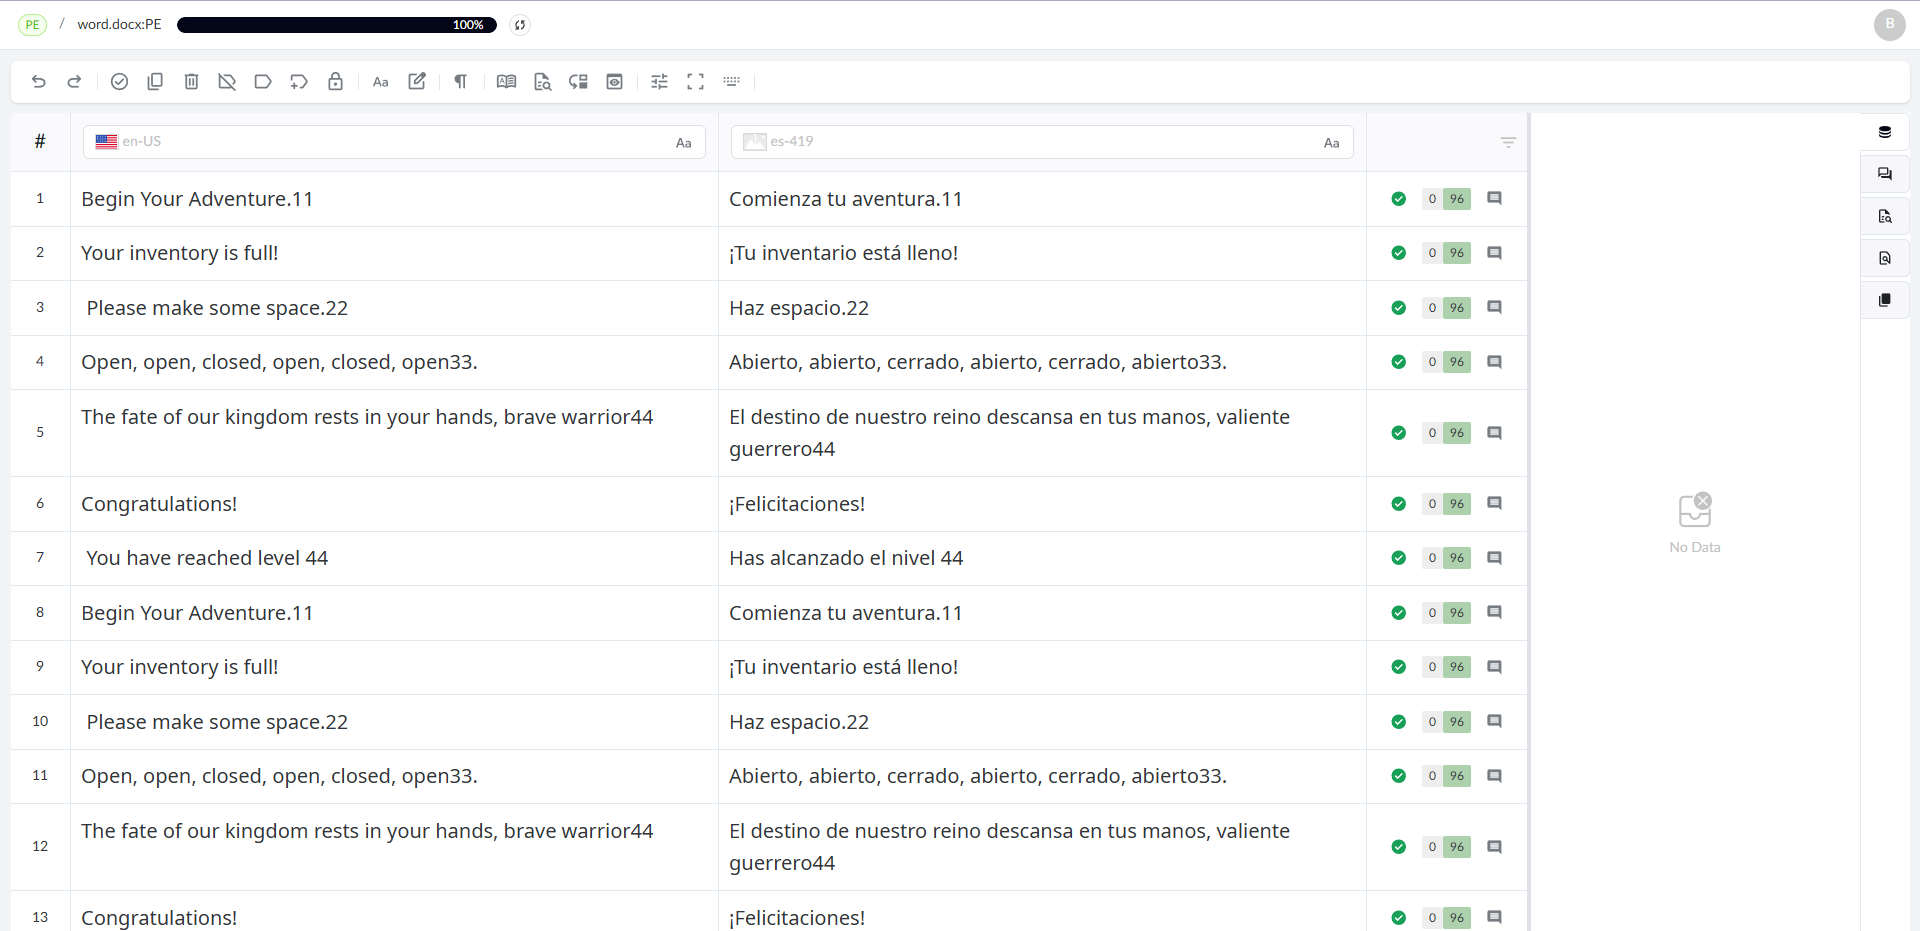
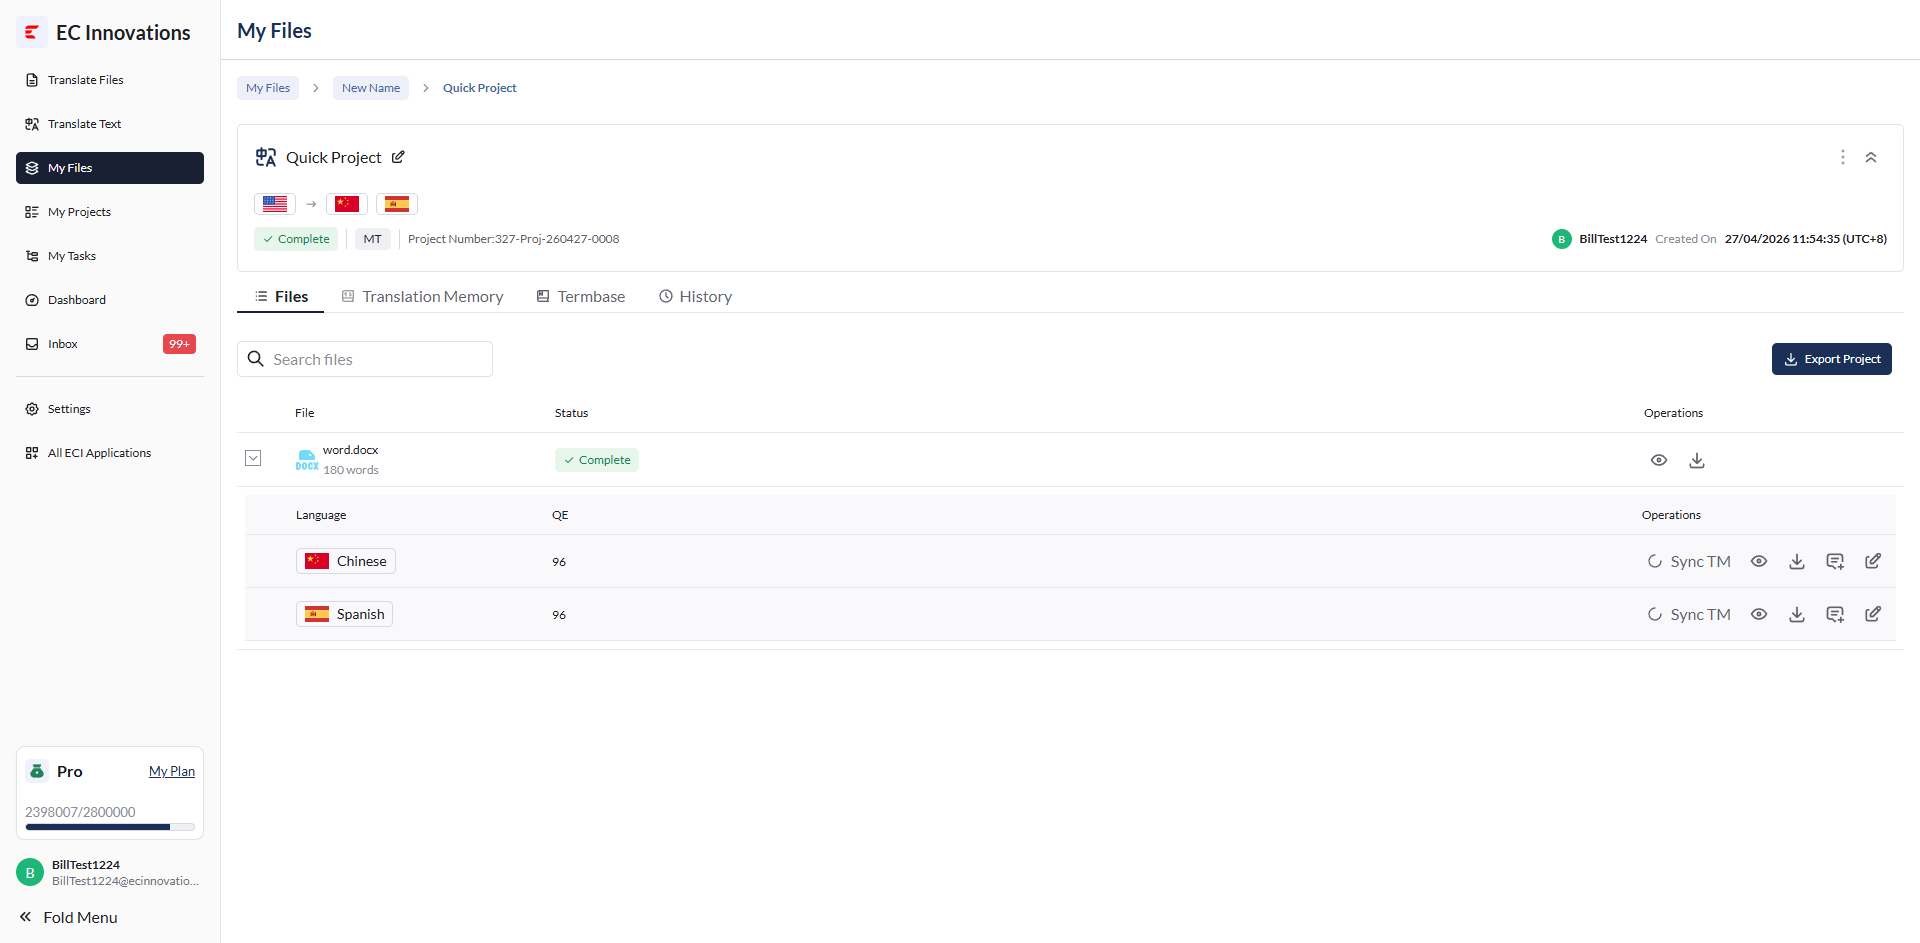
After editing in CAT, the ‘Sync TM’ button appears. You can sync the edited content to a translation memory.
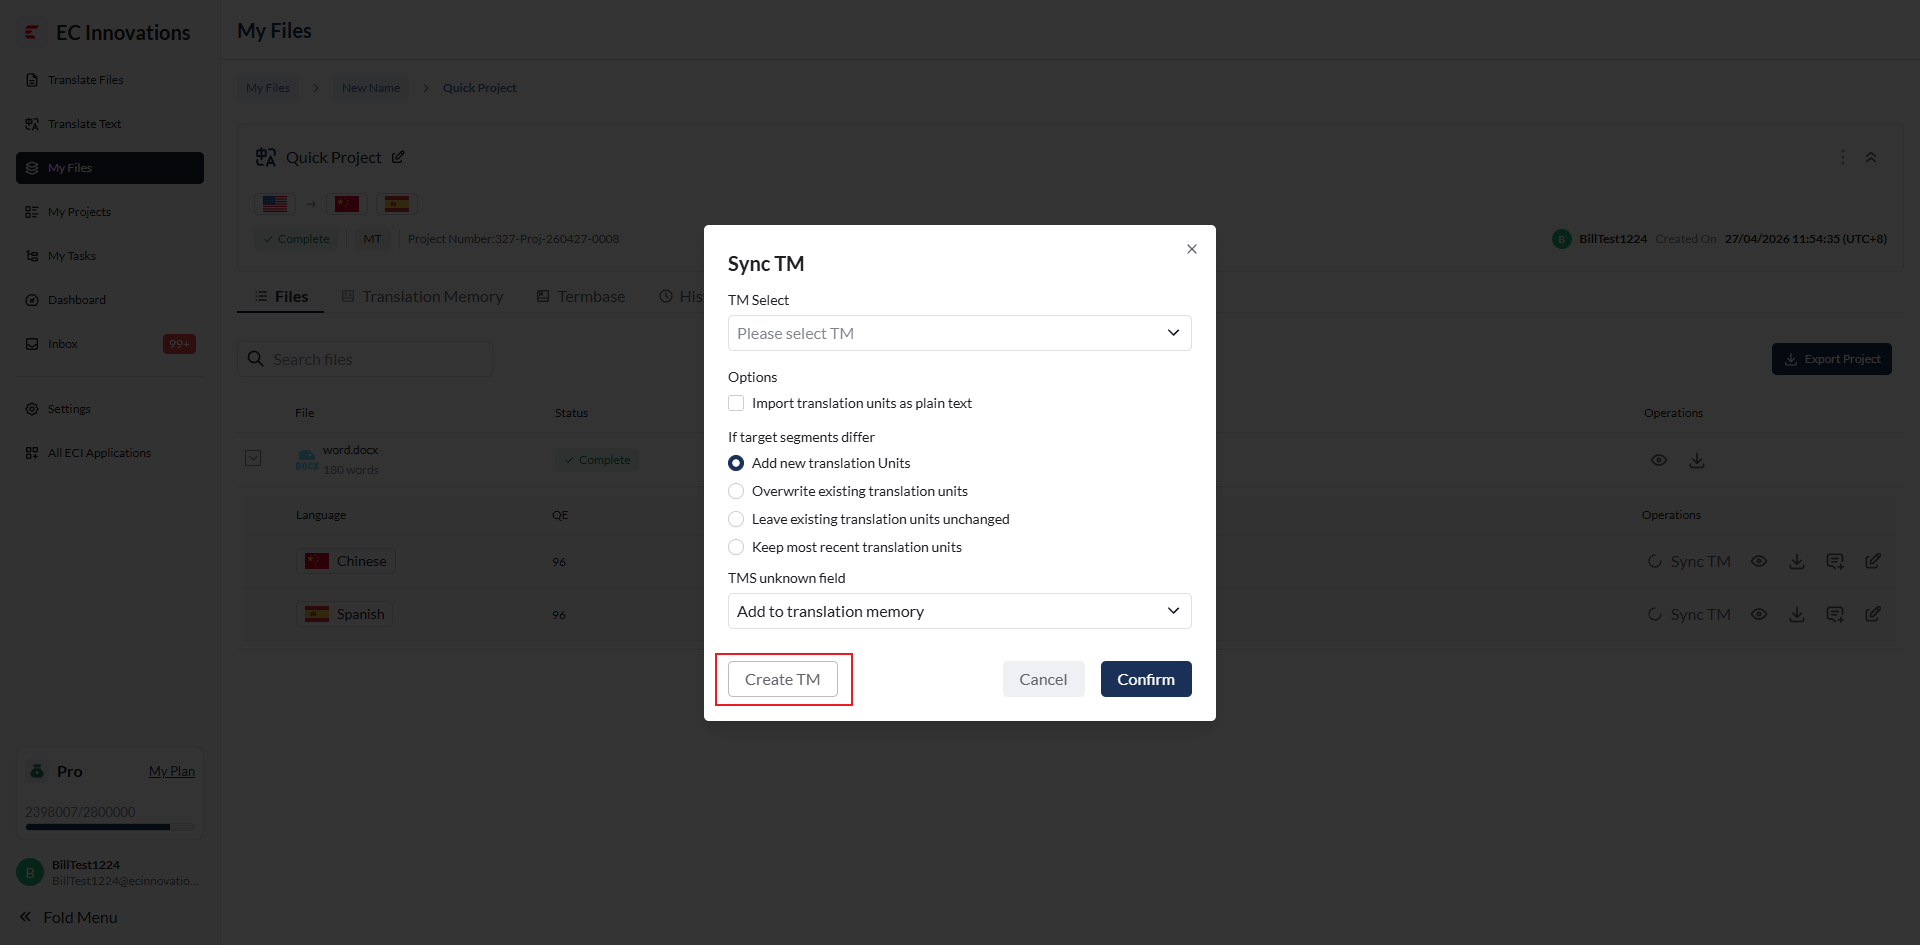
Click the button to open the Sync TM pop-up.
Fill in and select the required information, then click ‘Confirm’ to sync the TM.
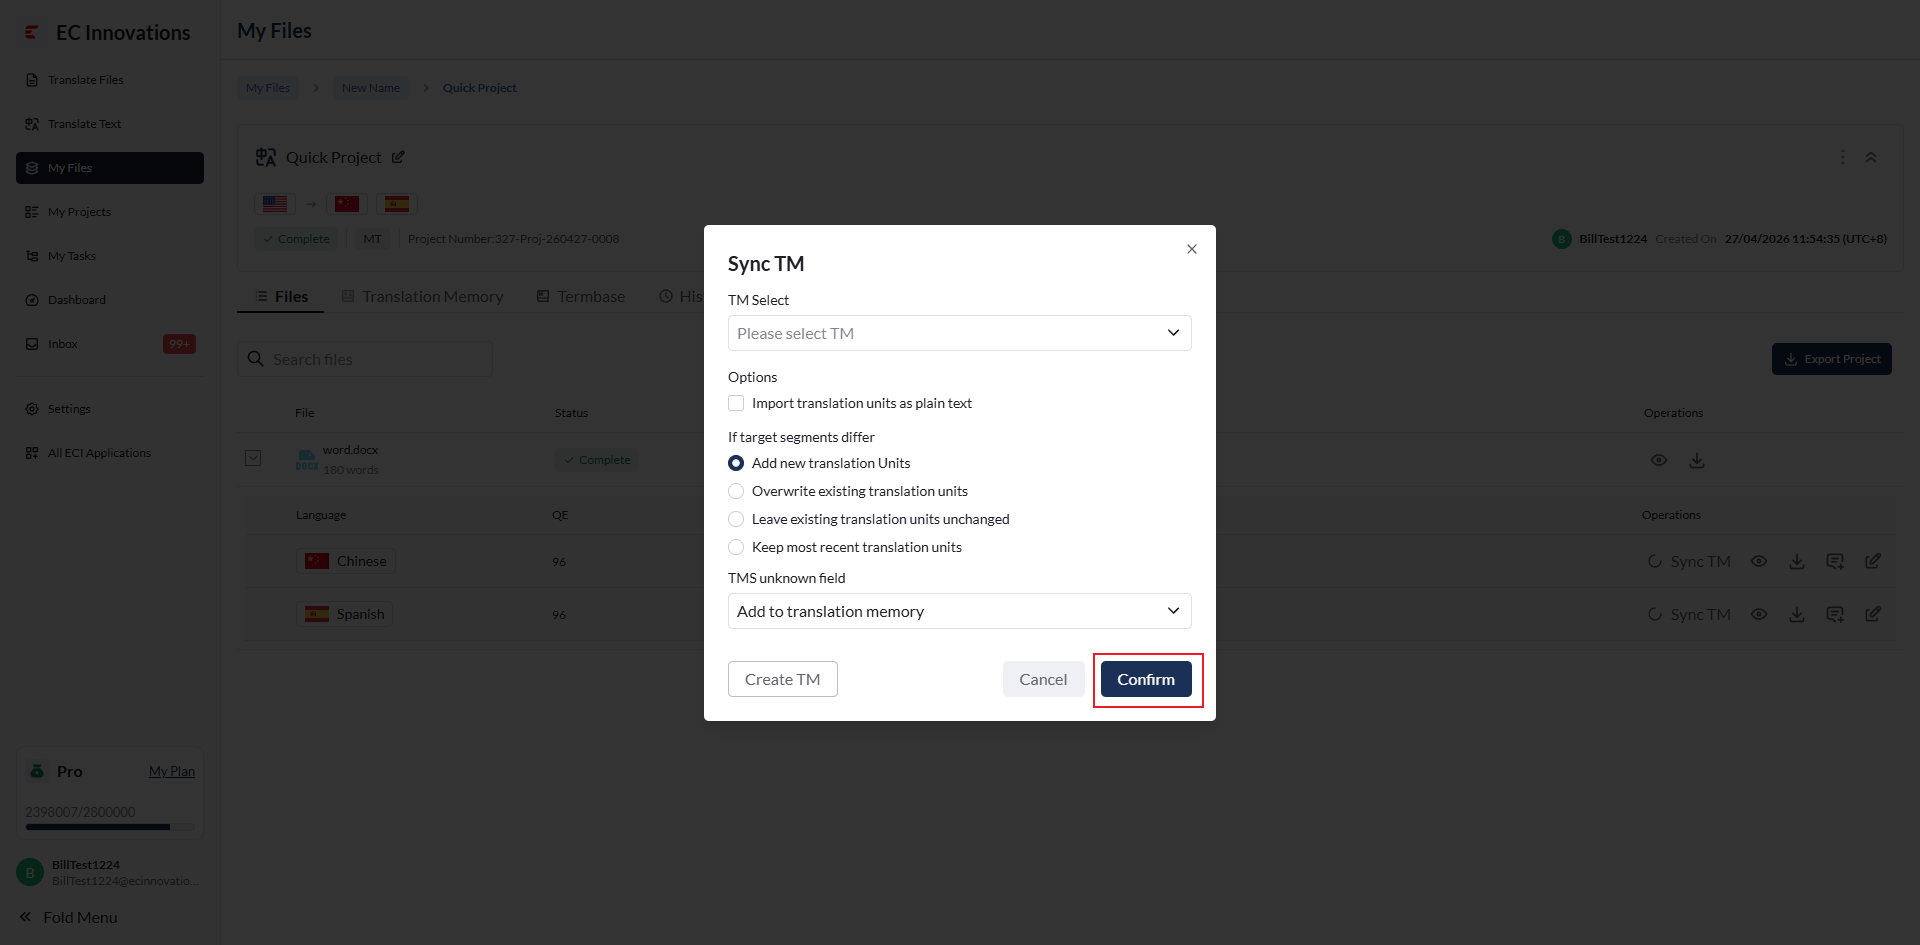
If there is no eligible TM, click ‘Create TM’ to create a new TM.
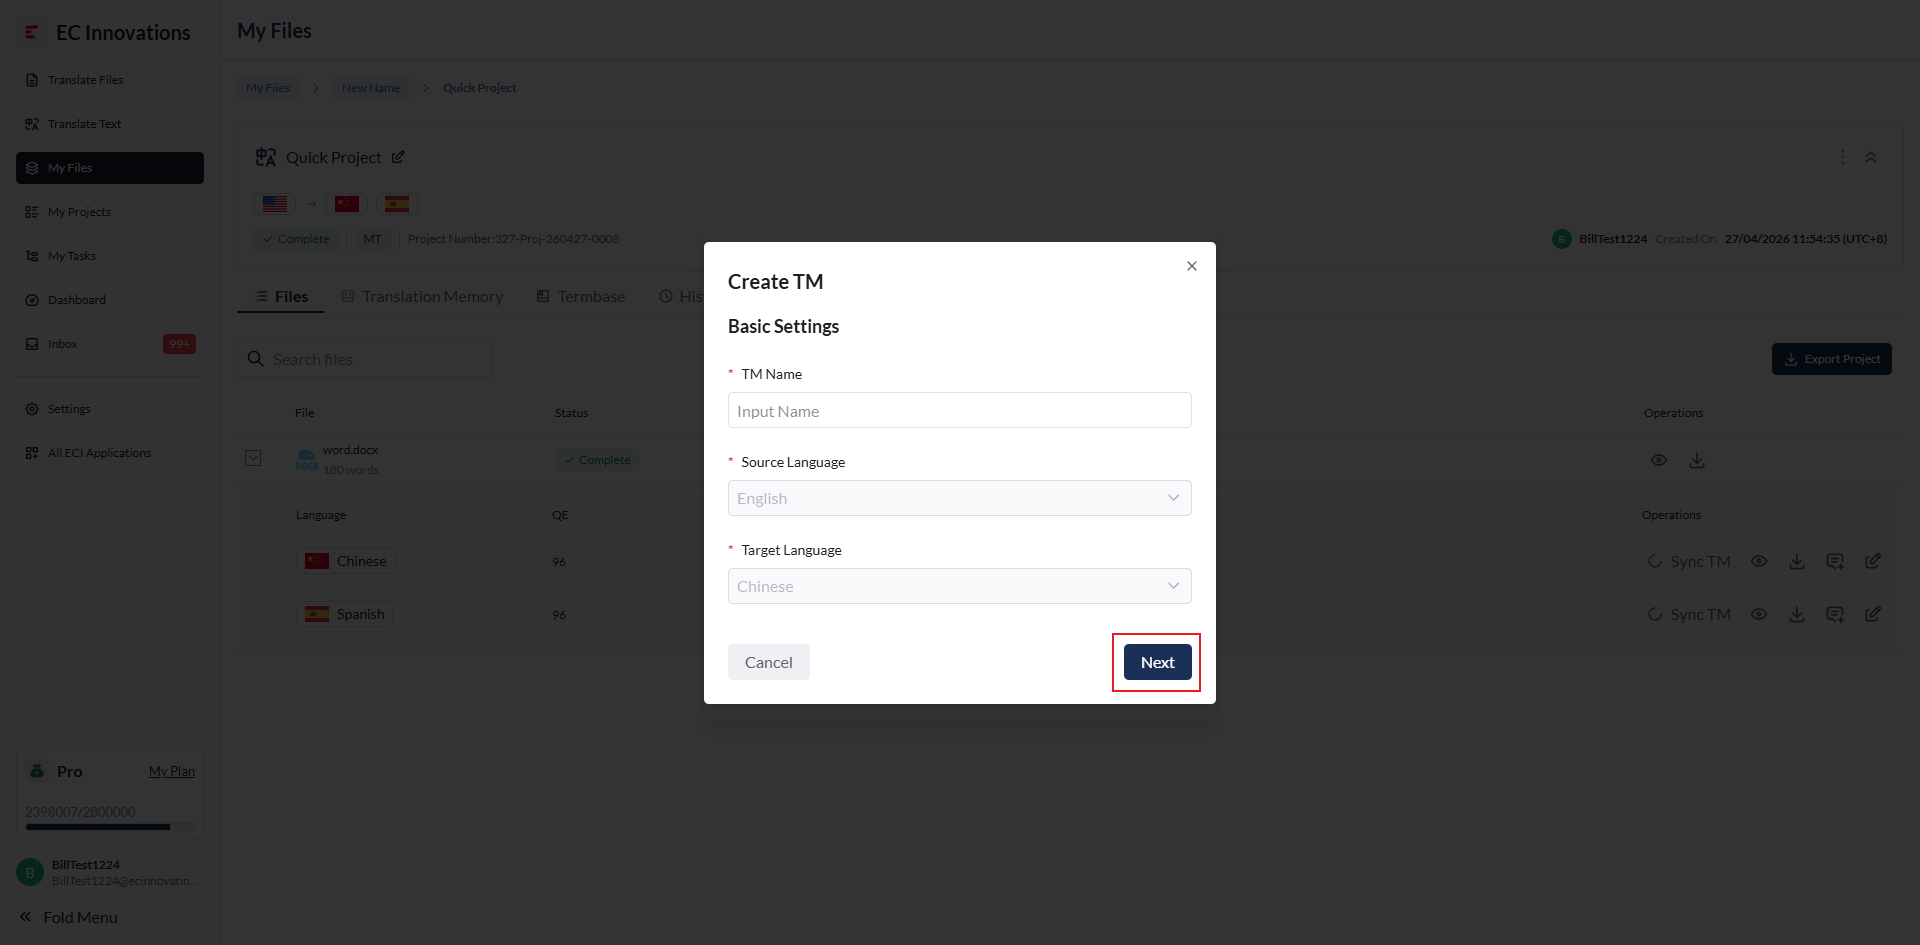
Enter the TM Name, then click ‘Next’.
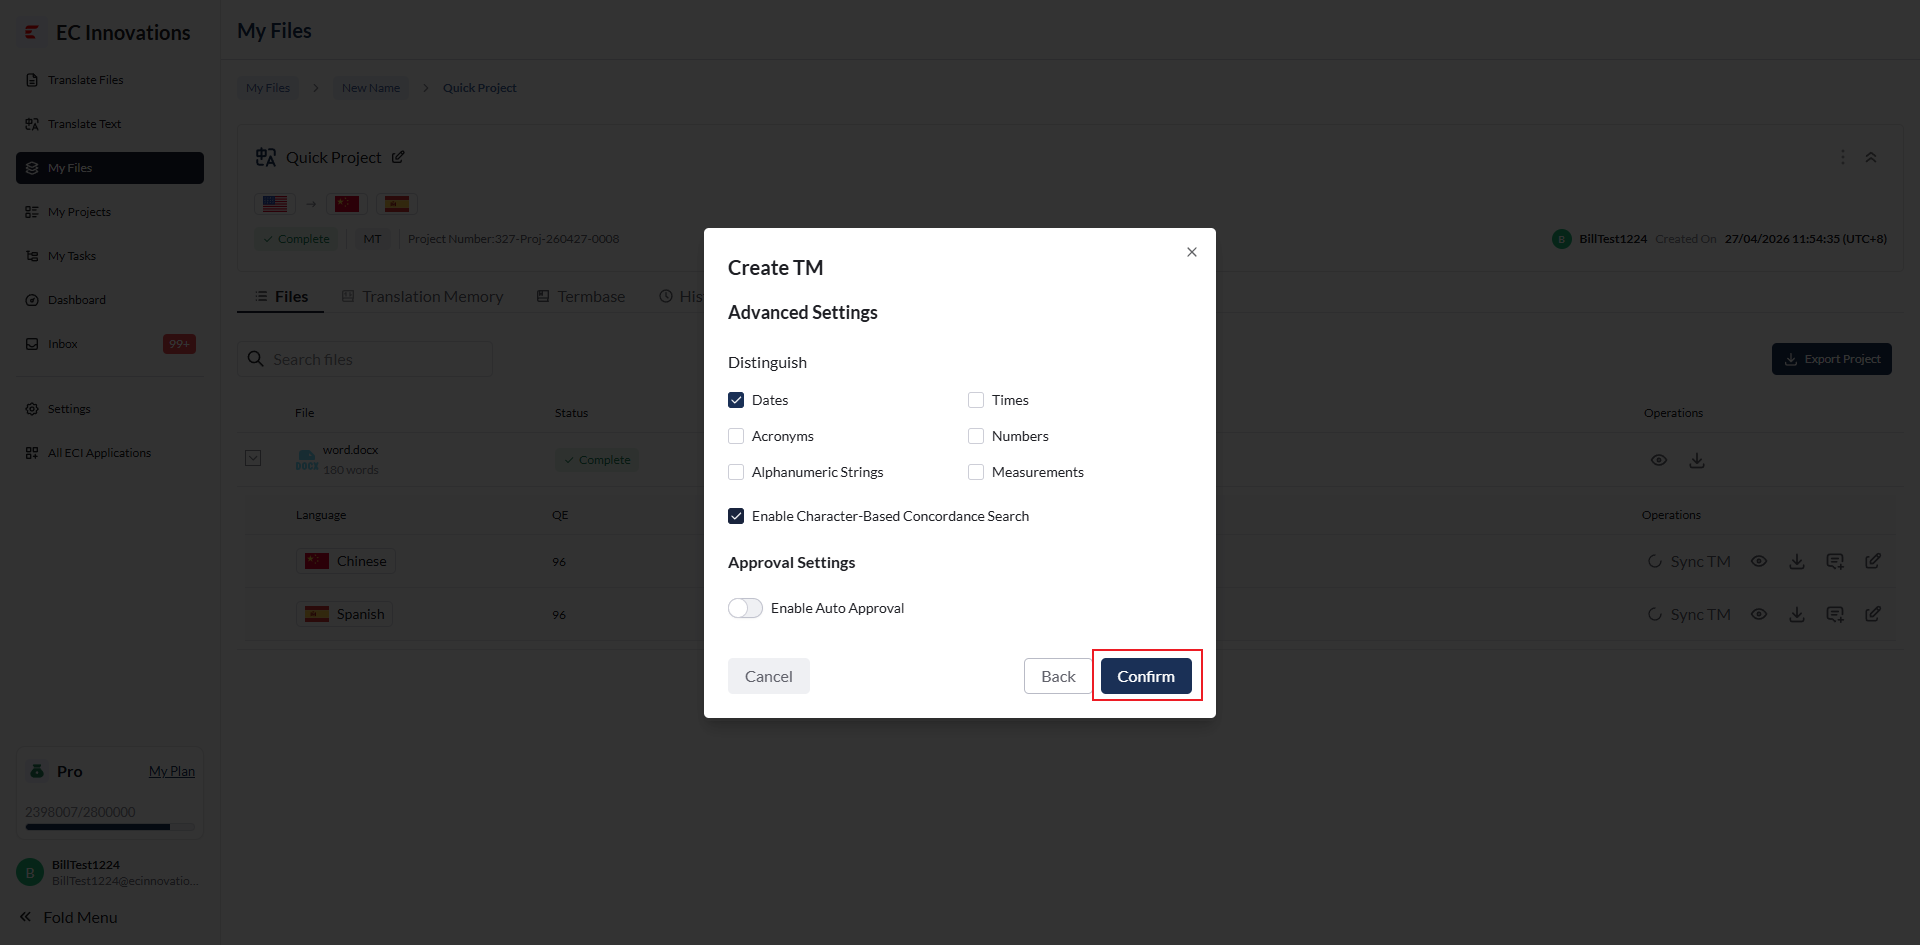
Select the required settings, then click ‘Confirm’ to create the new TM.
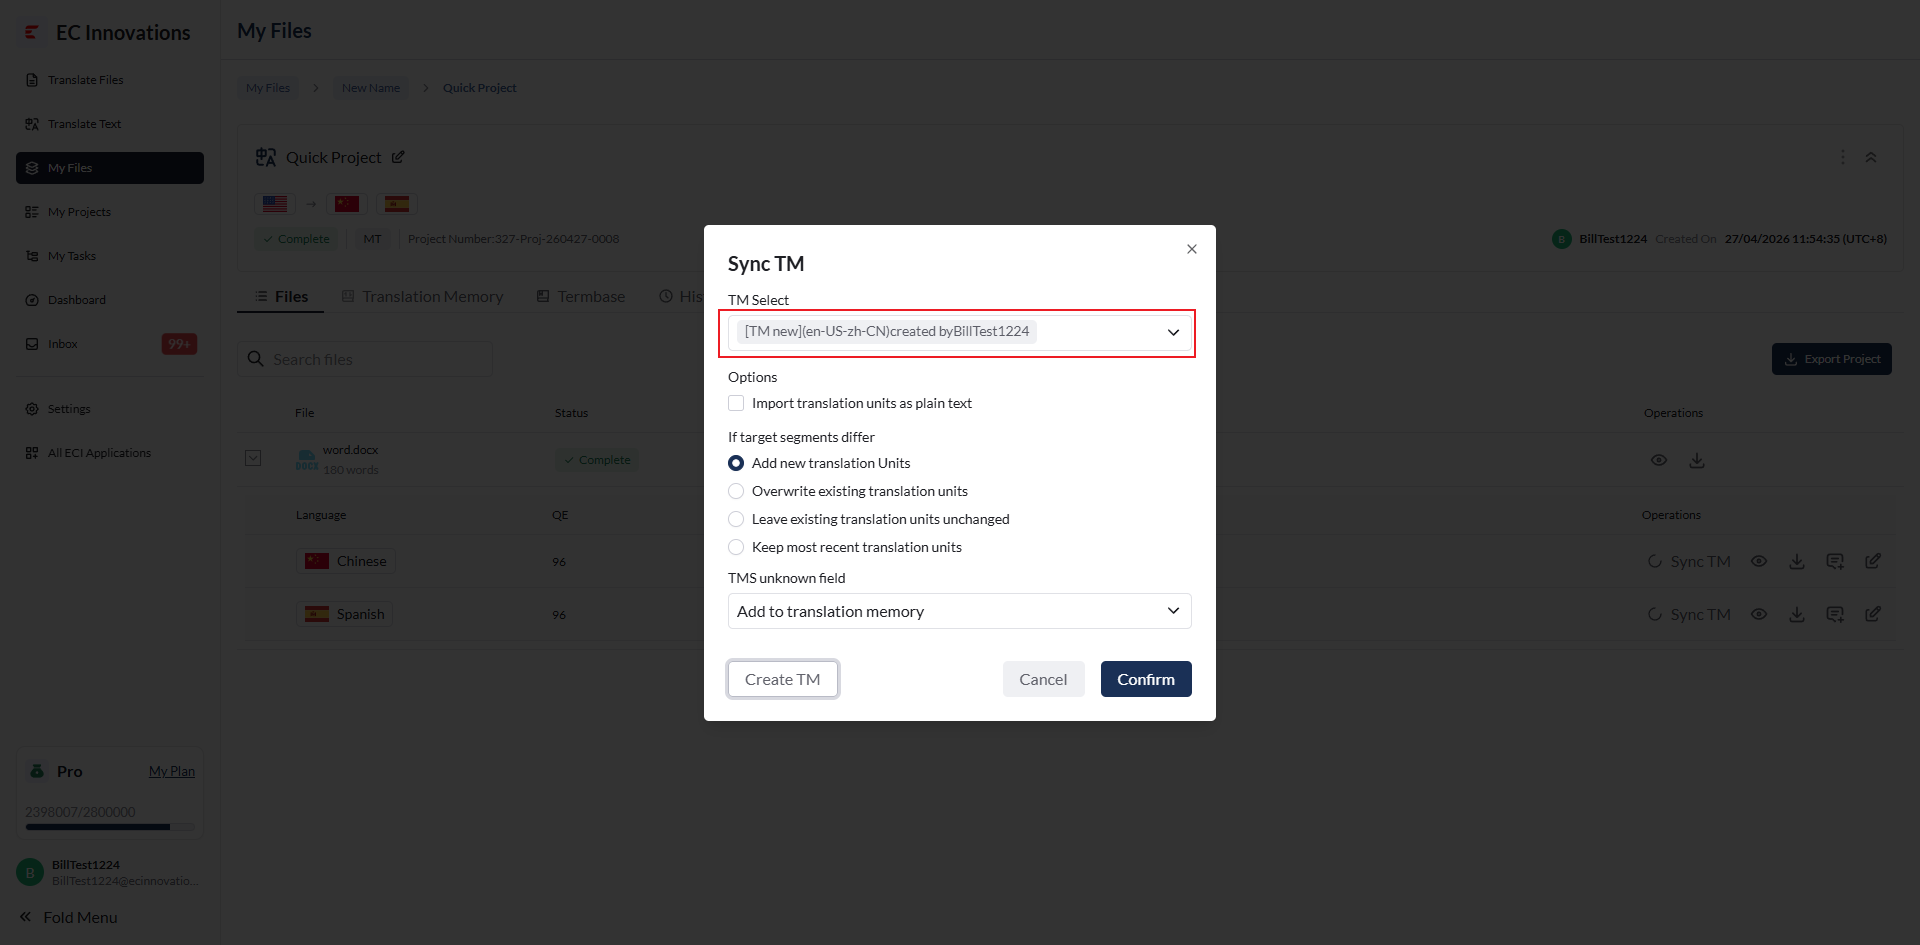
The newly created TM is selected by default, and you can proceed with TM synchronization.
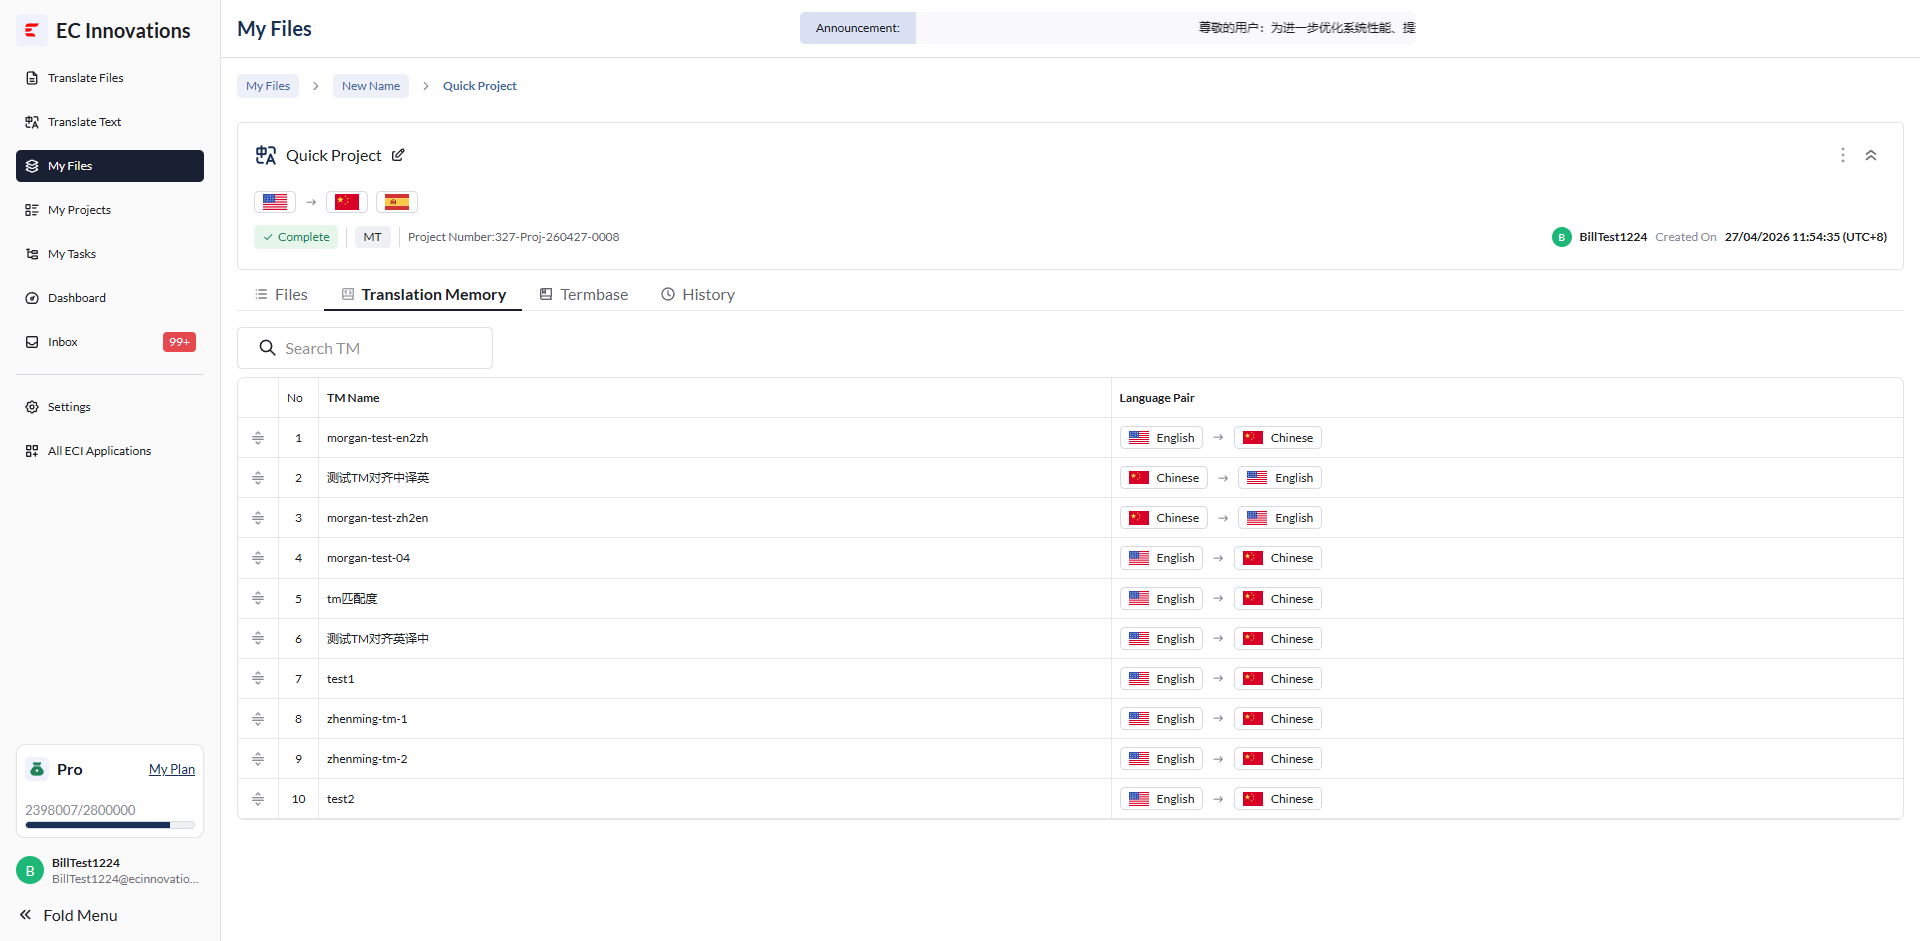
Translation Memory
View the list of TMs under the project.
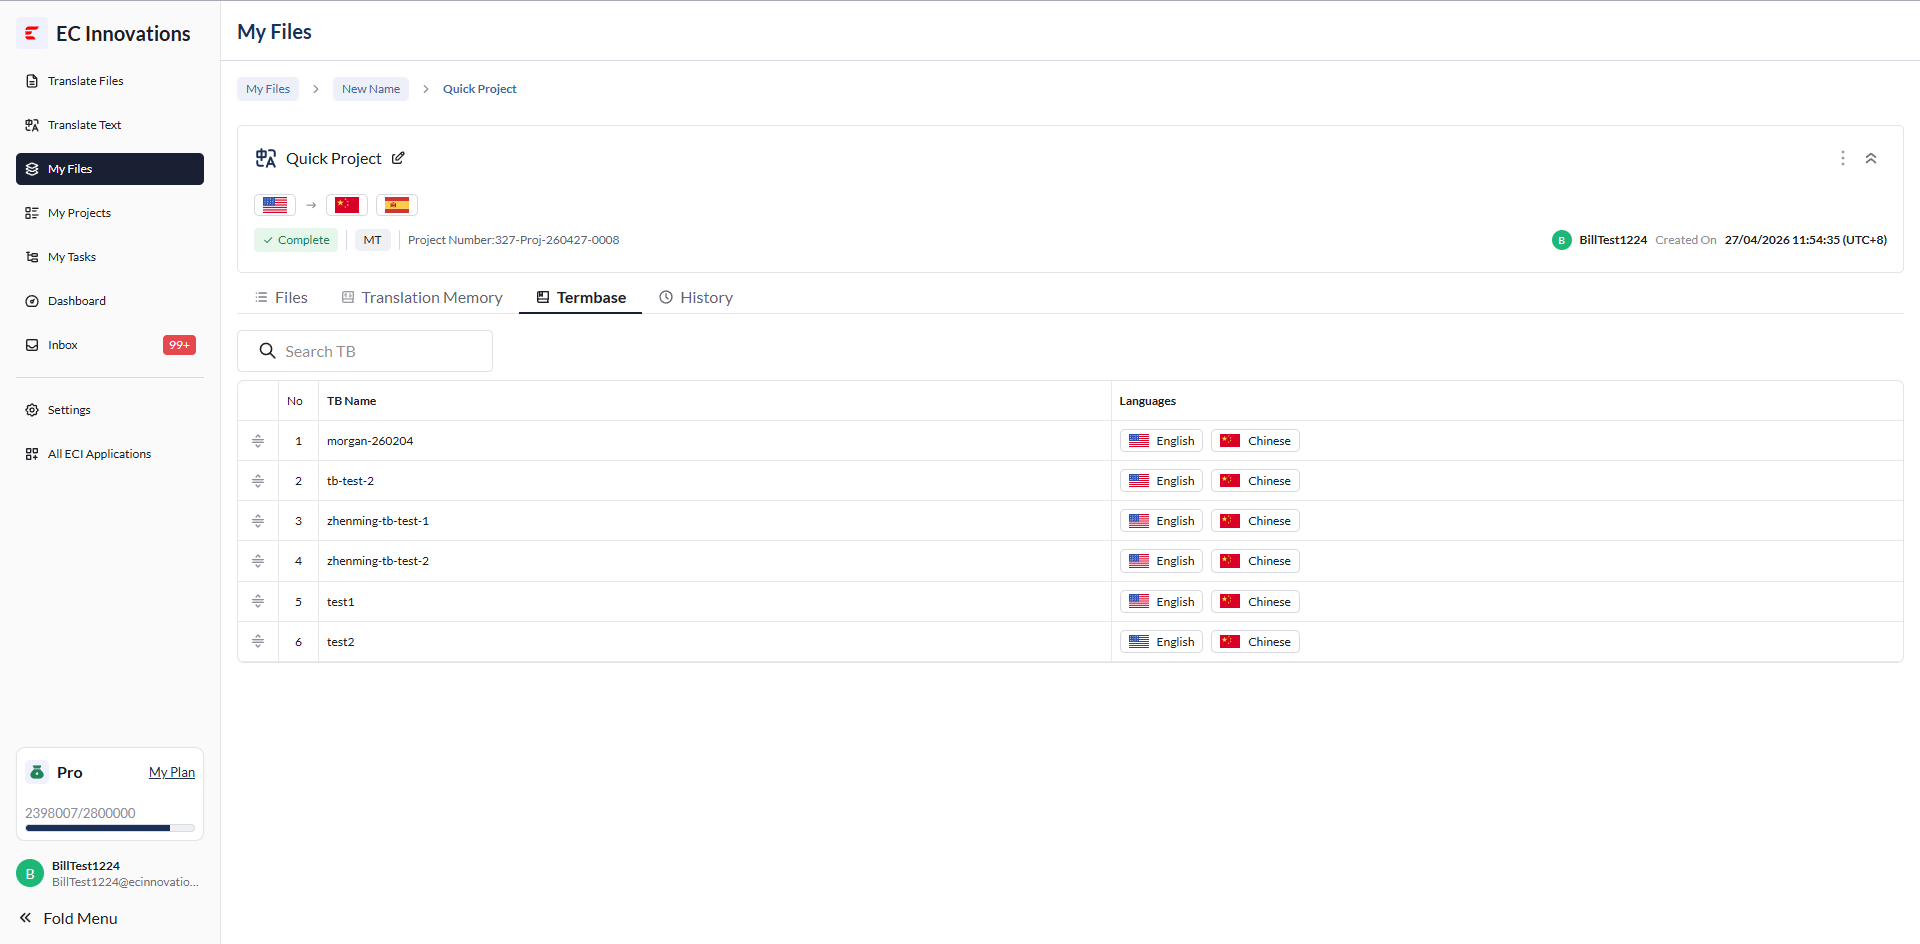
Termbase
View the list of TBs under the project.
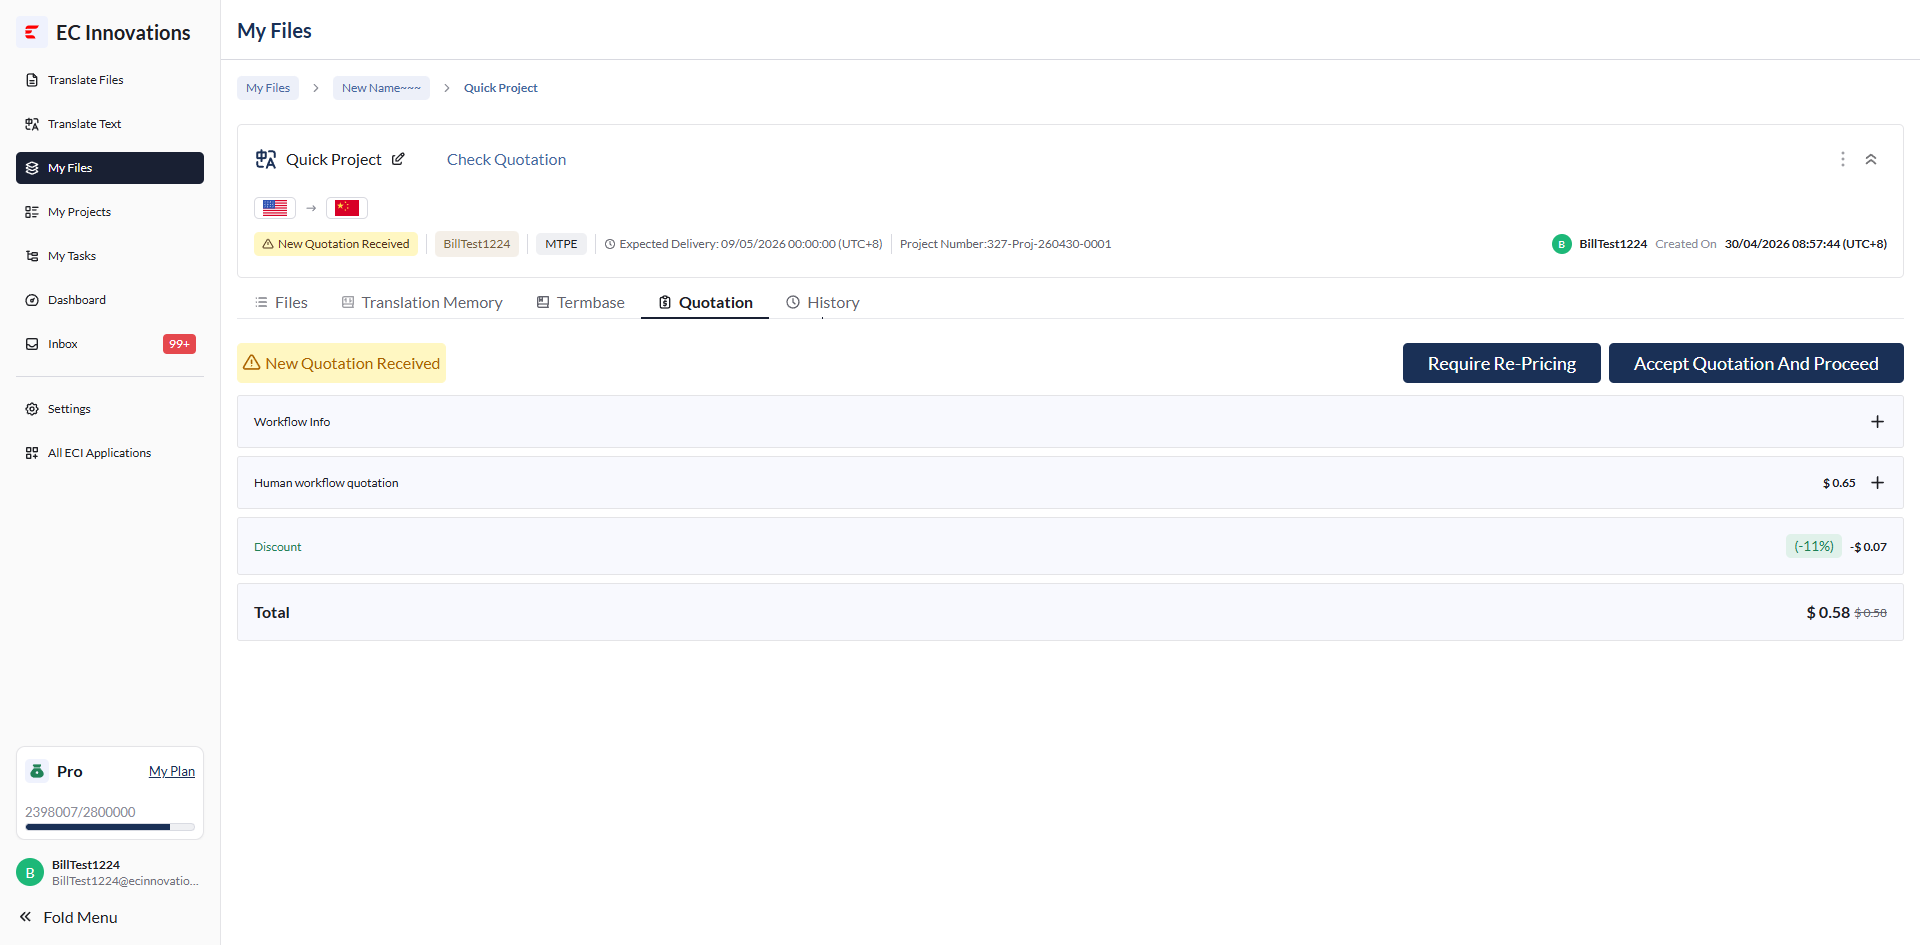
Quotation
View the project quotation records. Under this tab, you can choose:
‘Require Quotation’ to start price negotiation. This is only shown when the project status is ‘New Quotation Received’.
‘Accept Quotation And Proceed’ to accept the quotation and start the project.
History
View the project operation history.